
20+ Easy Work Hairstyles Women — Step by Step 2026
Mornings are hard enough without a hairstyle that requires a tutorial video, seventeen bobby pins, and a prayer. You need styles you can do half-asleep, with your coffee in the other hand, and still walk into work looking like you have your life together.
That’s exactly what this list is: 20 work hairstyles broken down step by step. No guesswork, no “then just…” leaps — every style laid out in clear, numbered moves you can follow the first time and memorize by the third.
1. The 3-Minute Sleek Low Bun
The workhorse of office hair. Here’s the whole thing:
Step 1: Brush all your hair back into a low ponytail at the nape and secure with an elastic. Step 2: Twist the ponytail tightly, then coil it around its base. Step 3: Pin the coil in place with 3-4 bobby pins, tucking the ends under. Step 4: Smooth the crown with a pea-size of serum and mist with hairspray.
That’s it — four steps, three minutes, one polished bun that survives the entire workday. It genuinely looks better on day-two hair, so this is your Monday-morning-after-wash-day hero.

2. The 60-Second High Pony
Sixty seconds. Set a timer if you don’t believe me.
Flip your head upside down and gather everything into a high ponytail at the crown — the upside-down part is the trick, because gravity does the smoothing for you. Secure tightly with an elastic, flip back up, and smooth the top with your palms. Take a thin strand from underneath the ponytail, wrap it around the elastic, and pin it underneath. Done.

💡 Quick Tip: Two elastics stacked give twice the hold for thick hair — the ponytail won’t sag by lunchtime.
3. The Easy French Twist in 5 Steps
The French twist has a fancy reputation and a simple reality. Follow these five moves:
- Step 1: Gather hair at the nape as if making a low ponytail — don’t secure it
- Step 2: Twist the whole length upward, pressing it flat against the back of your head
- Step 3: As you twist, tuck the ends down inside the roll
- Step 4: Pin along the seam every inch, inserting pins upward into the roll
- Step 5: Smooth flyaways with serum and set with hairspray

4. The 2-Minute Top Knot
You know those mornings when you have exactly two minutes? This is the style for them. Brush everything up into a high ponytail — don’t worry about perfection, just get it high and secure. Twist the ponytail, coil it around the base, pin the ends under. Smooth the front with a touch of gel or serum.
The key detail that makes it office-ready instead of gym-ready: keep the base smooth and the knot compact. A sleek base with a neat knot reads polished; bumps and frizz read rushed. Thirty extra seconds of smoothing makes all the difference.

5. The Half-Up in Under a Minute
Section, smooth, secure. Three moves, under a minute.
Take the top section of hair from temple to temple — about a third of your hair. Brush it smooth (run the brush over the crown twice to kill bumps), pull it back to the crown, and secure with a small elastic. Wrap a thin strand around the elastic and pin underneath for that finished look. If you have an extra twenty seconds, curl the loose ends.
⚠️ Watch Out: Don’t take too much hair into the top section — more than half and the style loses its shape and just looks like a ponytail with extra steps.

6. The No-Heat Low Ponytail
No tools, no heat, no damage — just technique. Start with brushed, detangled hair. Create a clean center or side part with a comb (the part is what makes this look deliberate). Gather everything low at the nape, keeping the sides smooth as you go, and secure with an elastic.
Now the polish moves: wrap a strand around the elastic, and smooth a tiny amount of serum over the crown and down the tail. If your ends are frizzy, twist the tail once before securing — it creates a sleeker line. This is the ultimate “I woke up like this, but professionally” style.

7. The Quick Claw Clip Updo
The thirty-second office updo. Gather your hair as if for a low ponytail, twist it upward against the back of your head, fold the twist in half, and clamp a large claw clip over the whole thing. Let the ends fan out over the top of the clip or tuck them in — both look good.
- Clip choice: Matte tortoiseshell or black reads professional; save the neon for weekends
- Size: The clip should be proportional — medium for fine hair, large/XL for thick
- Security: Push the clip’s teeth flat against your scalp and give it a wiggle test

8. The 5-Minute Braided Bun
A braid plus a bun sounds like a lot. It’s five minutes — here’s the breakdown.
Step 1: Make a low ponytail at the nape (1 min). Step 2: Braid the ponytail in a simple three-strand braid and tie the end (2 min). Step 3: Wrap the braid around the ponytail base to form a bun (1 min). Step 4: Pin around the bun’s edge and tuck the tail under (1 min).
Gently pancake the braid — pull the edges wider — before wrapping, and the bun looks twice as full. The braid texture also gives pins something to grip, so this bun outlasts a plain one by hours.

9. The Simple Side Braid
Sweep, braid, tie. If you can do a basic three-strand braid, you can do this in your sleep.
Part your hair on one side and sweep everything over the opposite shoulder. Start the braid behind your ear — not at the shoulder, or it looks disconnected — and braid loosely all the way down. Tie with a small clear elastic. Then go back and gently pull each braid section wider for fullness.
💡 Quick Tip: Braid with your head tilted slightly toward the braid side. It keeps the braid sitting forward on your shoulder instead of sliding behind it.
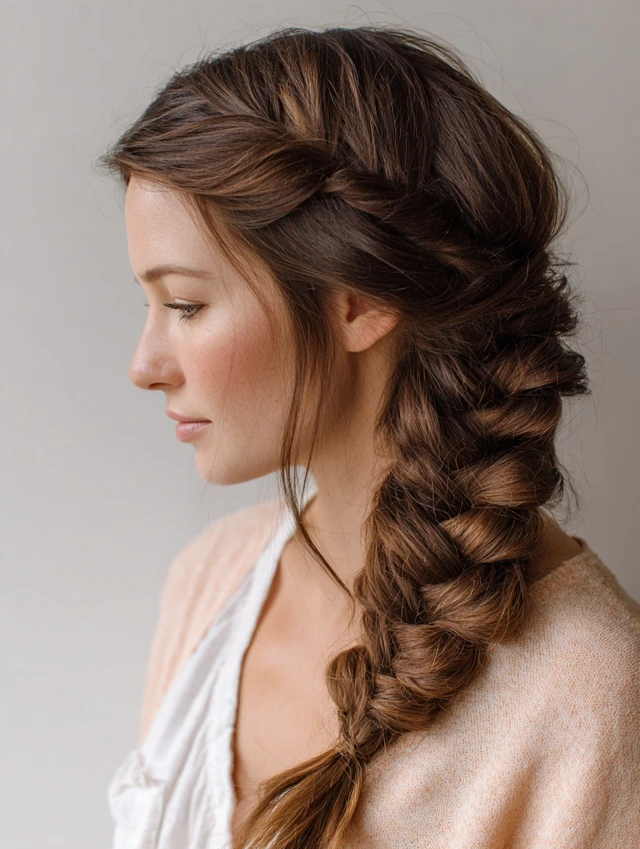
10. The Waterfall Half-Up
The waterfall braid looks like magic but it’s just a French braid where you drop pieces. Start a French braid at one temple, and each time you’d cross a bottom section in, drop it instead and pick up a new piece of hair behind it. Those dropped pieces cascade down — hence “waterfall.”
📌 Good To Know: You only need to waterfall across the back of your head, temple to temple. Pin the end behind the opposite ear and hide it under the top layer of hair. The whole thing takes about six minutes once you’ve done it twice.

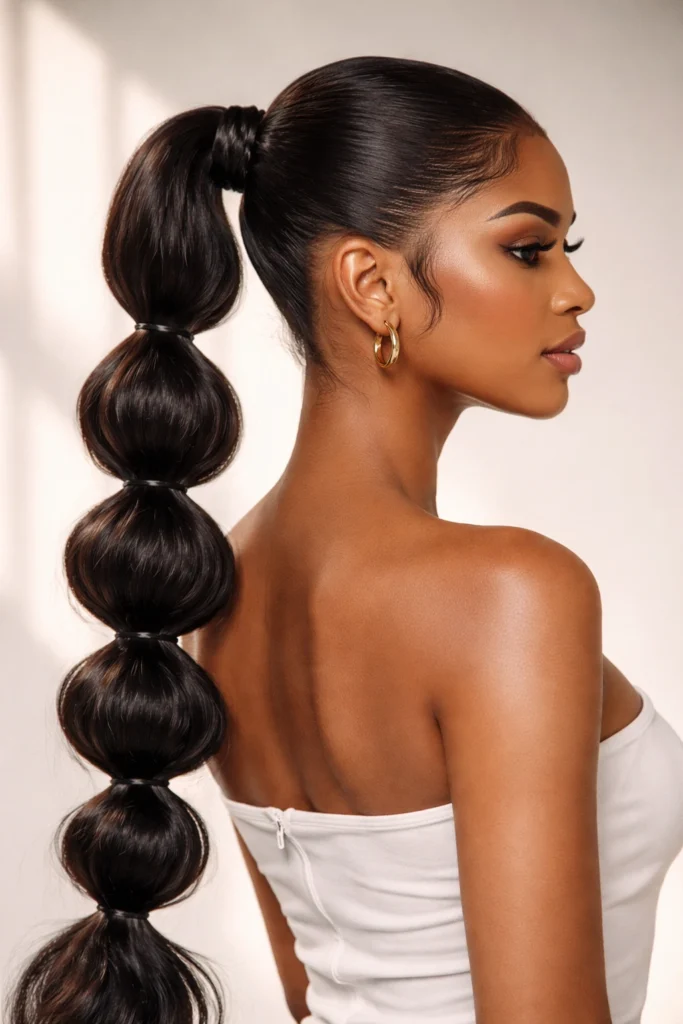
11. The Bubble Ponytail, Step by Step
This one’s pure geometry — no braiding skill needed at all.
- Step 1: Secure a ponytail wherever you want it — high, mid, or low
- Step 2: Add a small clear elastic 2-3 inches below the first
- Step 3: Gently pull the hair between the elastics outward to puff it into a bubble
- Step 4: Repeat down the length of the ponytail
That’s the entire tutorial. It adds instant volume to fine hair and takes about three minutes. For the office, keep the bubbles neat and uniform rather than wild — polished playfulness.
12. The Twisted Low Bun
No braiding, just twisting — and twisting is something anyone can do. Split a low ponytail into two sections. Twist each section in the same direction, then wrap them around each other at the nape (this counter-twist is what locks it in place). Coil the twisted rope into a bun and pin.
The twist creates gorgeous texture that looks far more intricate than the effort involved. Work a little texturizing cream through first — twists hold better with grip. Five minutes, zero braid skills, and a bun that looks like it came from a salon.

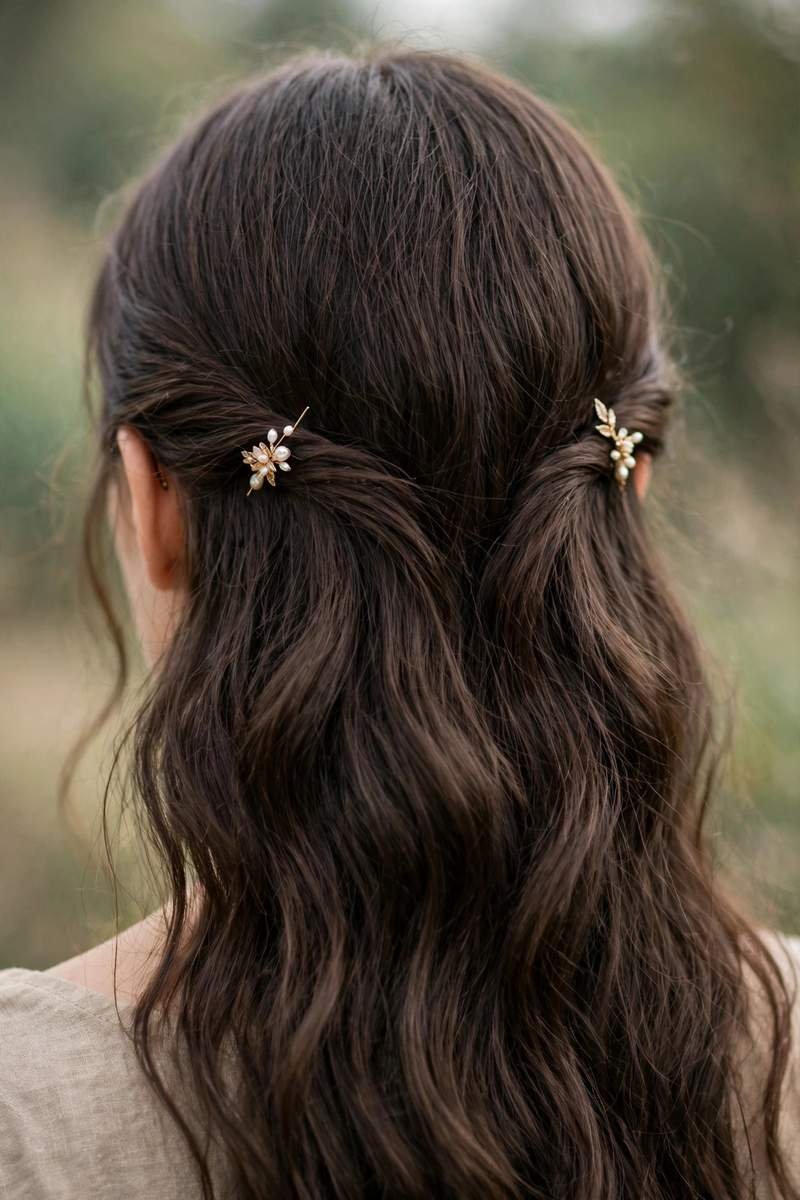
13. The Pinned-Back Front Pieces
Sometimes you don’t need a whole hairstyle — you just need your hair out of your face. Take the front sections on both sides (about an inch wide each), twist each one back away from your face, and pin them at the back of your head where they meet. Cross the bobby pins in an X for maximum hold.
⚠️ Watch Out: Pin into the hair underneath, not just the twisted piece — pins anchored only in the twist slide out within the hour. Push each pin against the scalp for all-day hold.
Wear the rest down straight, wavy, or curly. This two-minute fix works on every hair type and instantly makes loose hair look styled.
14. The Slicked Side Part
A deep side part with everything smoothed back is the fastest transformation on this list — it takes your regular hair from “just hair” to “styled” in ninety seconds.
Use a comb to create a sharp side part (go deeper than you think — drama is the point). Apply a small amount of gel or smoothing cream to the heavier side and comb it flat against your head, tucking it behind your ear. Let the other side fall naturally. The contrast between the sleek side and the free side is what makes this look intentional and chic.

15. The Easy Messy Low Bun
The messy bun has steps — they’re just relaxed ones. Step 1: Gather hair loosely at the nape without brushing (texture is your friend). Step 2: Twist loosely and wrap into a bun, pinning where it naturally lands. Step 3: Gently tug sections outward for softness. Step 4: Pull a few face-framing wisps free.
The whole thing takes three minutes and the “mistakes” are the style. Set with flexible-hold spray so it keeps its softness. This is the Friday hairstyle — relaxed, pretty, and completely Monday-to-Friday appropriate when the bun sits low rather than on top of your head.

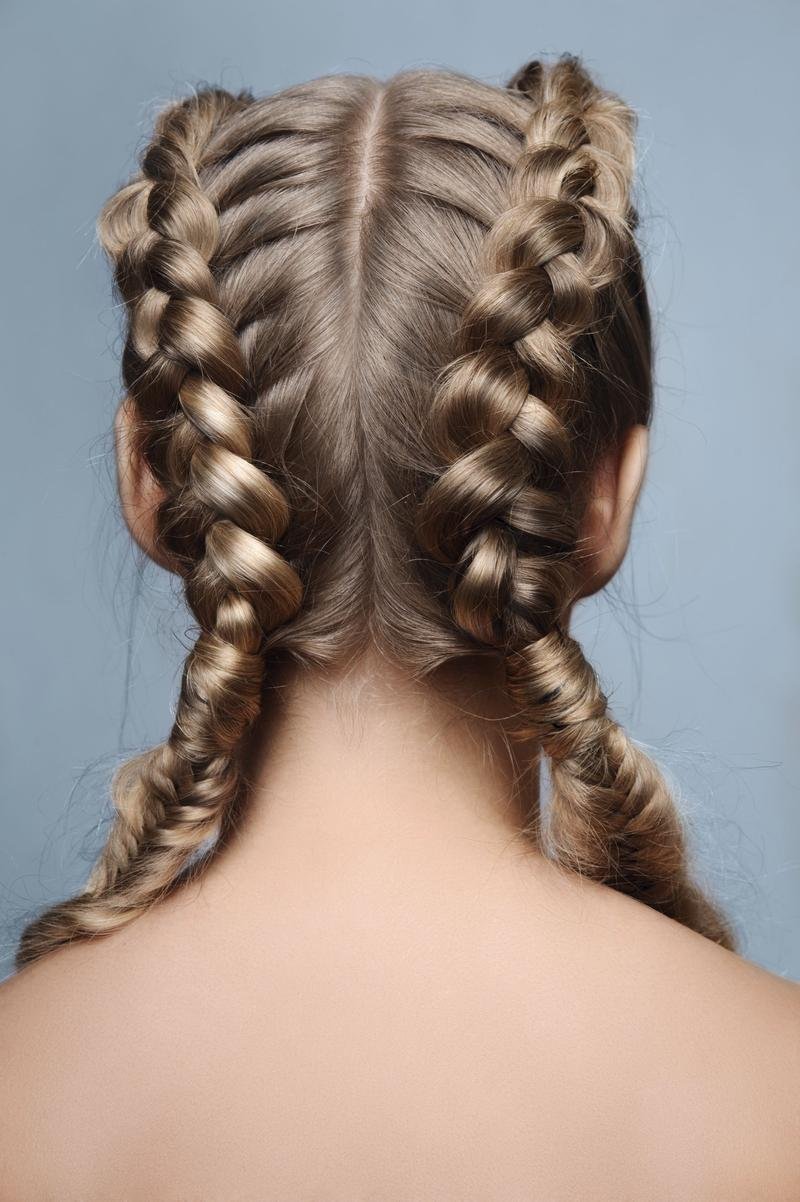
16. The Double Braid Hack
Here’s the hack: you don’t braid from the scalp. Part your hair down the middle, make two low pigtails, and braid each one in a simple three-strand braid. Tie the ends. Then cross each braid up and pin it against the opposite side of your head — instant faux-Dutch-braid updo with zero scalp-braiding skill.
💡 Quick Tip: Pancake both braids (pull the edges wider) before pinning them up. It makes the braids look thicker and hides the pins completely.
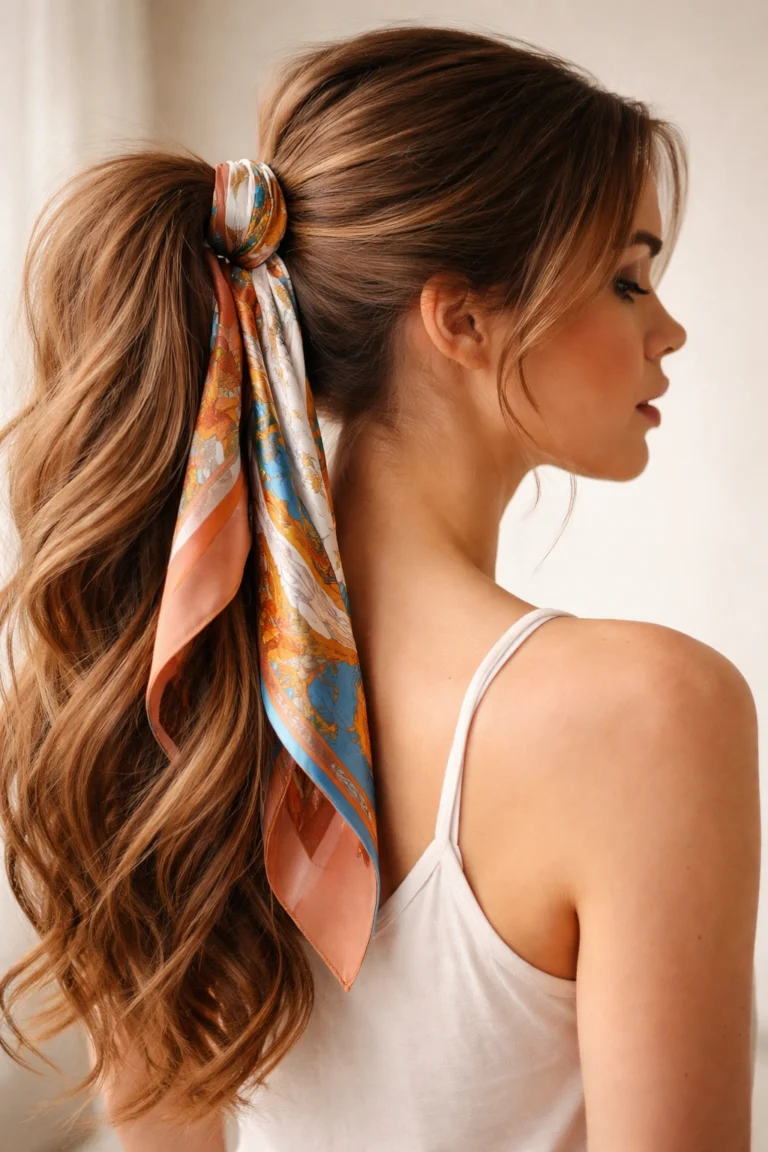
17. The Scarf Ponytail in 3 Steps
Step 1: Make a ponytail — any height, but mid-to-high shows the scarf best. Step 2: Fold a small square scarf into a band, wrap it around the ponytail base, and tie a knot or bow. Step 3: Arrange the scarf ends so they drape with your hair.
Three steps, two minutes, and a ponytail that looks styled instead of default. The scarf hides the elastic, adds color, and distracts from second-day roots — triple duty from one accessory.
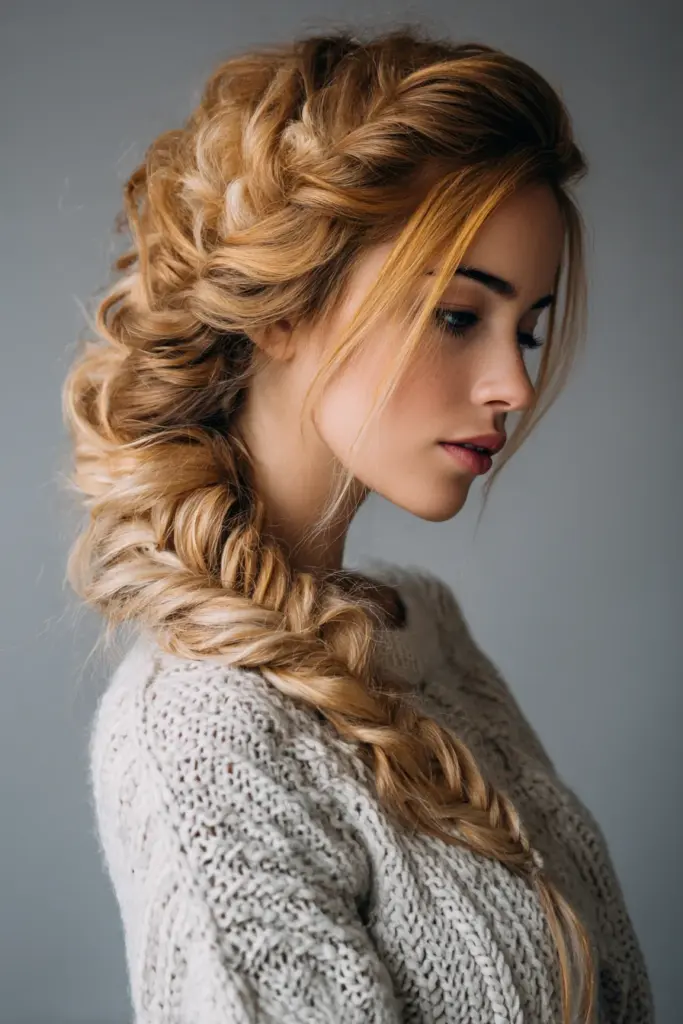
18. The Fishtail in 4 Steps
The fishtail only looks complicated. The actual moves:
- Step 1: Sweep hair to one side and split into two equal sections
- Step 2: Take a thin piece from the outside of the left section, cross it over to the right section
- Step 3: Take a thin piece from the outside of the right section, cross it over to the left
- Step 4: Repeat to the ends, tie off, and gently loosen for fullness
Keep your sections small and even for the prettiest pattern. First attempt takes ten minutes; by the third, you’re under five.
19. The Quick Donut Bun
The foam donut does the shaping — you just feed it hair. Step 1: Make a ponytail where you want the bun. Step 2: Slide the donut to the ponytail base. Step 3: Spread your hair evenly over the donut to cover it. Step 4: Secure with an elastic over the covered donut, then wrap and pin the remaining ends underneath.
📌 Good To Know: Buy the donut in your hair color — beige foam showing through dark hair breaks the illusion instantly. And distribute hair evenly; thin spots reveal foam.

20. The Overnight-Waves Morning Style
The only style on this list where the work happens while you sleep. Before bed, mist dry hair lightly with water, divide into 4-6 sections, twist each into a small bun, and pin. Sleep on it. In the morning, release the buns, shake gently, and rake through with your fingers.
You get soft, heat-free waves with exactly zero morning effort — just a touch of serum on the ends and you’re out the door. On day two, revive with a light water mist and scrunch. This is the ultimate low-maintenance workweek strategy.
CONCLUSION
Step-by-step means no excuses — every style here is learnable in one try and fast by the third. Pick the three that fit your hair length and your morning energy, practice them once this weekend, and your workweek hair routine is officially solved.
📌 Save this post to Pinterest so you have work hairstyles inspiration ready whenever your morning routine needs a refresh!