
15+ Cute Christmas Nails With Glitter & Sparkle 2026
If your motto is “more sparkle, please,” this list was made for you. Christmas is the one season where extra glitter isn’t just acceptable — it’s practically required. These 15 designs go all in on shimmer, shine, and full-on festive dazzle.
From gold-drenched glam to icy holographic frost, every design here catches the light (and everyone’s attention). Grab your glitters, your chromes, and your rhinestones — let’s make some serious holiday magic. Every single one is designed to turn heads and catch the candlelight.
1. Full-Coverage Gold Glitter
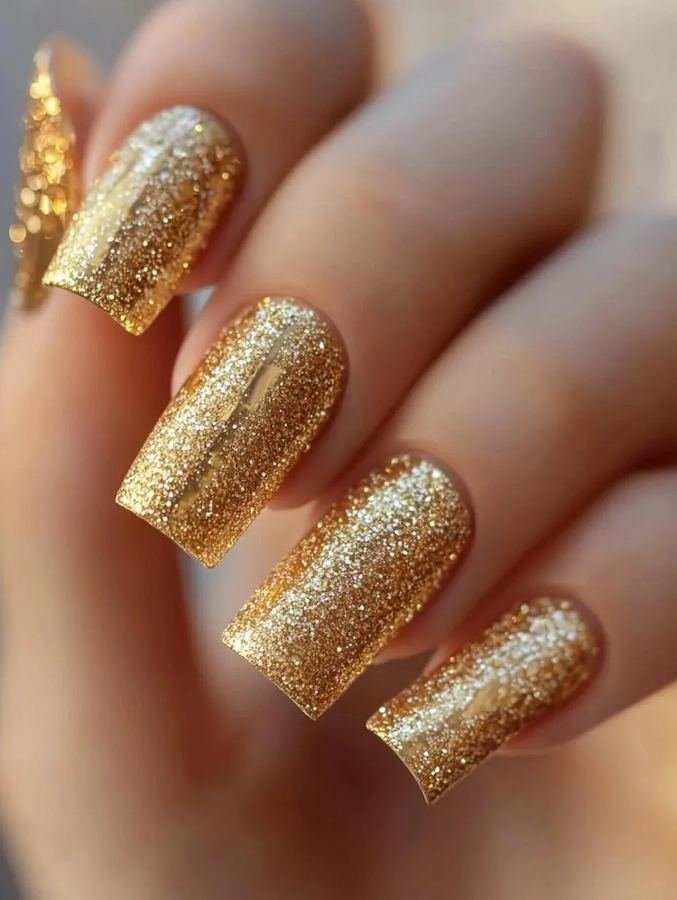
Sometimes you just commit. Every nail, head to toe in dense gold glitter — the kind that looks like you dipped your fingertips in actual treasure. No base color peeking through, no restraint whatsoever.
The secret to full-coverage glitter that looks luxe instead of crafty is density: sponge the glitter on rather than brushing, building until zero base shows. Then — critically — seal with two thick coats of top coat, sandwiched with a glitter-grabber base if you have one. The result should feel smooth as glass, not gritty.
💡 Quick Tip: Gold glitter + little black dress = the only holiday outfit formula you’ll ever need.
Full glitter demands commitment at removal time too — the foil-wrap acetone method is non-negotiable unless you enjoy scrubbing. Ten minutes of soaking saves twenty minutes of regret. Plan accordingly and sparkle on.
Density is everything — sponge, don’t brush, and keep layering until zero base peeks through. Sparse glitter looks accidental; full coverage looks intentional and rich.
2. Red Glitter Ombre Fade
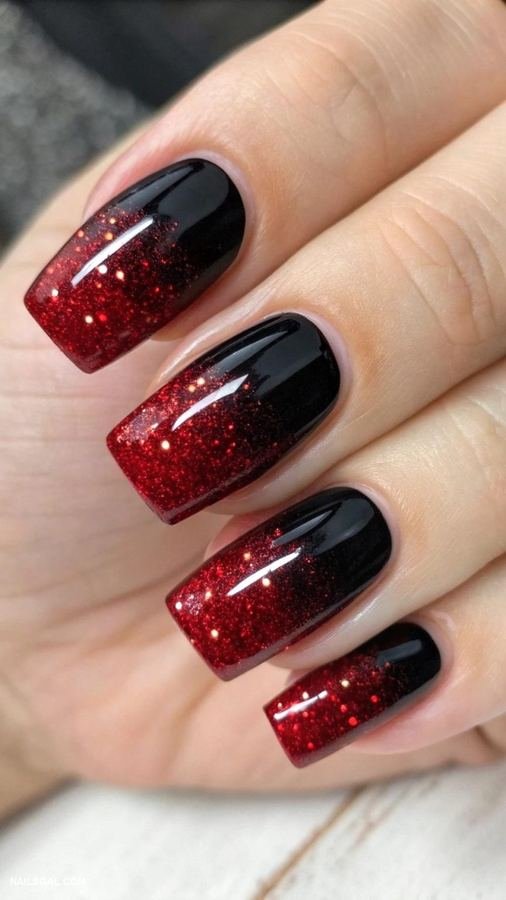
Deep red at the cuticle melting into explosive red glitter at the tips — like embers turning into fireworks. This ombre is pure holiday drama in the best way.
- Start with a red cream base on all nails.
- Sponge red glitter from the tip downward, fading toward the middle.
- Build in thin layers for the smoothest gradient.
- Glossy top coat melts the transition together.
The gradient keeps full glitter wearable — it’s intense at the tips but soft near the cuticle. All the drama, none of the overwhelm. It’s the glitter manicure for people who claim they “don’t do glitter” (they do now).
The ombre technique is wonderfully forgiving with glitter — uneven sponge pressure just creates a more organic fade. If your gradient isn’t perfectly smooth, congratulations: it looks even more like glowing embers. Some techniques reward imperfection.
Red glitter over a dark red base looks deeper and more expensive than over a bright one — the shadow underneath gives the sparkle somewhere to glow from.
3. Silver Icicle Sparkle
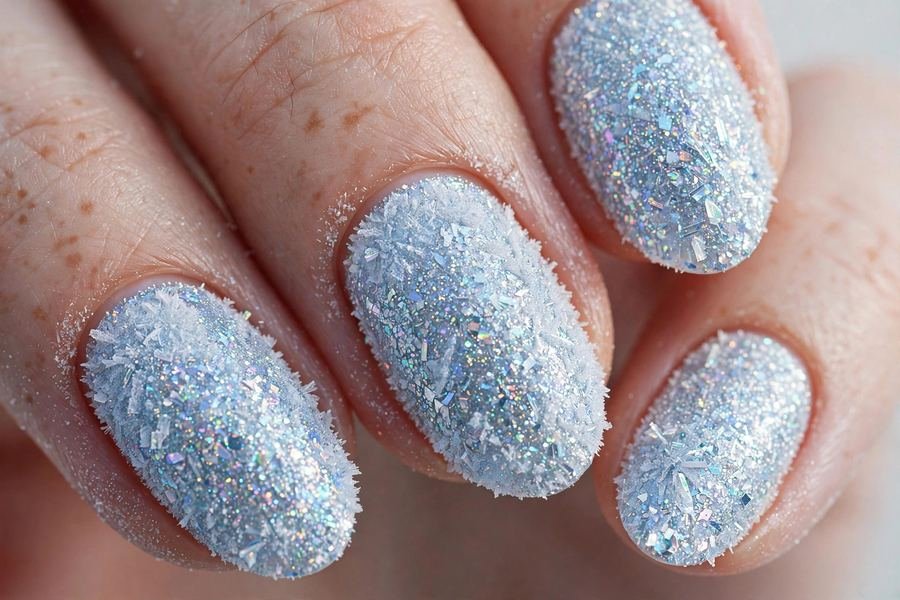
Icy blue-silver glitter that looks like frozen tinsel — this is winter’s own manicure. A pale blue or silver holographic glitter, worn dense, with an almost frosted finish.
Holographic glitter is the star here: in indoor light it’s icy silver, but catch it in sunlight and it throws tiny rainbows everywhere. Layer it over a pale blue base for extra frosty depth. Keep nails medium to long — the icicle effect needs a little length to shine.
It’s giving Elsa, it’s giving ice palace, it’s giving “my nails are literally winter.” And honestly? Iconic.
Holographic glitter is at its best in motion — every gesture throws tiny rainbows, which makes this the perfect manicure for anyone who talks with their hands. And honestly, with nails like these, you should be gesturing as much as possible.
Layer the holographic glitter over a pale blue cream rather than bare nail — the color underneath deepens the frost and stops the glitter from looking thin or patchy.
4. Champagne Glitter French
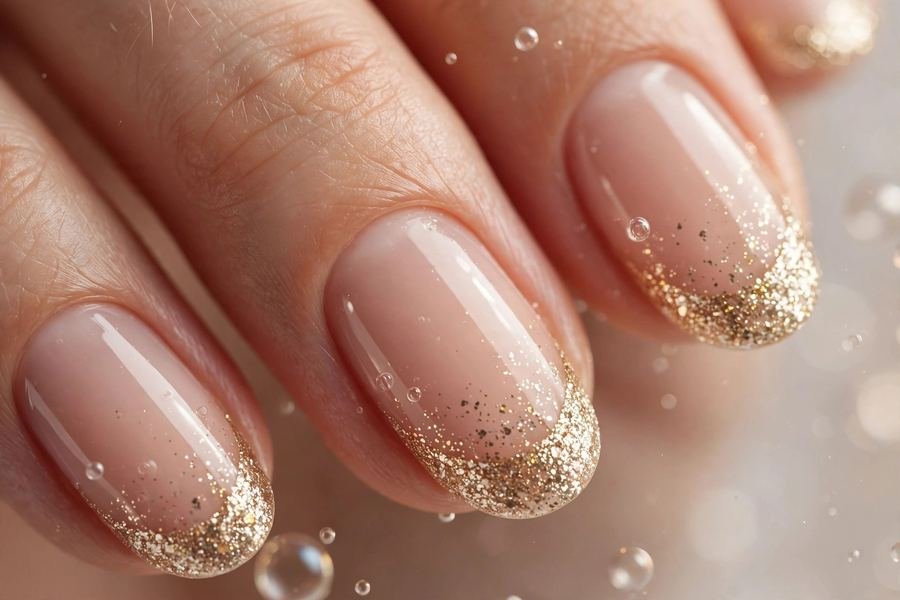
French tips, but the white is replaced with champagne glitter — all the elegance of a French with a full glass of bubbly on top. Nude sheer base, glitter tips, endless compliments.
- Use tip guides for crisp smile lines.
- Champagne (not yellow) gold glitter reads most refined.
- Keep the glitter band medium — too thin gets lost, too thick loses the French.
- Two top coats for a smooth, snag-free finish.
💡 Quick Tip: This is the New Year’s Eve manicure too — book it for Christmas and it’ll carry you straight through to midnight on the 31st.
Champagne glitter tips grow out more gracefully than full glitter — the nude base camouflages regrowth for an extra week or two. It’s the practical party girl’s choice: maximum glamour, minimum maintenance.
Keep the glitter band at medium width — too thin and it disappears, too wide and you lose the French entirely. The balance point is roughly a third of the nail.
5. Emerald Glitter With Gold Stars
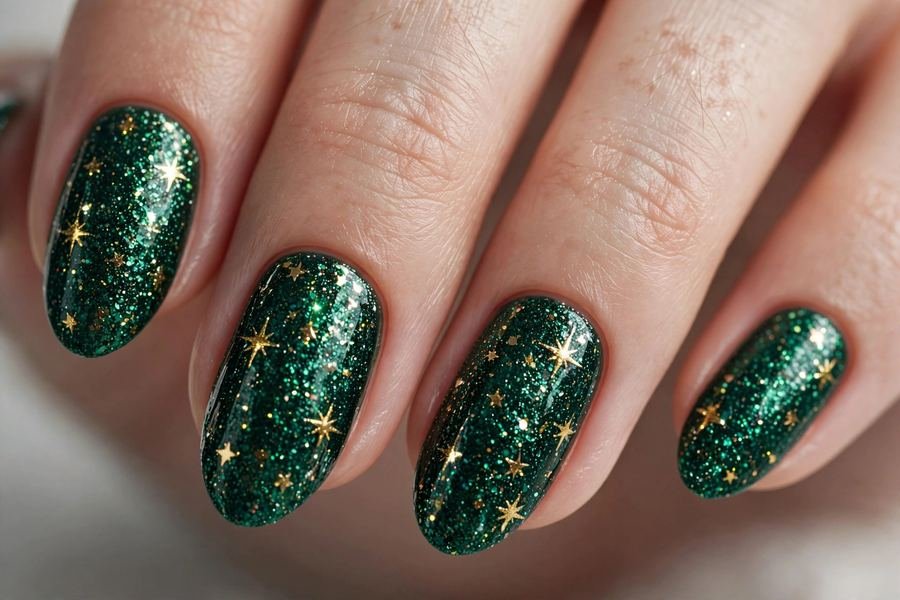
Deep emerald glitter as the base, with tiny gold star glitters scattered through like ornaments on a tree. It’s Christmas in a bottle — literally, if your polish is good enough.
Mix fine emerald glitter polish as your base, then place gold star sequins individually with a wax pencil or dampened orange stick while the top coat is tacky. Seal everything under two glossy coats. The stars catch light independently from the emerald shimmer, creating incredible dimension.
This is maximalist Christmas done right — every element earns its place, and the overall effect is a tiny decorated tree on each nail.
Place the gold stars while the top coat is still tacky, using a wax pencil or the dampened tip of an orange stick — tweezers launch tiny sequins across the room with impressive velocity. Ask anyone who’s tried. The wax pencil method is calm, precise, and star-loss-free.
A wax pencil (or the sticky end of an orange stick) places star sequins precisely without the tweezer-launch disasters. Calm tools, perfect placement.
6. Rose Gold Glitter Bomb
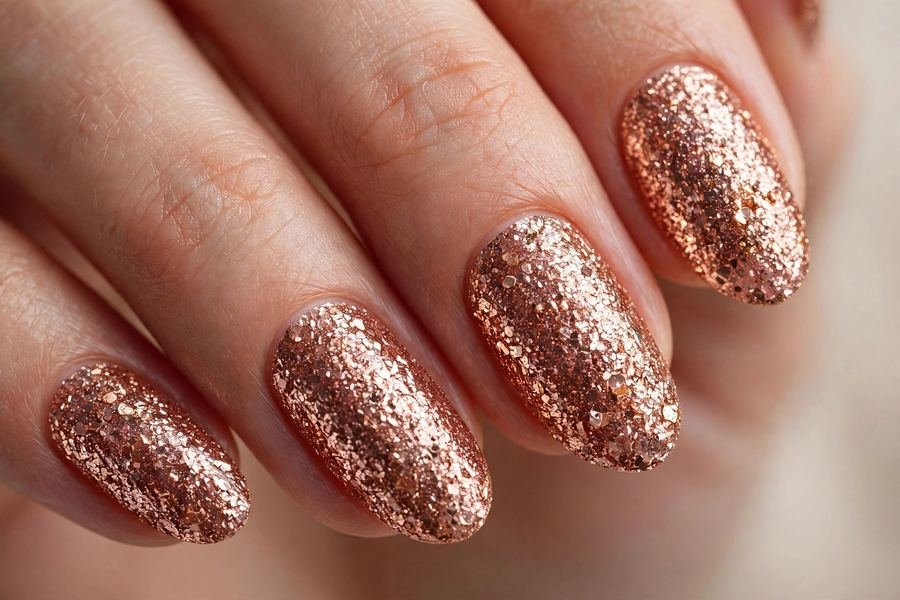
Rose gold glitter on every nail — warm, rosy, and unapologetically glamorous. It’s softer than yellow gold but just as eye-catching, and it flatters practically every skin tone.
- Fine rose gold glitter (not chunky) looks most expensive.
- Sponge application gives the densest, most even coverage.
- Almond nails + rose gold glitter = peak femininity.
- Seal well — rose gold shows texture more than deeper glitters.
It’s the glitter manicure that goes with everything pink, red, cream, or black in your holiday wardrobe. Which is to say: everything.
Rose gold’s pink undertone makes it uniquely flattering against both warm and cool skin — it’s the diplomat of metallics. If you’re gifting yourself one glitter polish this season, the versatile shade is the smart investment.
Fine glitter reads luxe while chunky reads fun — for rose gold, fine is the move. The soft pink metallic glows best when the particles are small and dense.
7. Snowy White Glitter
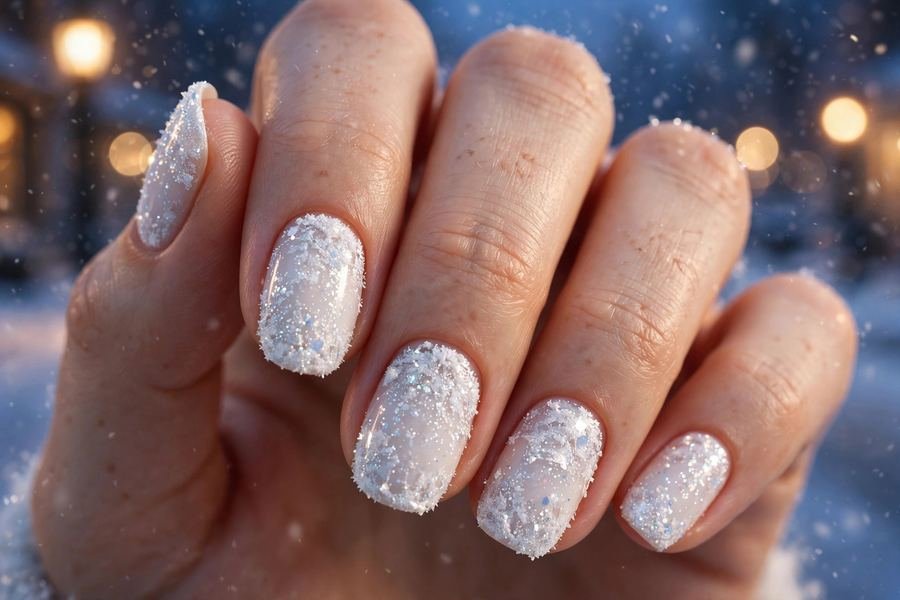
White glitter that looks like fresh snow under streetlights — soft, luminous, and magical. A white or iridescent glitter over a milky base creates a snow-dusted effect that’s pure winter wonderland.
The trick is using iridescent or aurora glitter rather than flat white — the color-shifting particles mimic how real snow sparkles with blue and pink undertones. Two coats over milky white, glossy top coat, and your nails look like they were dusted by the first snowfall.
💡 Quick Tip: Add one tiny silver rhinestone per nail as a “snowflake center” — it elevates the whole look from pretty to precious.
White glitter shows every imperfection in application, so take your time with base smoothness — a ridge-filling base coat is worth its weight in gold here. The payoff is a manicure that looks like it was done with actual snow.
Iridescent glitter over milky white mimics real snow’s blue-pink undertones far better than flat white glitter — the color shift is what makes it magical rather than merely sparkly.
8. Black and Gold Glitter Glam
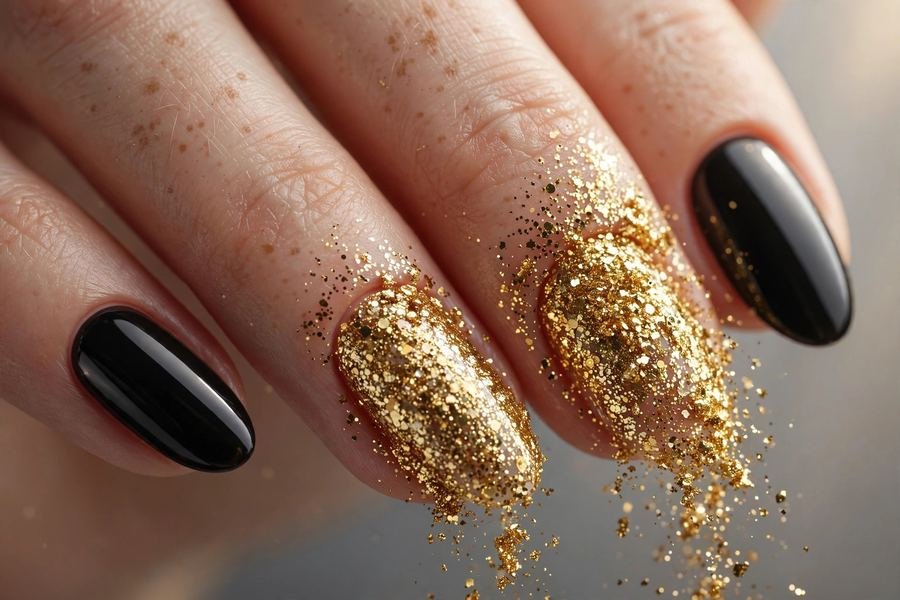
Glossy black with a avalanche of gold glitter on two accent nails — the party manicure. It’s dramatic, it’s luxurious, and it pairs with every holiday outfit from velvet to sequins.
- Keep the black truly opaque and glassy.
- Full gold glitter on ring fingers only — restraint creates impact.
- Or reverse it: gold glitter everywhere with black accents.
- This demands a glossy finish — matte would mute the drama.
Black and gold is the power couple of holiday nails. It’s bold enough for New Year’s, classic enough for Christmas, and cool enough to wear straight through January.
The black-and-gold combination is so iconic that it transcends seasons — wear it to Christmas parties, New Year’s galas, and straight through to Valentine’s date nights. Few manicures earn their keep like this one.
Keep the black glassy and the gold dense — the contrast between mirror-black and full glitter is the entire drama. Either one done halfway sinks the look.
9. Candy Apple Red Sparkle

That perfect candy-apple red — juicy, glossy, and loaded with fine red shimmer that makes it glow from within. It’s the red glitter for people who find regular red “not enough.”
Look for a jelly-red base packed with fine holographic or metallic shimmer — the jelly finish gives it that translucent candy depth that cream polishes can’t match. Two to three coats build the full candy effect. No art needed; the polish is a masterpiece on its own.
It’s the manicure equivalent of biting into a caramel apple at a holiday fair — sweet, nostalgic, and impossible to resist.
Jelly finishes build depth with each coat, so don’t rush — three thin coats of candy-apple shimmer look like glass, while two thick ones look like plastic. Patience is the difference between expensive and cheap, and it costs nothing.
Three thin coats build the true candy depth; thick coats go cloudy. Jelly formulas reward patience with a translucency that looks good enough to bite.
10. Frosted Pine Glitter Tips
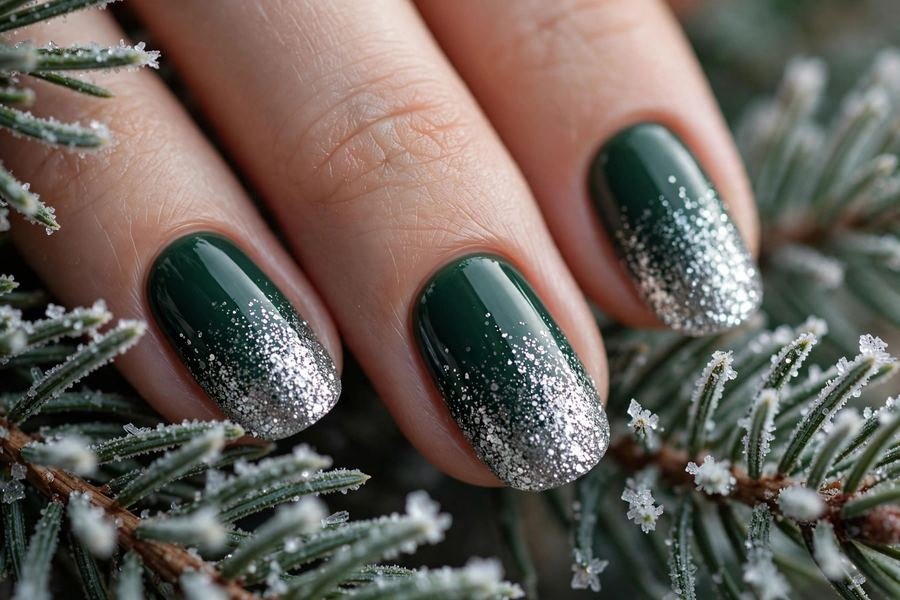
Deep green nails with silver glitter fading up from the tips — like pine branches dusted with frost. The gradient goes from dense silver at the tip to bare green at the cuticle.
- Forest or hunter green cream base.
- Sponge silver glitter onto tips, fading downward.
- Fine silver (not chunky) mimics frost best.
- Glossy top coat for an icy-wet finish.
💡 Quick Tip: This gradient is gorgeous on coffin nails — the long straight edge gives the frost room to fade naturally.
Silver frost over green is a combination that works deep into winter — long after the ornaments come down, this still reads as elegant seasonal rather than specifically Christmas. It’s the glitter gradient with the longest shelf life on this list.
Feather the silver downward with a clean dry brush after sponging — the soft fade is what separates frost from a harsh glitter line. Blending is everything.
11. Disco Ball Silver Glitter
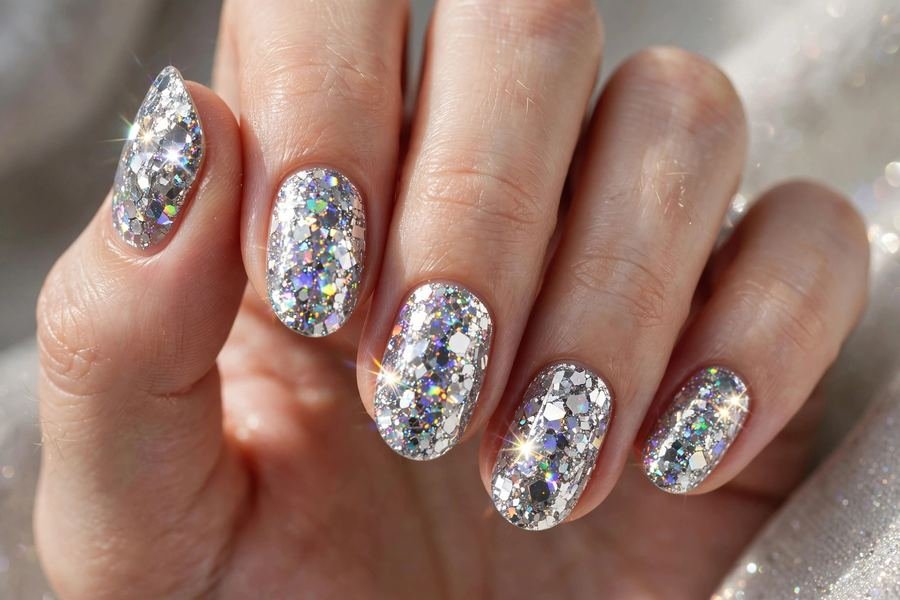
Chunky silver holographic glitter, full coverage, maximum mirror-ball energy. This isn’t subtle shimmer — it’s “my nails are a party” in polish form.
Chunky glitter needs the sandwich method: base coat, glitter polish sponged on dense, glitter-grabber or thick top coat, then final glossy top coat. The layers lock the chunky pieces flat so they reflect light like a hundred tiny mirrors instead of feeling like sandpaper.
Wear these to the loudest, brightest holiday party on your calendar. They’ll out-sparkle the disco ball — and that’s the point.
Chunky glitter and typing don’t always mix — the texture can catch on keyboards and fabrics. Two thick top coats aren’t optional here; they’re structural. Seal it like you mean it and the disco ball stays smooth.
The sandwich method is mandatory for chunky glitter: base, glitter, thick grabber coat, final gloss. Skip a layer and you’ll feel every edge for two weeks.
12. Copper Glitter Warmth
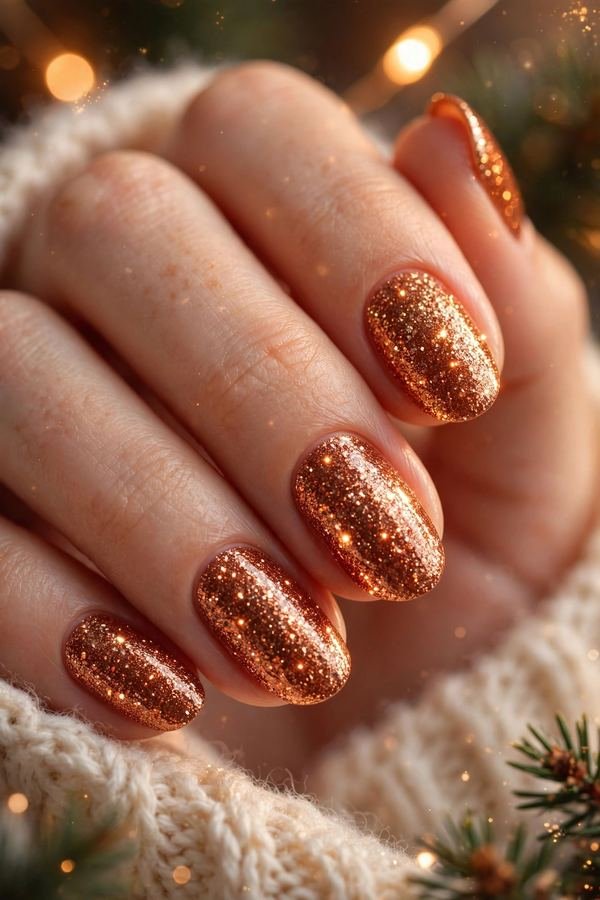
Copper glitter — that warm, penny-bright metallic — is Christmas’s most underrated sparkle. It’s cozier than gold, richer than rose gold, and it glows like firelight on every skin tone.
- Fine copper glitter reads luxe; chunky reads festive-fun.
- Gorgeous against cream, brown, and burgundy outfits.
- Try copper glitter tips over a chocolate-brown base.
- Pairs beautifully with copper and bronze jewelry.
It’s the fireplace of nail colors — warm, inviting, and quietly stunning. While everyone else reaches for gold and silver, copper is the connoisseur’s choice.
Copper is criminally underused in holiday nail art, which means you’ll have the most original sparkle at every party. While everyone else reaches for gold and silver, you’re over here glowing like firelight. Trendsetters don’t follow the metallic crowd.
Copper glows warmest against deep browns and burgundies — pair the polish with a chocolate-brown base under the glitter tips for a fireside effect. Originality looks good on you — wear it proudly.
13. Multicolor Confetti Glitter
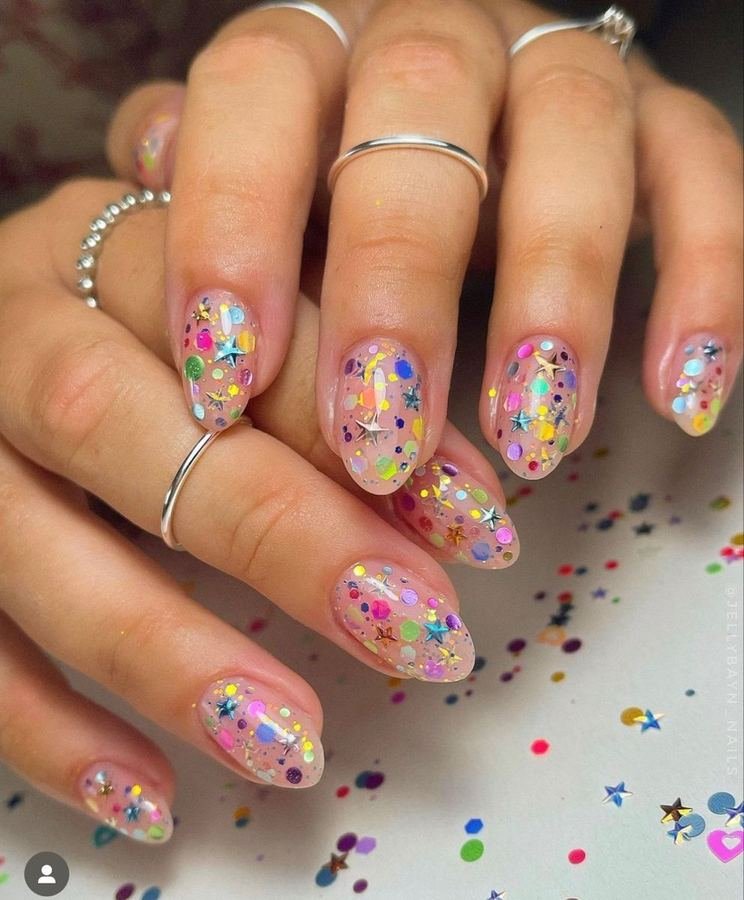
Red, green, gold, and silver glitters mixed together over a clear or nude base — like Christmas confetti frozen mid-air. Playful, joyful, and completely unapologetic.
The mix is what makes it work: use glitters in different sizes — fine, medium, and a few hex pieces — in classic Christmas colors. Scatter them over a nude base so each color pops individually. Seal with two thick top coats to bury the texture smooth.
💡 Quick Tip: This is the ultimate “ugly Christmas sweater party” manicure — the more chaotic, the better it looks.
The secret to confetti glitter that looks joyful rather than chaotic is a consistent base — nude or clear lets every color shine individually. On a colored base, the confetti competes; on nude, it celebrates.
Mix glitter sizes — fine, medium, and a few hex pieces — for confetti with real dimension. Uniform glitter looks flat; varied glitter looks like celebration.
14. Icy Blue Chrome Sparkle
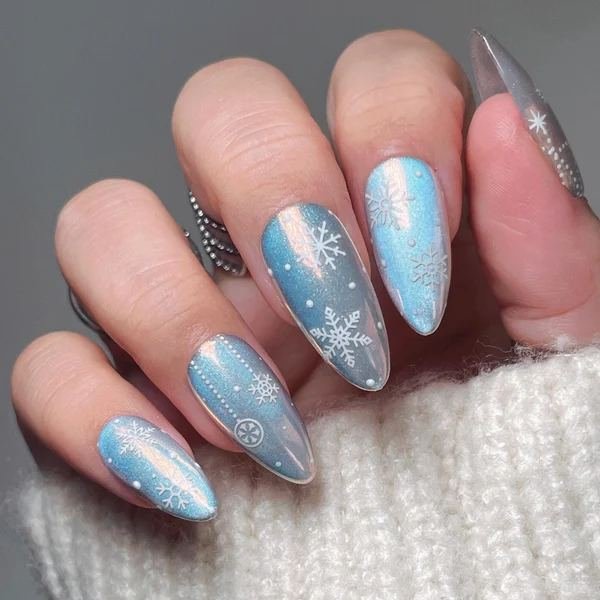
Ice-blue chrome with a holographic topper — nails that look carved from a glacier and dusted with diamond powder. It’s the coldest, coolest sparkle on this list.
- Chrome powder over a blue base gives the smoothest mirror finish.
- Holographic topper adds the diamond-dust sparkle.
- Seal chrome carefully — it dulls without proper top coat.
- Almond or stiletto shapes maximize the icy drama.
It’s futuristic frost — Christmas meets sci-fi, and somehow it works perfectly. The blue chrome shifts from ice to deep winter sky as you move, and the holo sparkle never stops.
Chrome application is unforgiving of rushed prep — buff smooth, apply base evenly, and burnish the powder thoroughly. The mirror finish magnifies every flaw underneath, but rewards perfect prep with a result that looks genuinely otherworldly.
Burnish chrome powder thoroughly with a silicone tool — under-burnished chrome looks dusty, fully burnished looks like liquid metal. The difference is all in the rubbing.
15. Gold Leaf and Glitter Combo
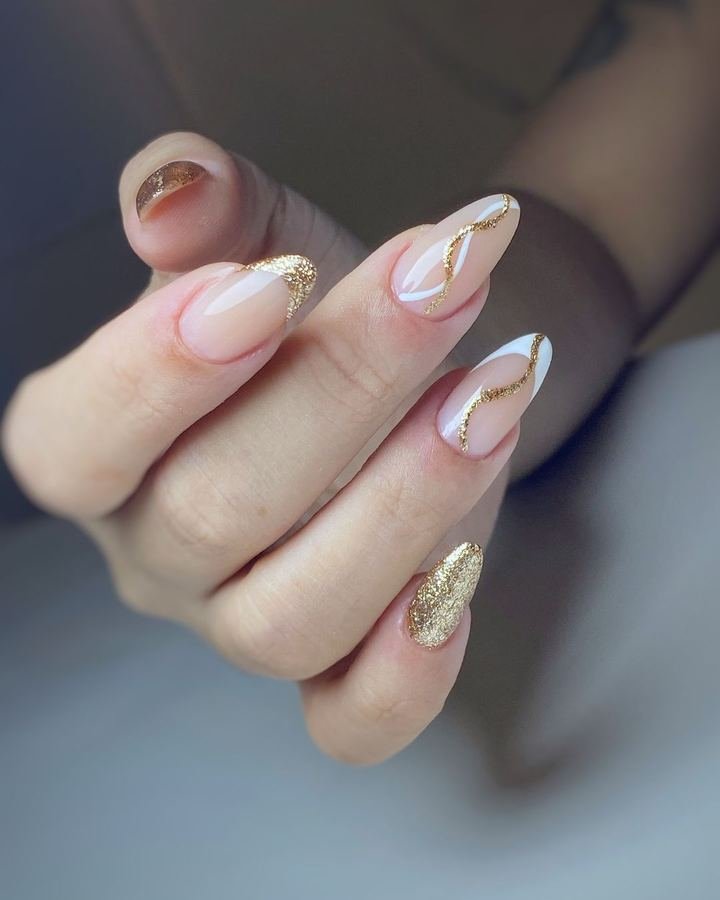
The grand finale: deep burgundy or black base, gold glitter fading from the cuticle, and actual gold leaf flakes scattered on top. Two kinds of gold, one unforgettable manicure.
Layer it: base color, glitter gradient sponged at the base, gold leaf pressed on while tacky, then buried under two glossy top coats. The glitter gives overall glow; the leaf gives irregular flashes of real metallic brilliance. Together they’re pure opulence.
End the list with the most luxurious design — because if you’re going to sparkle, you might as well sparkle. Merry Christmas, gorgeous.
Layering two gold finishes — glitter and leaf — creates a depth that single-finish manicures can’t touch. It’s the nail equivalent of layering necklaces: each element is pretty alone, but together they’re unforgettable. Go out sparkling.
Work one nail at a time with leaf — press it onto tacky polish within sixty seconds or it won’t adhere. Leaf waits for no one, so keep your rhythm steady.
CONCLUSION
And that’s 15 ways to out-sparkle the Christmas tree itself. Whether you went full gold glitter bomb, icy holographic frost, or warm copper glow, your nails are officially the shiniest thing in every room you enter. Wear them proudly all season long. 📌 Save this post to your nails board on Pinterest so you have festive inspiration ready!