
20+ Simple Cute Winter Nails — Easy DIY Ideas 2026
Here’s the truth about cute winter nails: the simplest designs are often the prettiest. You don’t need nail-art skills, a salon budget, or an hour of free time — most of the looks below take ten minutes, one or two polishes, and zero artistic talent.
This list is built for real life. Every design is beginner-friendly, uses tools you probably already own (or can grab for a few dollars), and still delivers that polished winter look. Think of it as maximum cuteness, minimum effort.
Below are 20 simple, cute winter nail ideas you can genuinely DIY at your kitchen table — even if you’ve never done nail art before in your life. Grab your polish, clear a little space, and let’s get your nails winter-ready.
1. One-Coat Deep Winter Red
Sometimes the simplest answer is the right one. A single rich red — deep cherry, cranberry, or classic winter crimson — in a glossy finish is the easiest cute winter nail look that exists. The trick is choosing a formula with serious pigment: a good one-coater like DND, Beetles gel, or a rich creme polish means you genuinely only need one or two coats.
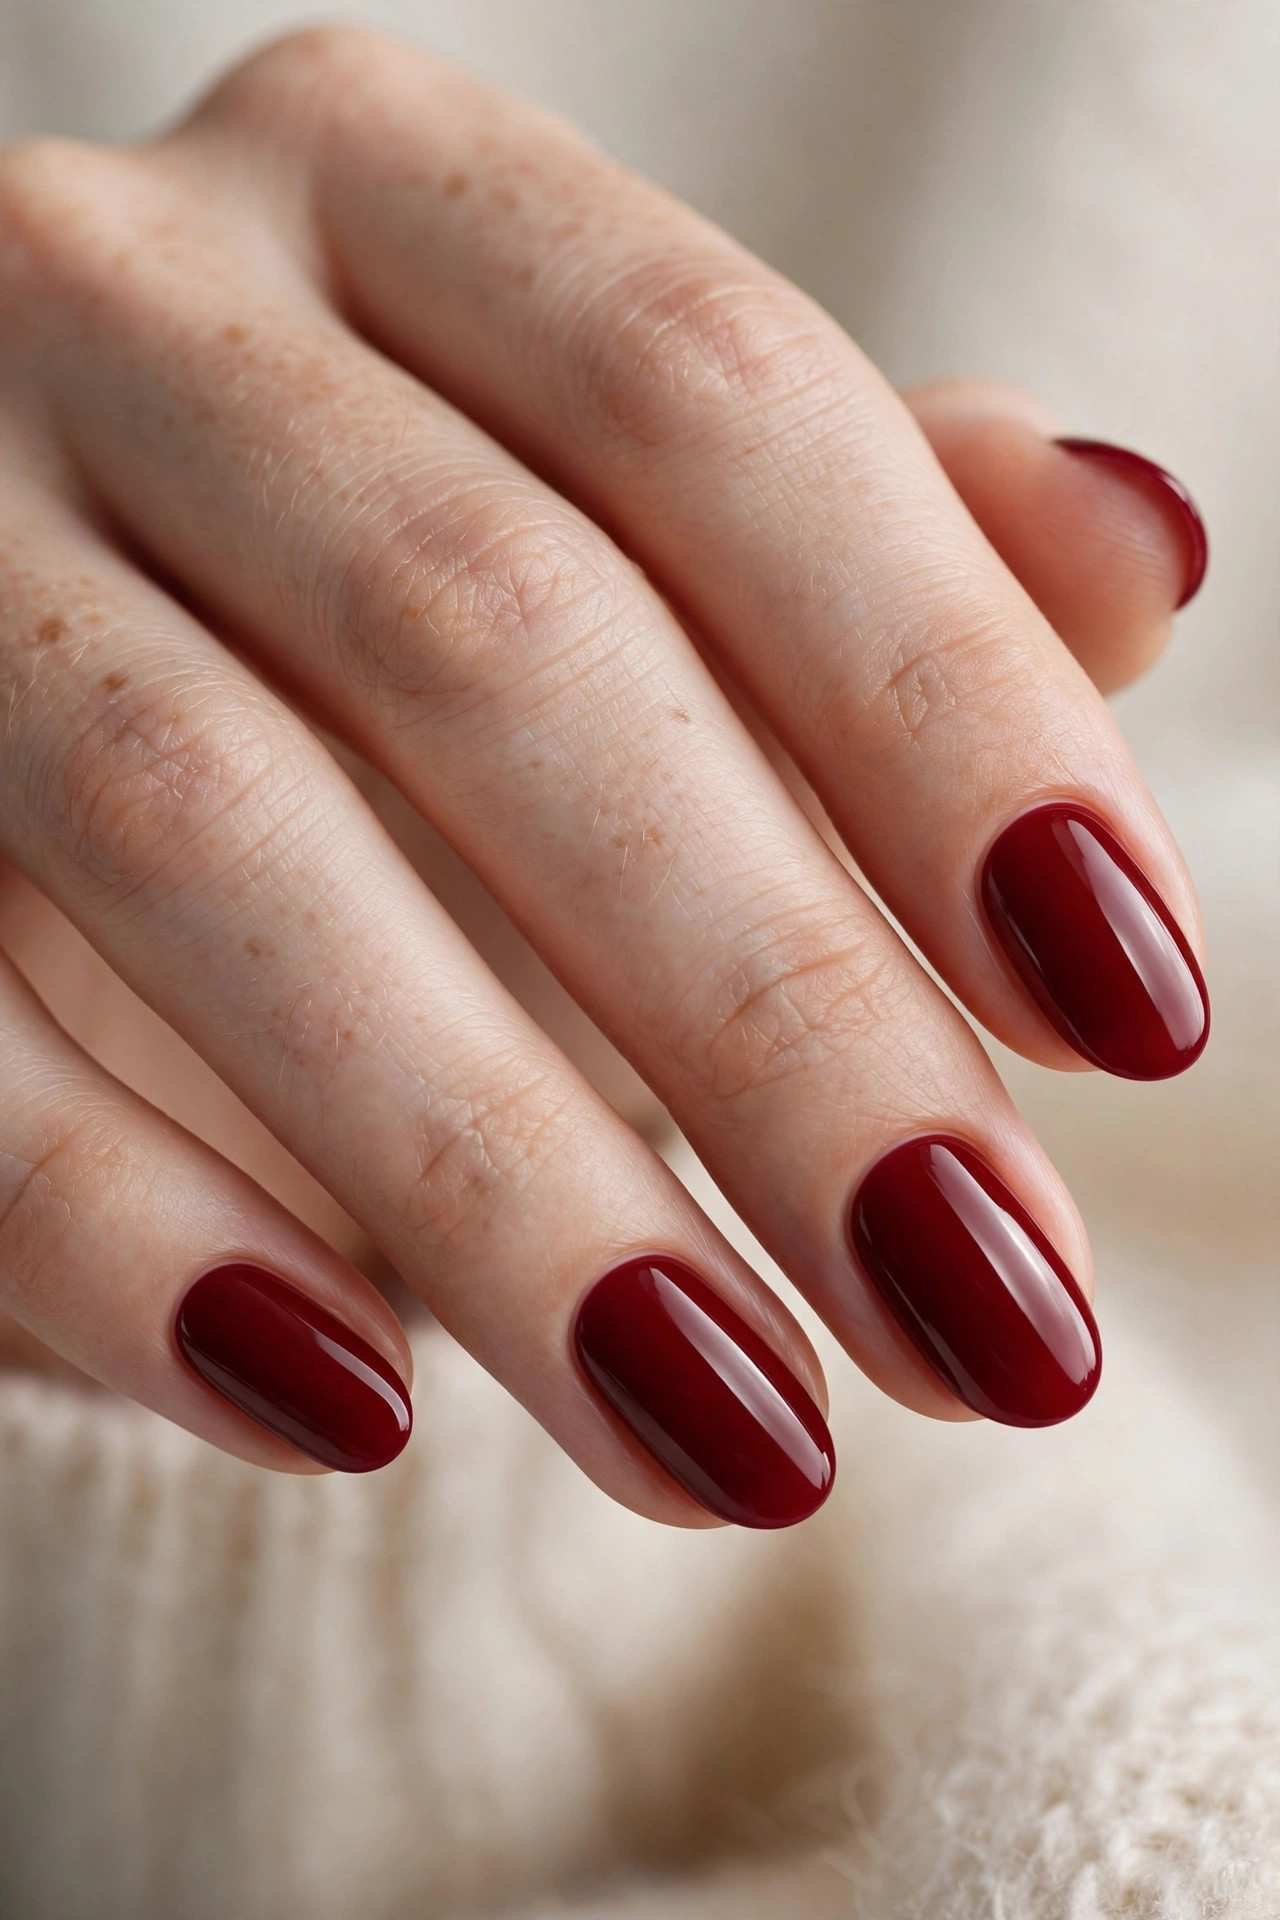
Prep matters more than skill here. Push back your cuticles, file into a clean almond or oval shape, and apply a ridge-filling base coat — a smooth canvas makes a one-coat color look twice as expensive. Cap the free edge (run the brush along the tip) to prevent chips, and finish with a gel-effect top coat for that salon shine. Red flatters every skin tone and every outfit, which is exactly why it’s survived every trend cycle. It’s also the fastest manicure here — base, color, top coat, done in under ten minutes.
2. Glitter Topper Over Nude
This is the two-step manicure that looks like you tried much harder than you did. Paint your nails with a nude polish close to your skin tone, let it dry, then add one coat of a fine glitter topper over the whole nail. That’s it. The nude keeps it classy; the glitter makes it winter.
- Best topper: Fine silver, champagne, or iridescent glitter — chunky pieces look less elegant.
- Nude shade: Match your skin tone so regrowth is invisible for up to two weeks.
- Removal tip: Glitter is stubborn — use the foil-and-acetone soak method, not scrubbing.
- Upgrade: Two coats of topper on the ring fingers for a subtle accent effect.
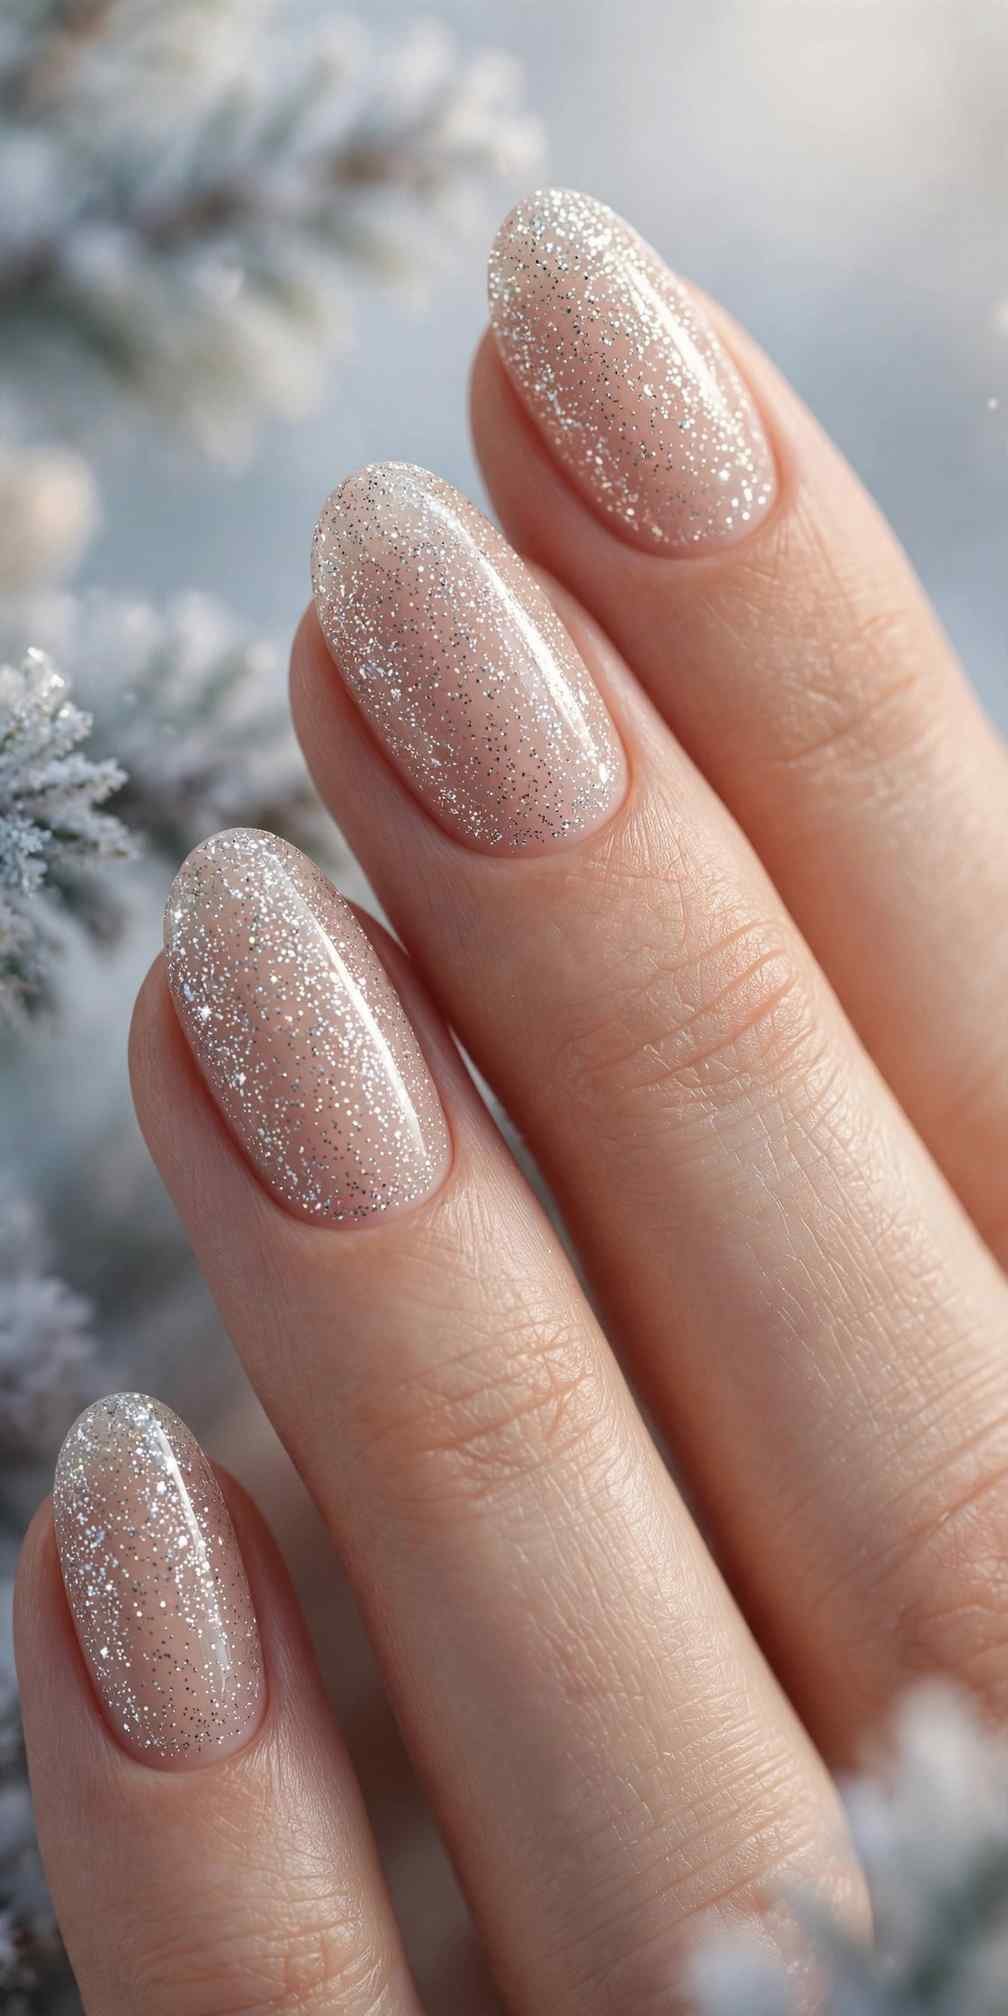
What makes this so wearable is the restraint — it’s sparkle you can take to the office, the classroom, or a job interview. The glitter catches light when you move but reads as polished nude from across the room. Keep a bottle of the topper in your bag for mid-week touch-ups; one fresh coat revives the whole manicure in seconds.
3. Stick-On Snowflake Decals
Nail stickers are the ultimate beginner hack, and snowflake decals are the easiest winter art you’ll ever “paint.” Start with any base color — deep blue, burgundy, nude, or even plain white — let it dry completely, then place one snowflake decal on each ring finger using tweezers. Seal with two coats of top coat and done.
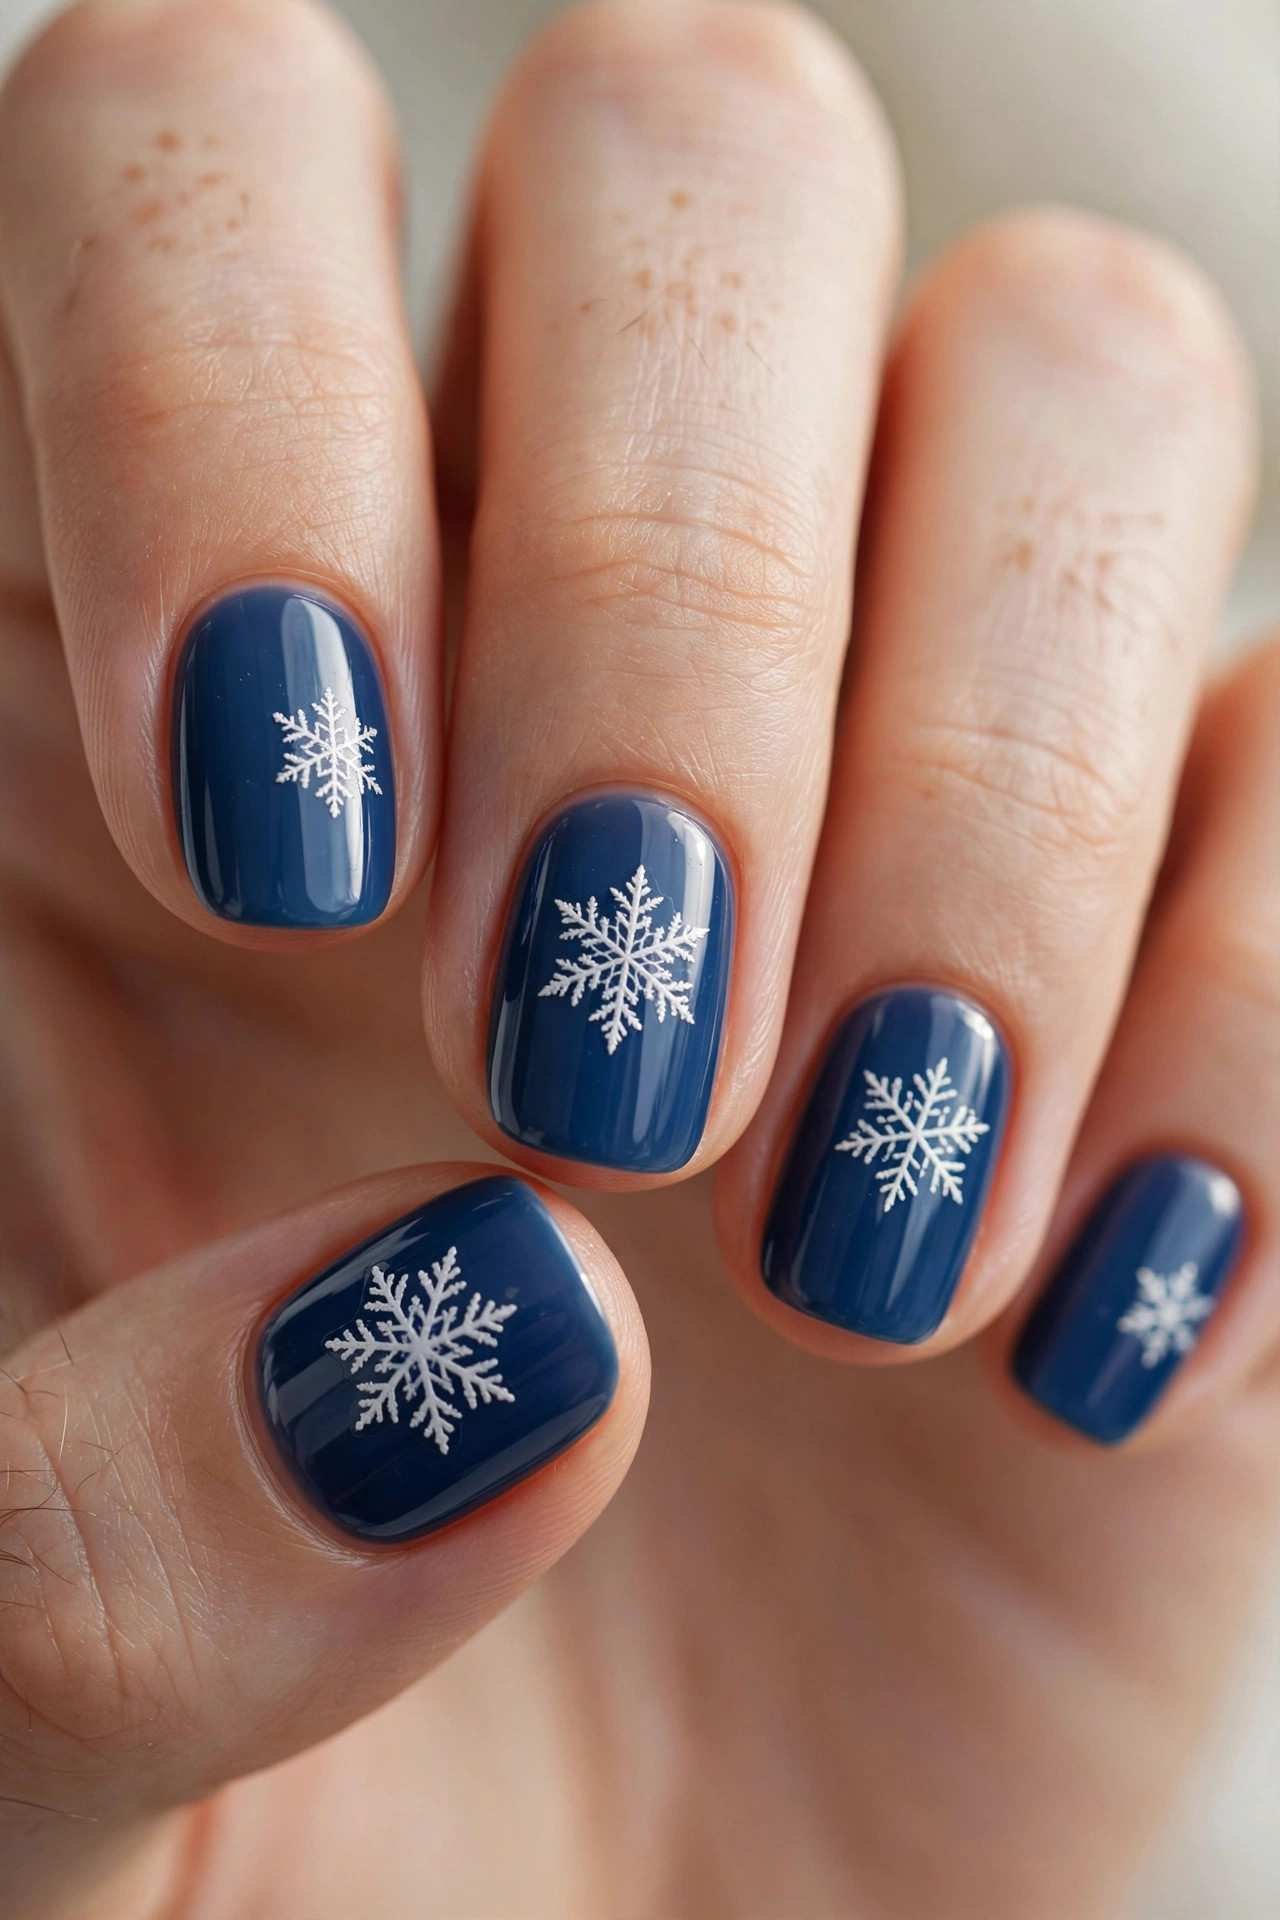
The secret to stickers that look hand-painted is placement and sealing. Position the decal slightly off-center for a modern feel, press out any air bubbles with an orange stick, and make sure your top coat fully covers the decal edges — that’s what melts it into the polish. Quality matters: ultra-thin decals from nail-art brands conform to the nail curve far better than thick craft stickers. One sheet costs a few dollars and covers dozens of manicures.
💡 Quick Tip: Apply decals over a fully dry base — even slightly tacky polish will wrinkle under the sticker.
4. The Easiest Frosted French
The French manicure got a winter update, and it’s easier than the original. Instead of stark white tips, use a soft frosty white or pale shimmer shade on the tips over a sheer pink base. The softer color is more forgiving of wobbly lines — which is exactly why beginners should try this version first.
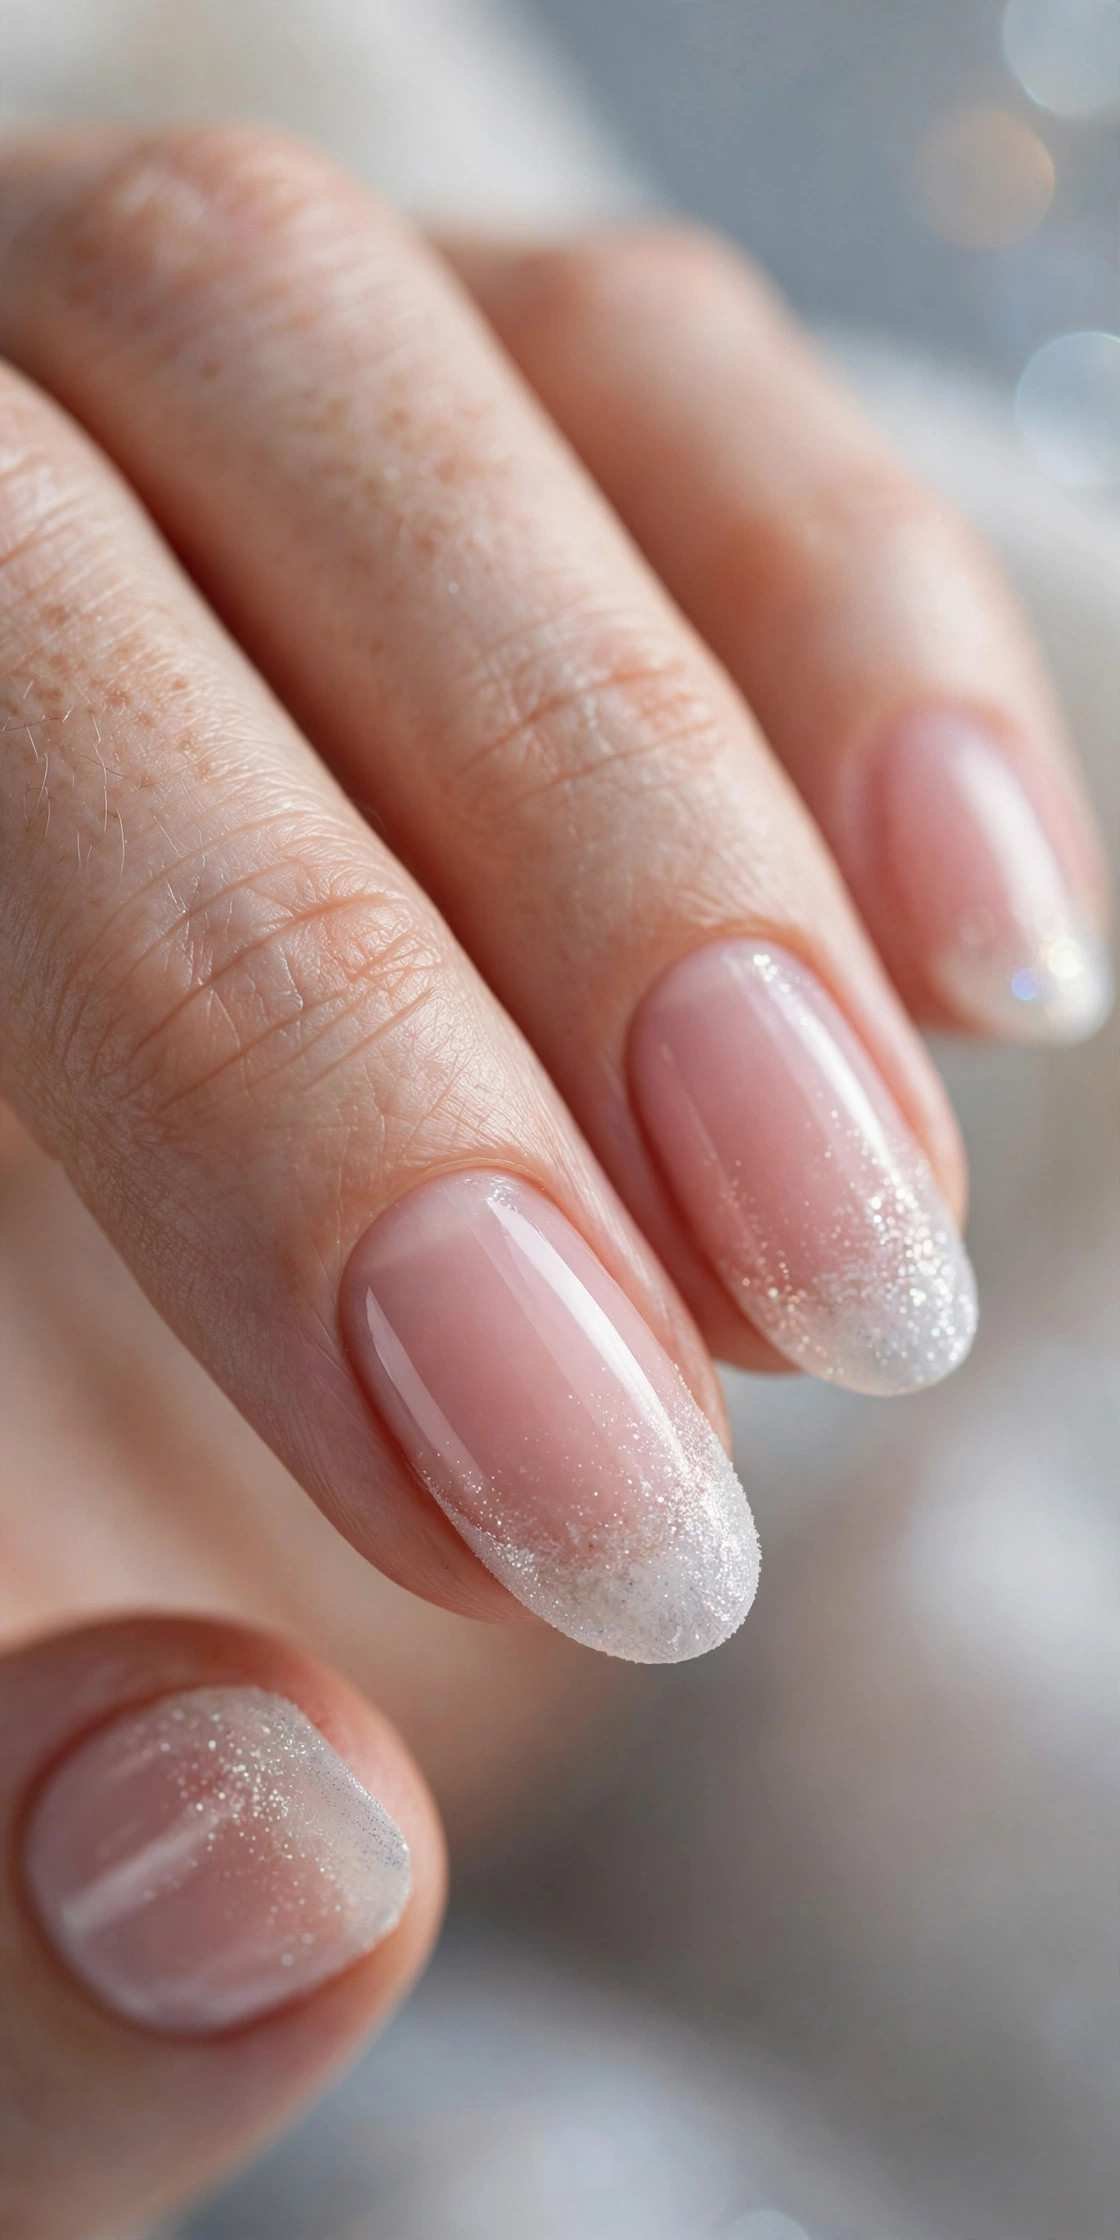
French tip guide stickers are your best friend here. Stick them just below where you want the smile line, paint the tip, and peel the guide off while the polish is still slightly wet for the crispest edge. Keep the tip band thin on short nails — a thick white band shortens the look of your fingers. Practice on one nail first; once you nail the smile line, the other nine go quickly. This design is timeless enough for work, pretty enough for parties, and simple enough to redo at home whenever it chips. Keep the tip band thin and the base sheer — that balance is what makes it look expensive.
5. One Glitter Accent Nail
- The concept: Nine nails in a simple solid color, one ring finger in full glitter. Instant interest, almost zero effort.
- Best combos: Nude + gold glitter, navy + silver glitter, burgundy + champagne glitter.
- Application: Two coats of glitter polish on the accent — glitter formulas need the extra coat for full coverage.
- Shape: Works on every length and shape; shorter nails look especially chic.
- Why beginners love it: If the glitter nail isn’t perfect, it’s just one nail — and glitter hides everything anyway.
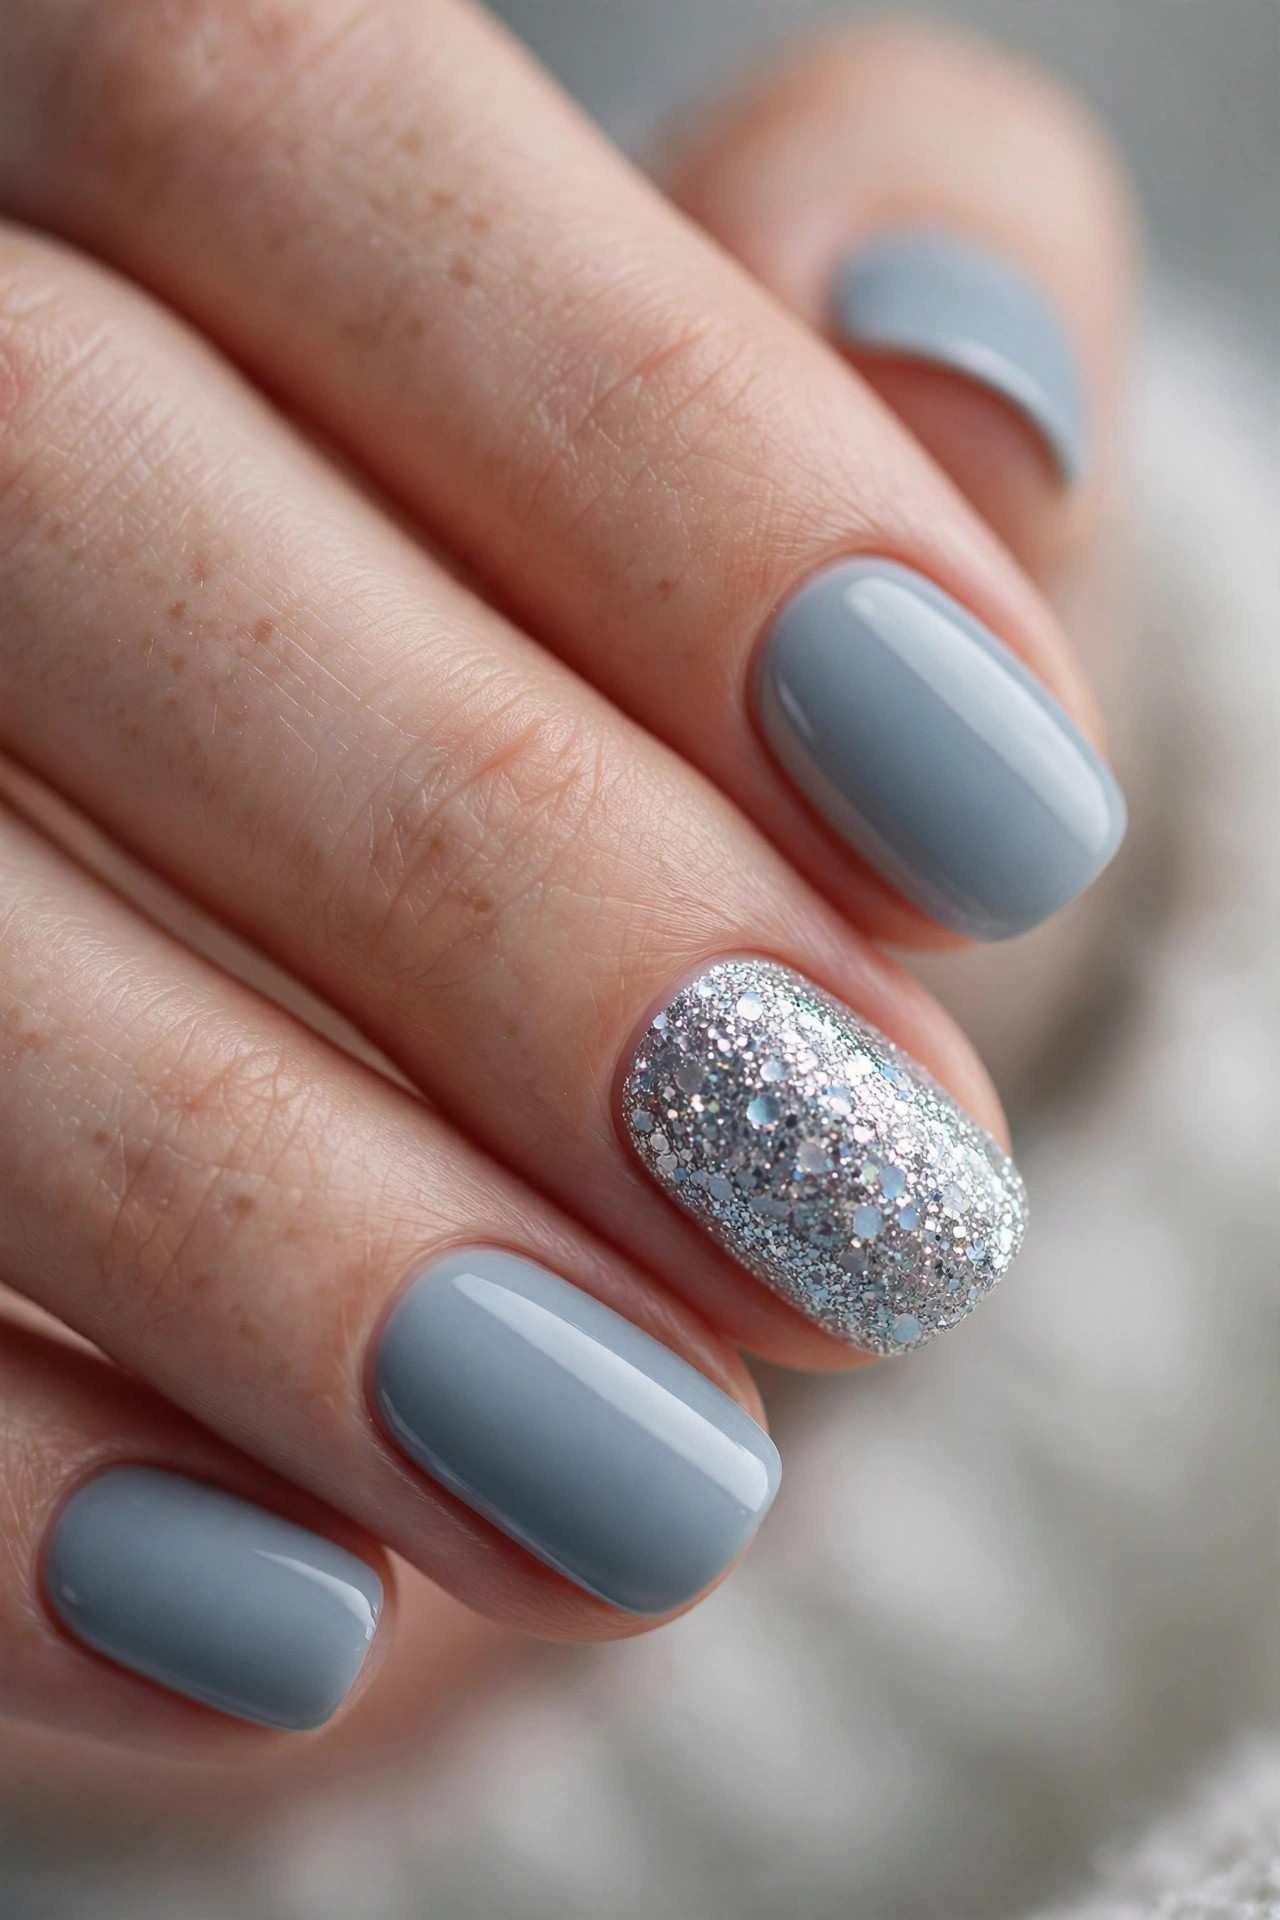
The accent nail is the oldest trick in the DIY book because it works every single time. Your solid color can be the easiest one-coat polish you own, and the glitter nail does all the talking. It’s also the perfect way to use up that glitter polish sitting in your drawer — one nail per manicure means the bottle lasts forever.
📌 Good To Know: Peel-off base coat under the glitter nail makes removal painless — the glitter pops right off when you’re done.
6. Dotted Snowfall on Navy
If you can dot a pen on paper, you can do this design. Paint your nails deep navy blue, then use the rounded end of a bobby pin or a toothpick dipped in white polish to dot tiny “snowflakes” across each nail. Vary the sizes — bigger dots near the cuticle, tiny ones toward the tip — and scatter them randomly like real falling snow.
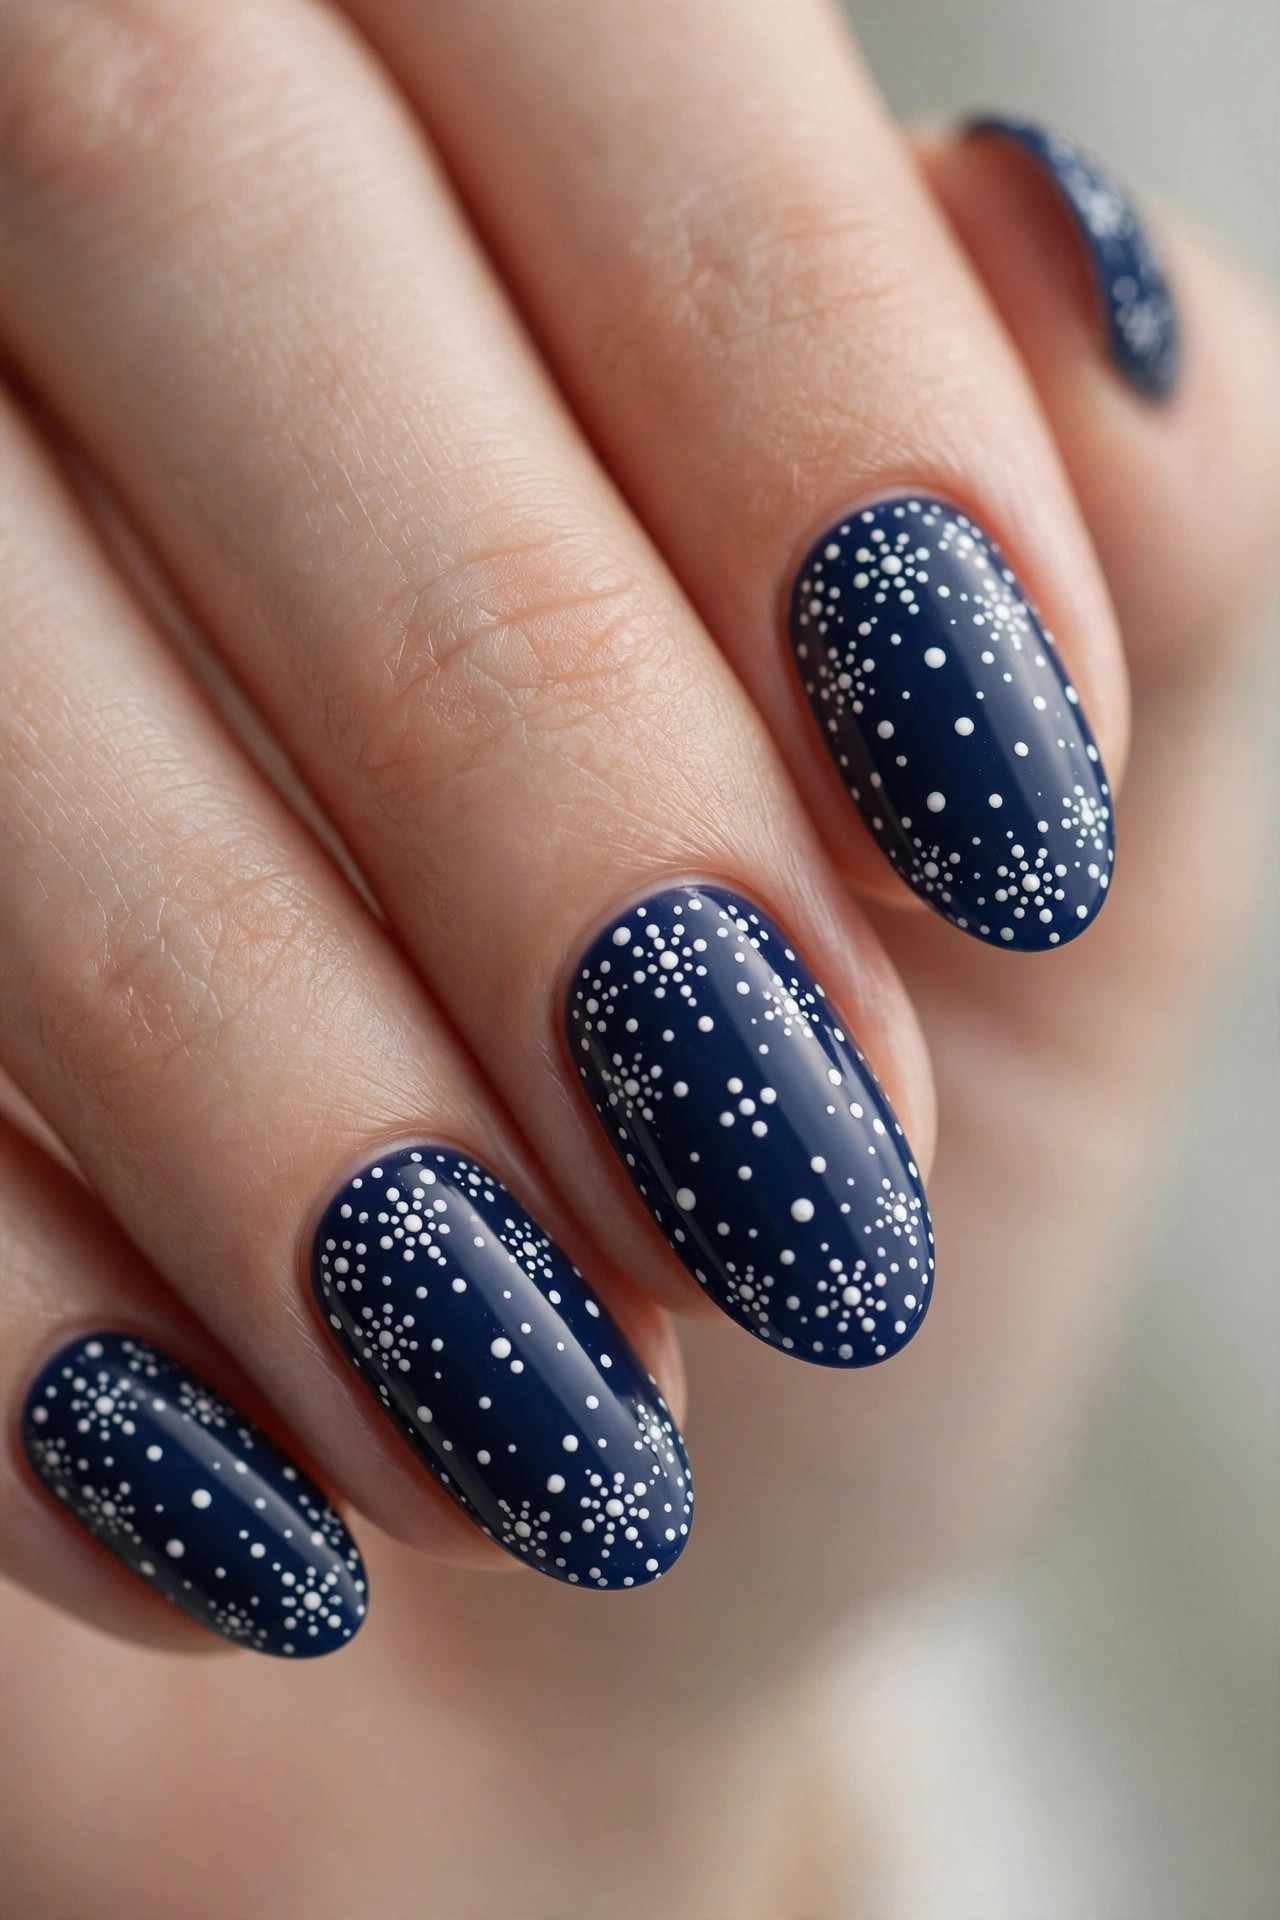
The randomness is what makes it look good — don’t line the dots up in rows or patterns. Dip your tool, touch lightly, and lift straight up; pressing too hard makes blobs instead of dots. Let the dots dry fully before top coat, or they’ll drag and smear. This takes about five minutes of actual art time and looks genuinely charming, like snow caught mid-fall against a night sky.
⚠️ Watch Out: Wipe your dotting tool clean every few dots — dried polish on the tip makes the dots lumpy and uneven.
7. Matte Navy, Nothing Else
Here’s a design with literally one step after your base color: matte top coat. Paint your nails any deep navy, let it dry, then seal with a matte top coat instead of glossy. The transformation is dramatic — glossy navy is classic, but matte navy is velvety, modern, and quietly striking.
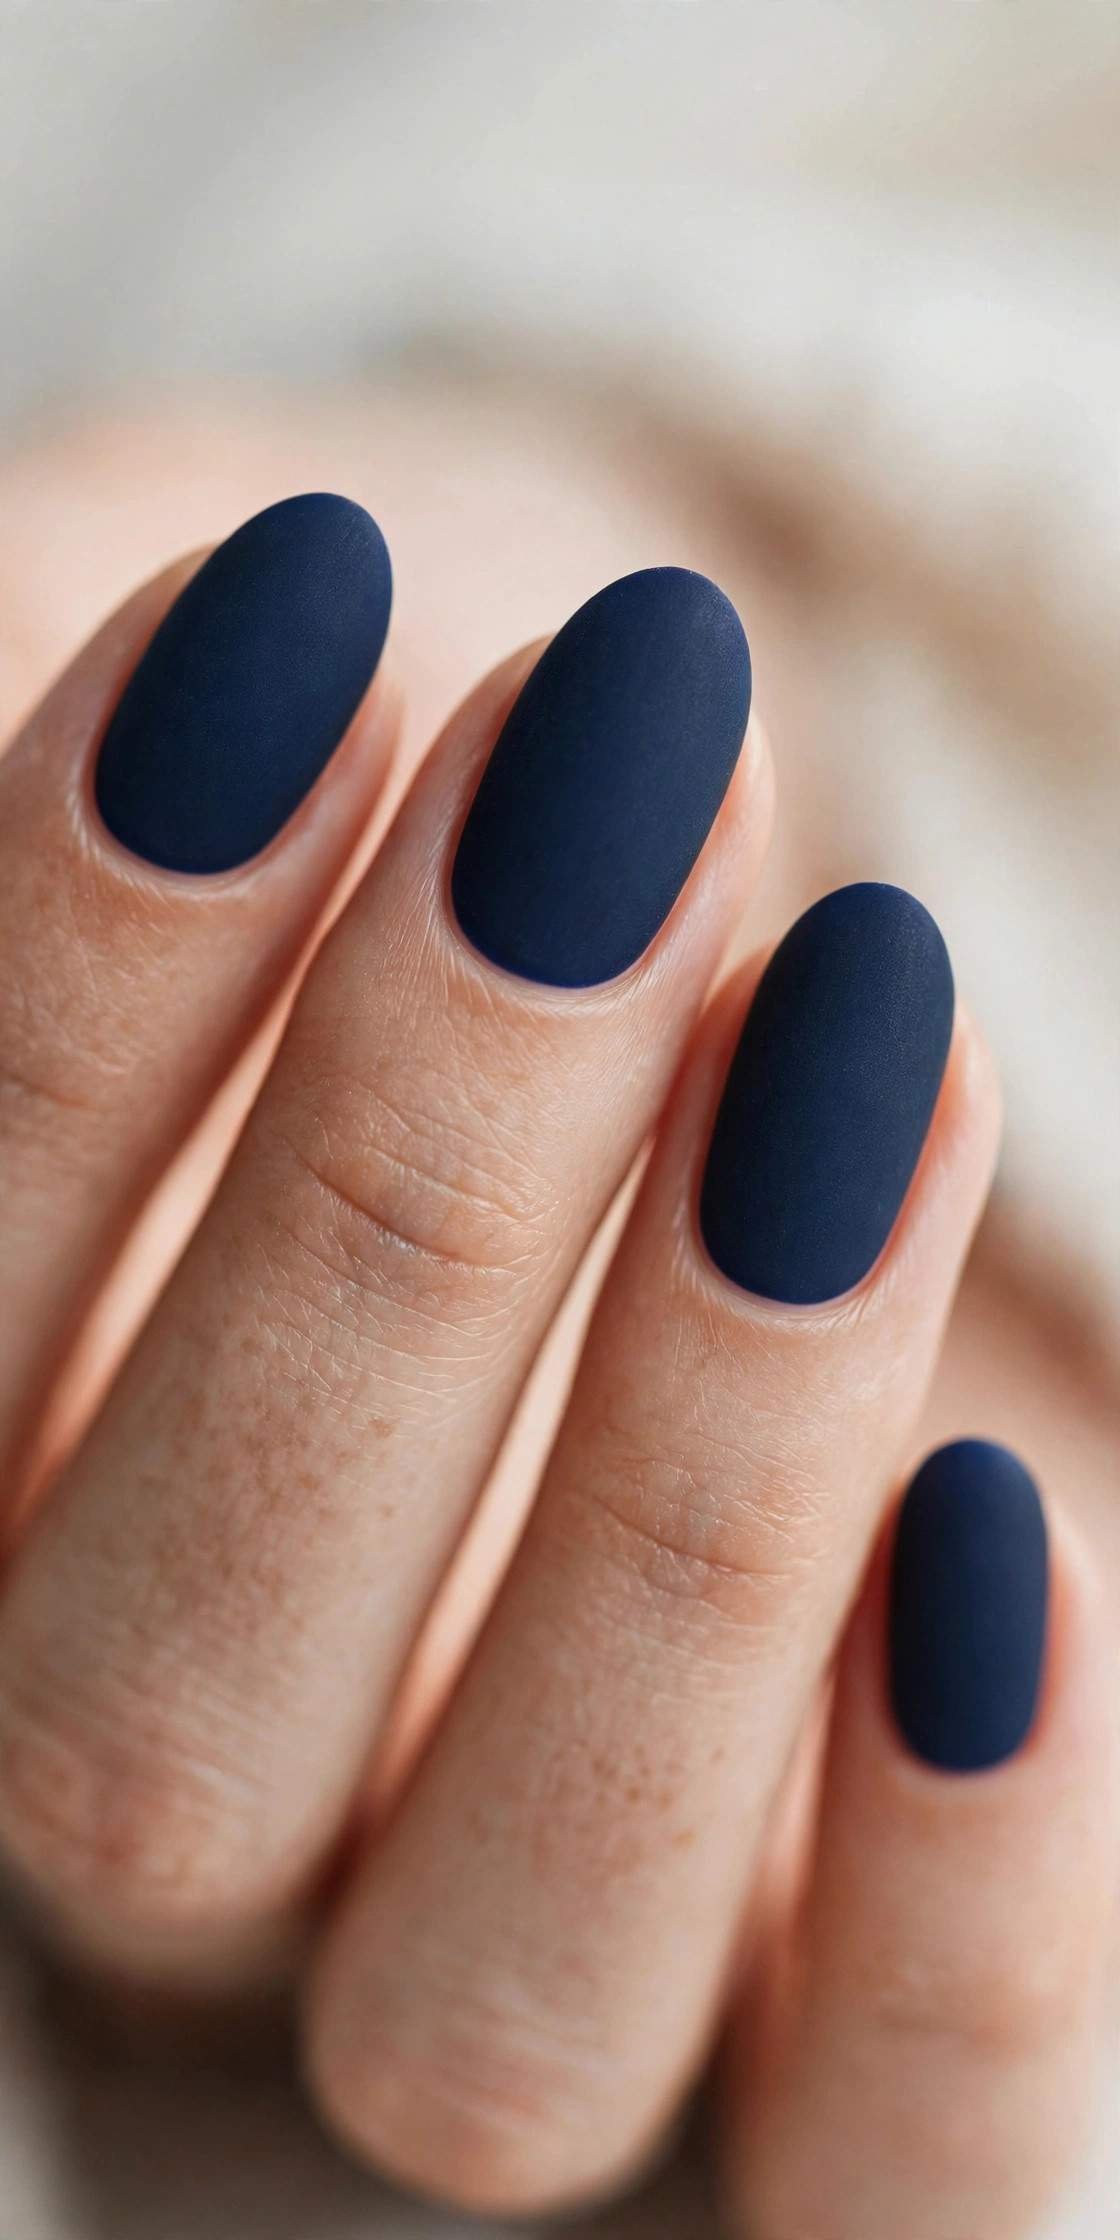
Matte finishes make any color look more intentional and high-fashion, which is why this counts as a “design” despite being a single color. Navy is the perfect candidate because the matte texture deepens it to an almost-black richness. For extra interest, add a single glossy top-coat stripe down the center of each nail — matte and shine on the same color is subtle but striking. One practical note: matte shows chips faster than glossy, so cap the free edge well. And apply hand cream with the backs of your hands — moisturizer oils create shiny patches on matte polish that ruin the effect.
8. Minimal Silver Line Art
- The look: A nude or sheer base with one thin metallic silver line — vertical, diagonal, or along the cuticle.
- Easiest method: Silver striping tape. Cut a thin strip, press it on, trim the excess, seal with top coat.
- Freehand option: A silver nail-art pen gives you a steady, controlled line in one stroke.
- Placement ideas: One vertical line down the center, or a single diagonal slash across each nail.
- Why it works: Negative space + one metallic detail reads as expensive minimalism.
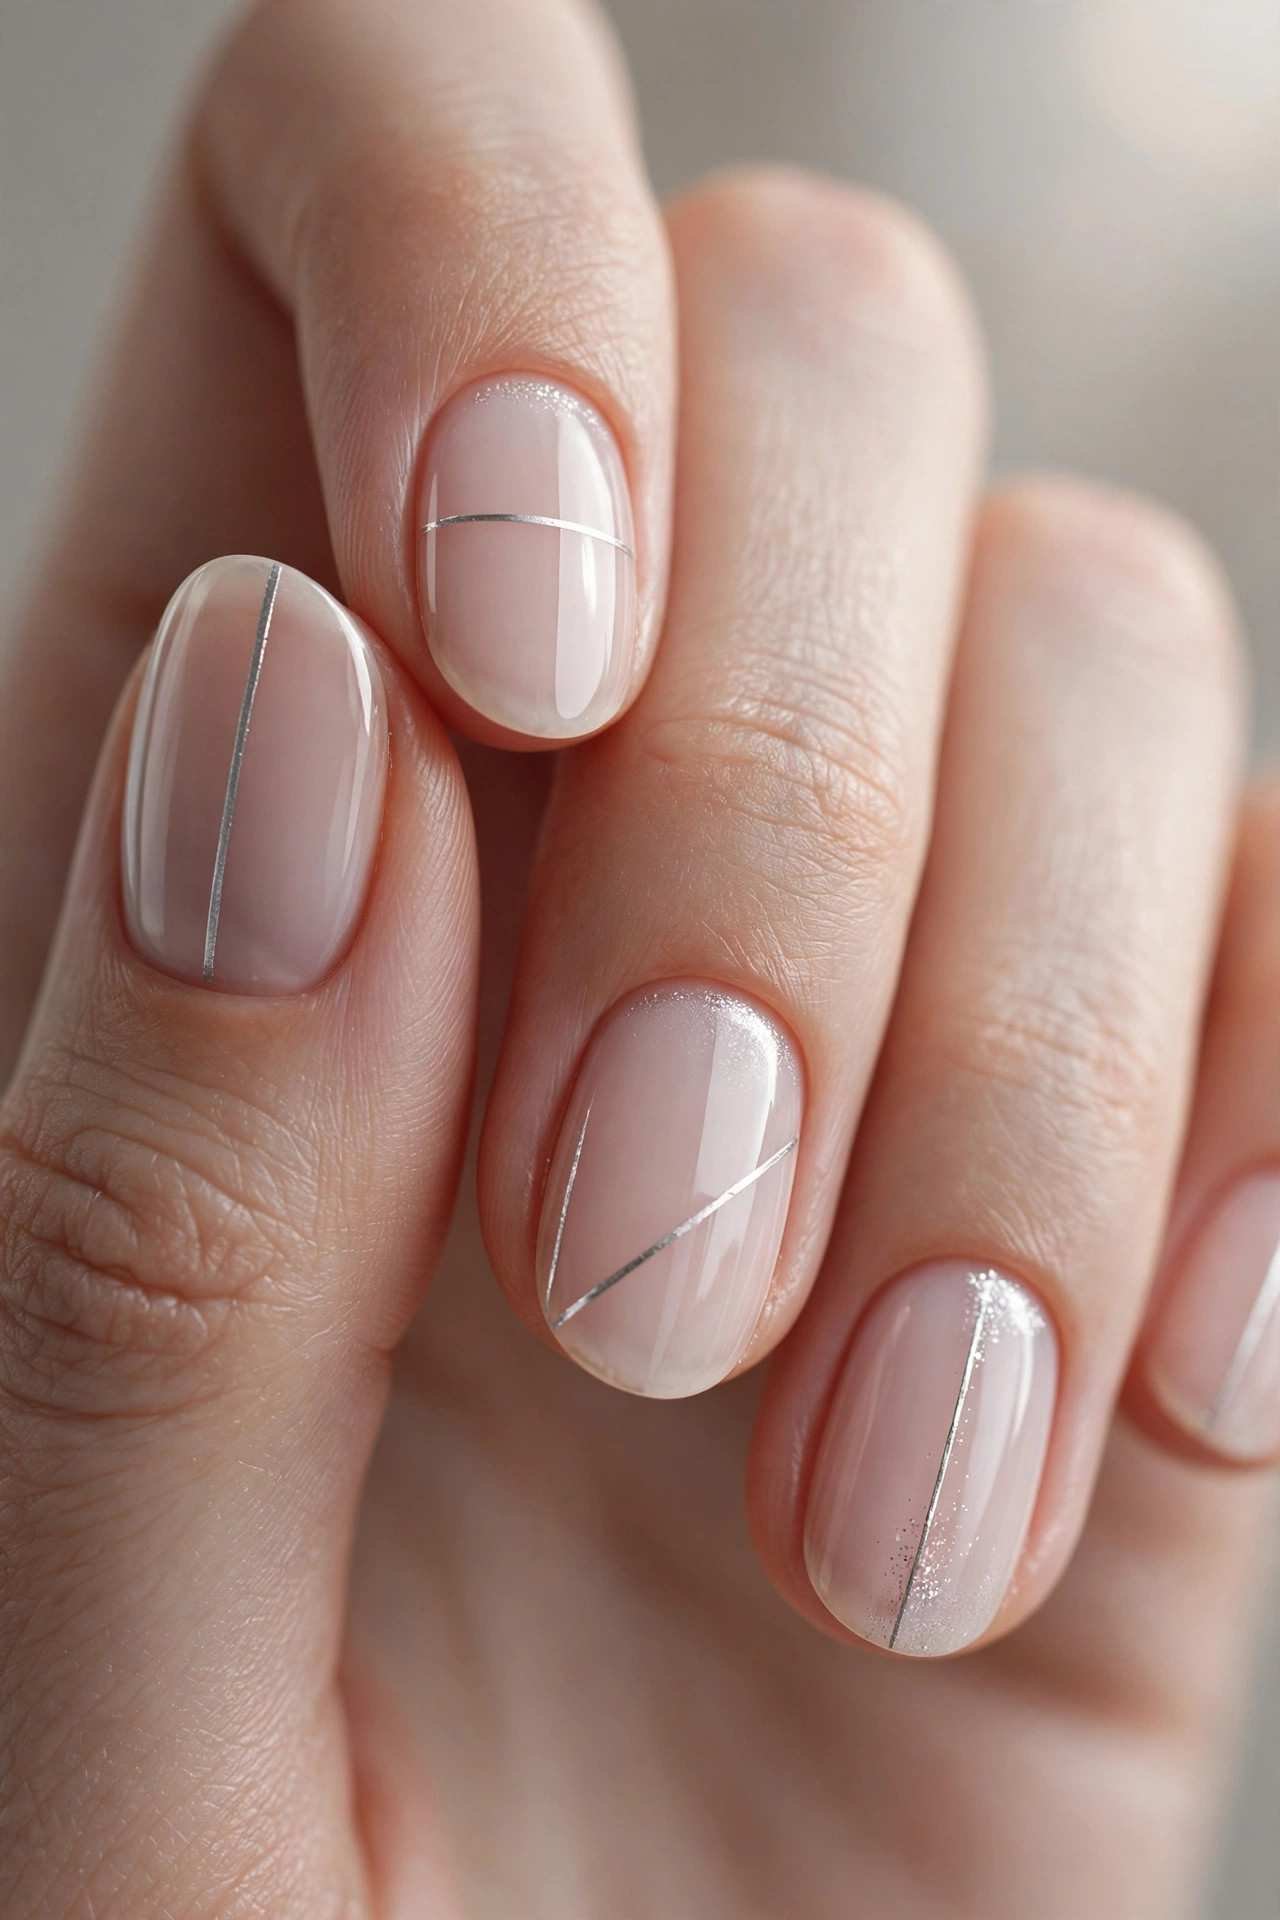
This is the manicure for minimalists who still want a little winter sparkle. The single line is graphic and modern — it looks like something from a high-end salon, but striping tape makes it genuinely foolproof. Keep the rest of the nail completely clean; the power of this design is in its restraint. It also grows out beautifully since the art sits away from the cuticle, buying you extra days between manicures.
9. Winter Press-Ons in Minutes
Let’s be honest: press-on nails are the ultimate DIY shortcut, and winter sets have gotten incredibly good. Pre-designed sets with snowflakes, glitter fades, and frosty finishes cost less than a salon tip and take about ten minutes to apply. Size each nail, add a drop of glue or adhesive tab, press for thirty seconds, and you’re done.
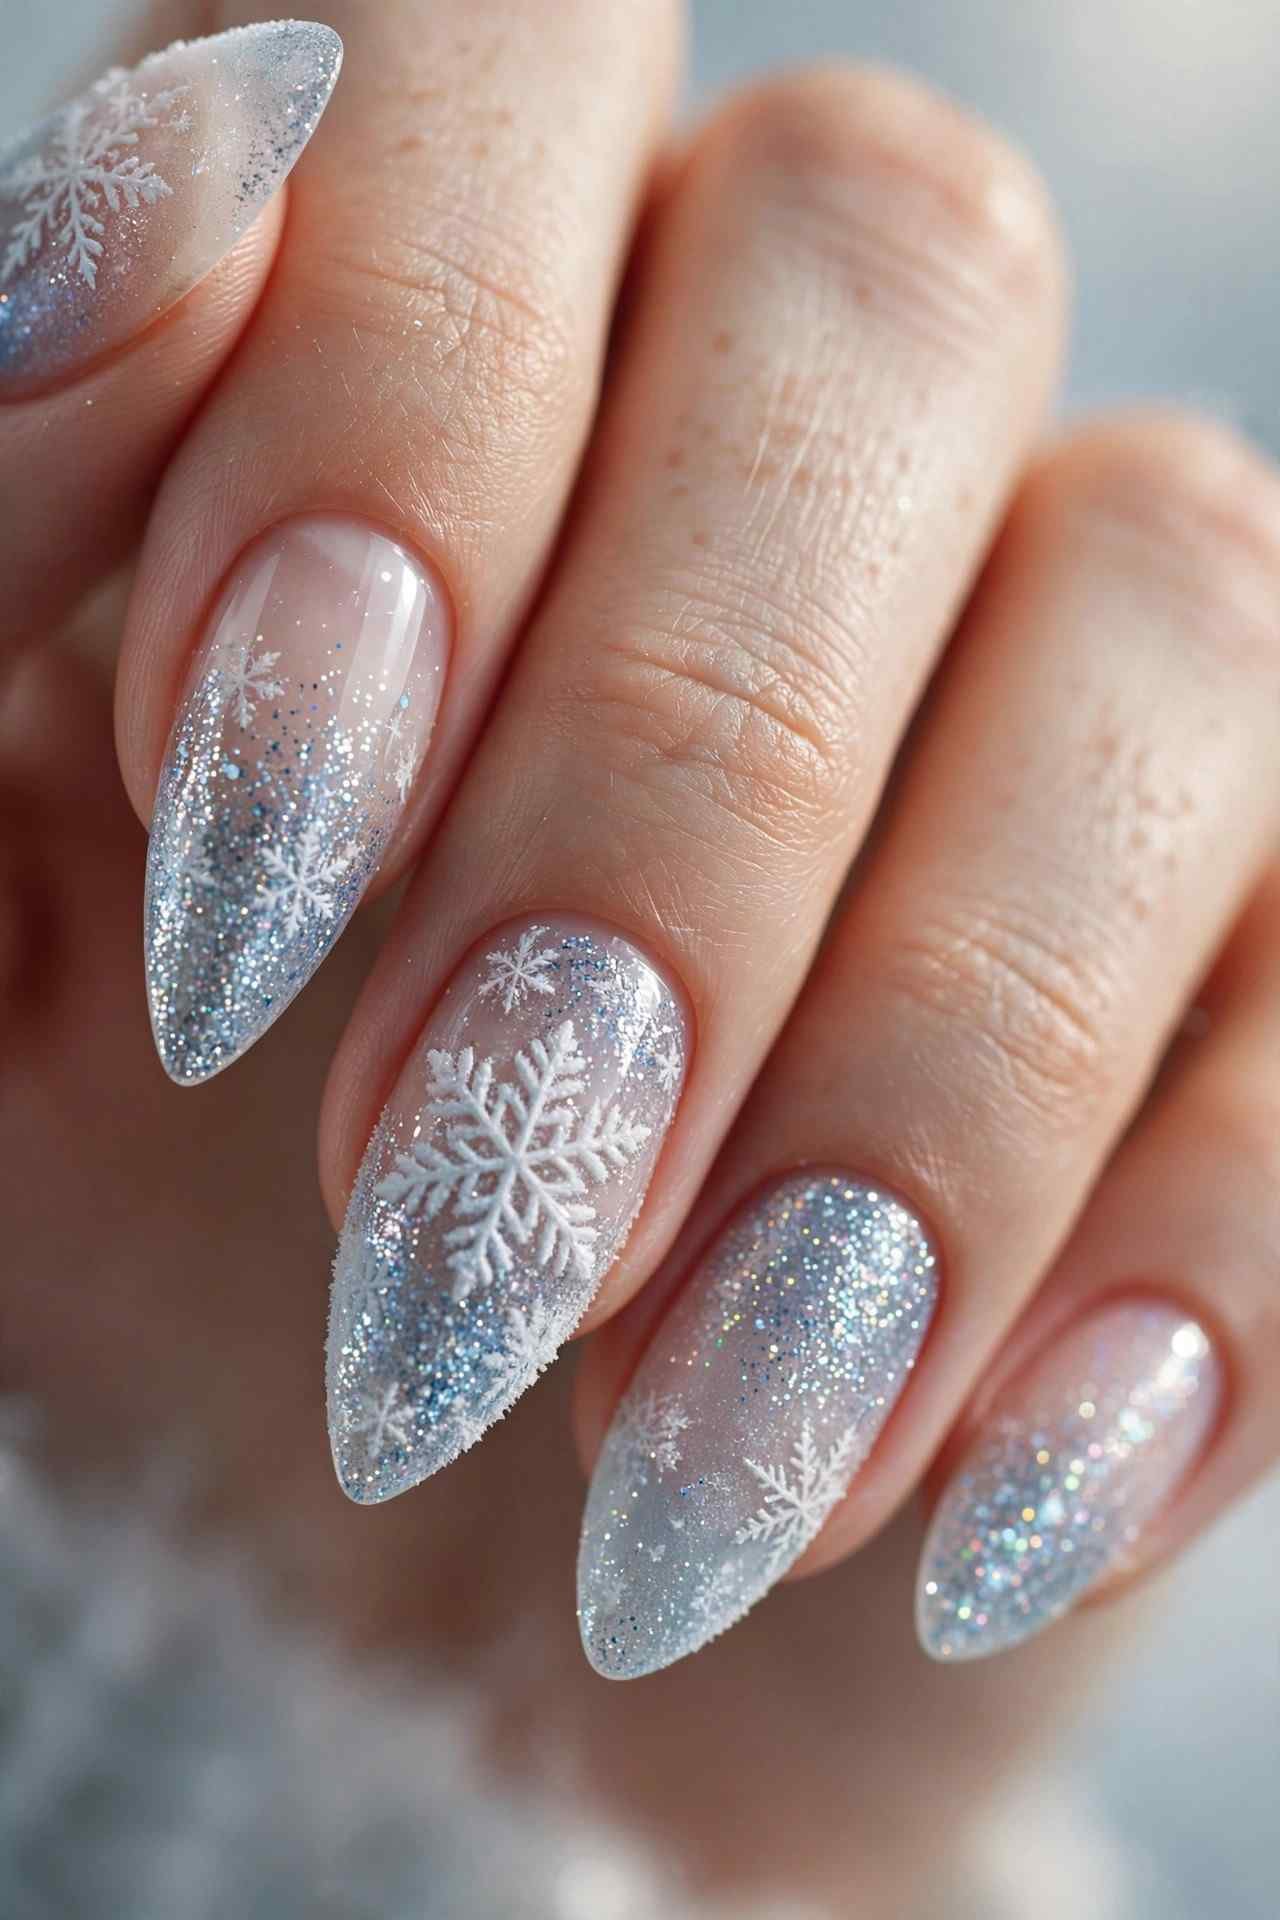
For longest wear, prep is everything: push back cuticles, gently buff the nail surface, wipe with alcohol, and use proper nail glue rather than the included tabs if you want a full week. File the press-ons into your preferred shape before applying — it’s much easier than filing them on. When you’re done, soak in warm soapy water to remove them gently; quality sets can be reused two or three times. This is the answer for anyone who wants salon-level winter nails with literally zero skill.
💡 Quick Tip: Buy two sizes and mix if you’re between sizes — a slightly small press-on looks far better than one that overlaps your cuticle.
10. Sheer Jelly Tint
Jelly polish is the most forgiving formula in existence — sheer, glossy, and practically mistake-proof. A milky white, pale pink, or icy blue jelly tint gives you that fresh, healthy, just-bitten-by-winter look with two easy coats. Streaks and uneven edges virtually disappear in the translucency.
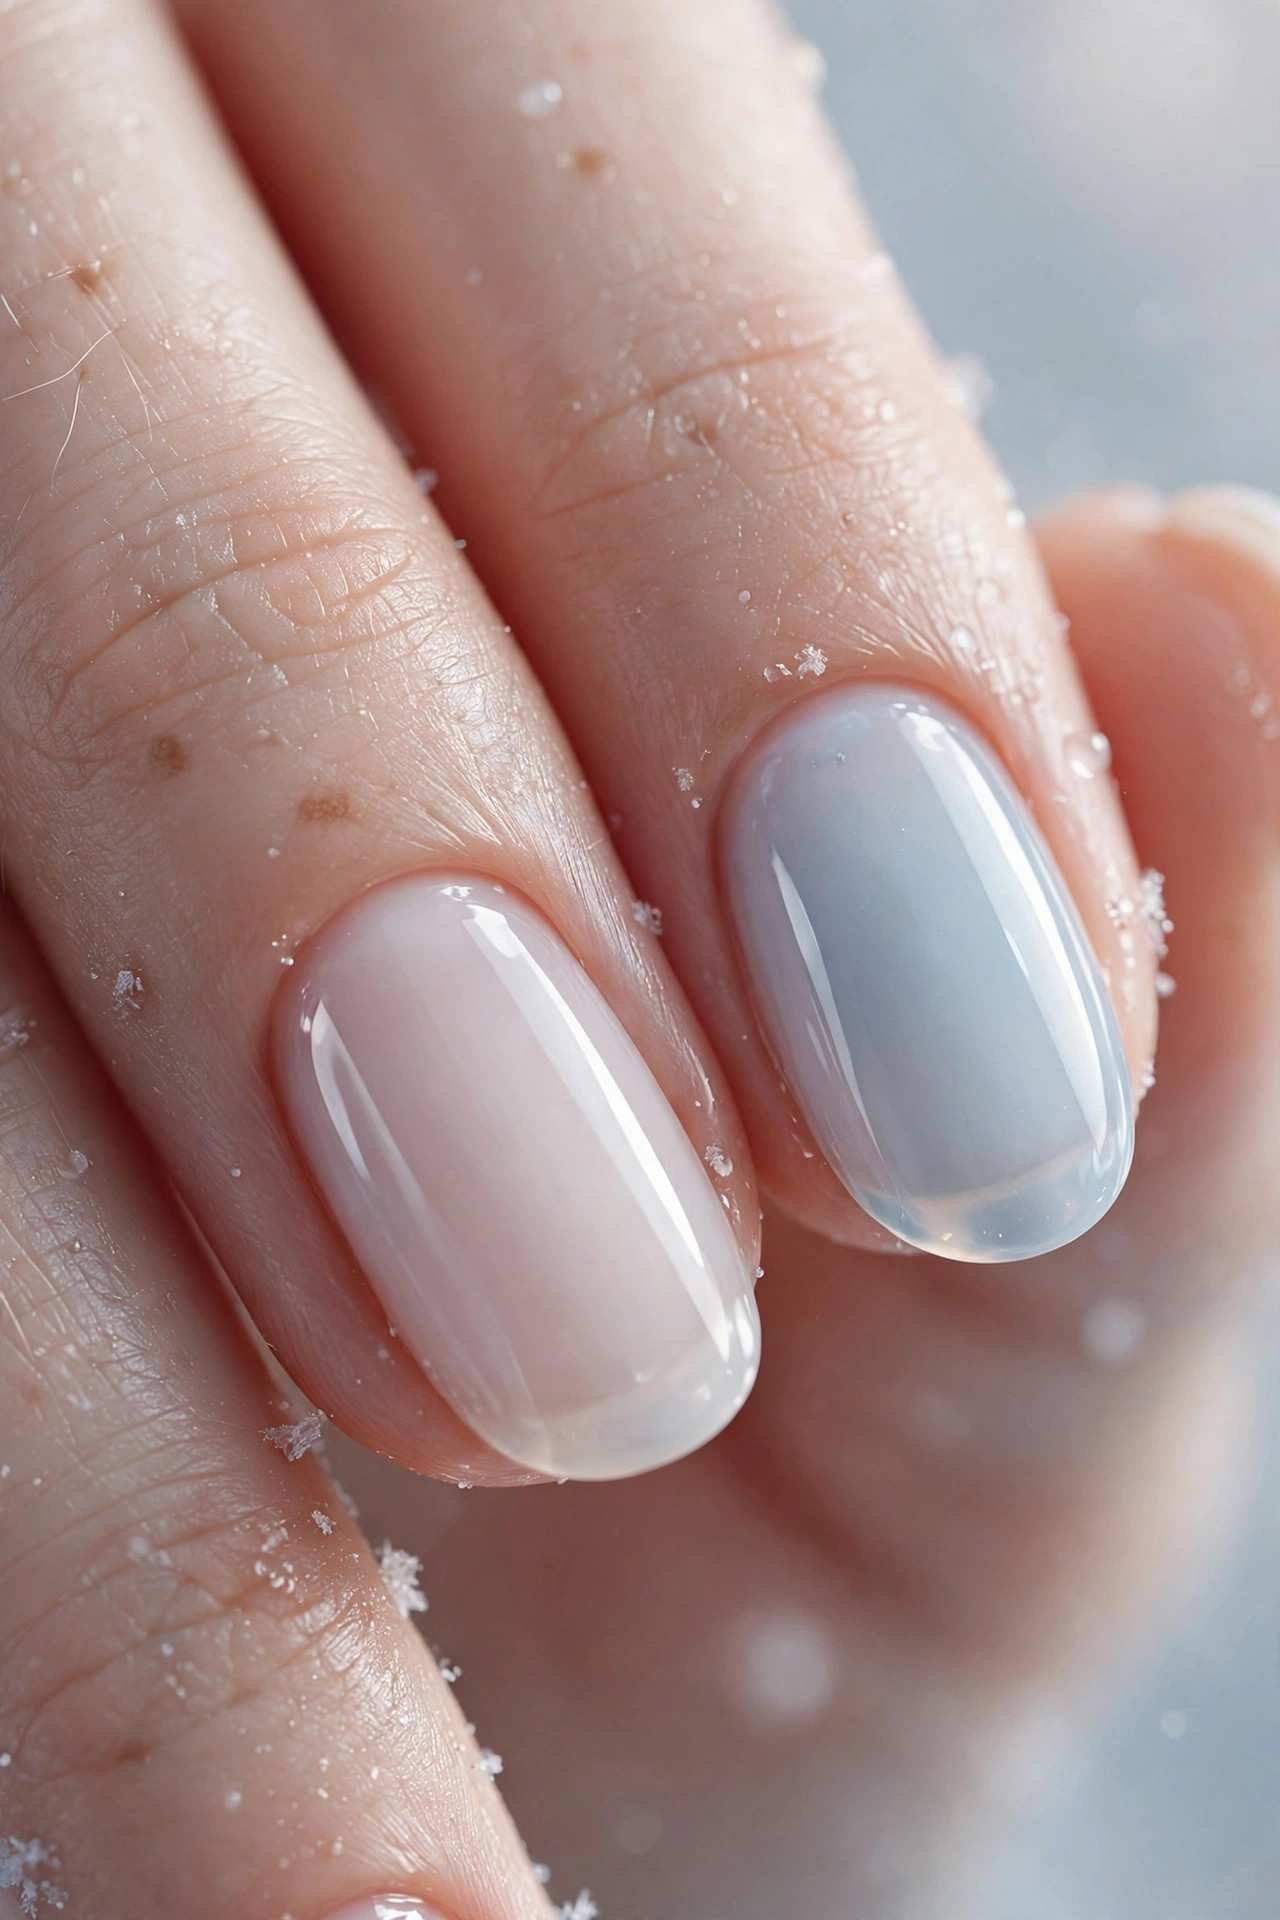
This is the perfect “my nails but better” winter manicure. It looks natural enough for the strictest office dress code but still feels seasonal in those frosty pale tones. Short, natural nails are the ideal canvas — the sheer finish celebrates your real nails rather than hiding them. Layer a second jelly shade on the tips for a subtle gradient, or wear it plain. It’s also the best base for nail stickers if you change your mind later — decals melt into the sheer finish seamlessly. Either way, it’s the lowest-stress manicure on this list. And when it starts to wear, one fresh coat of the jelly shade makes it look brand new again.
11. Gold Dots at the Cuticle
One tiny gold dot at the base of each nail — that’s the entire design, and it’s ridiculously chic. Paint your nails any solid winter shade (nude, deep red, forest green, navy), then use a dotting tool or toothpick to place a single small gold metallic dot just above the cuticle on each nail. Seal with top coat.
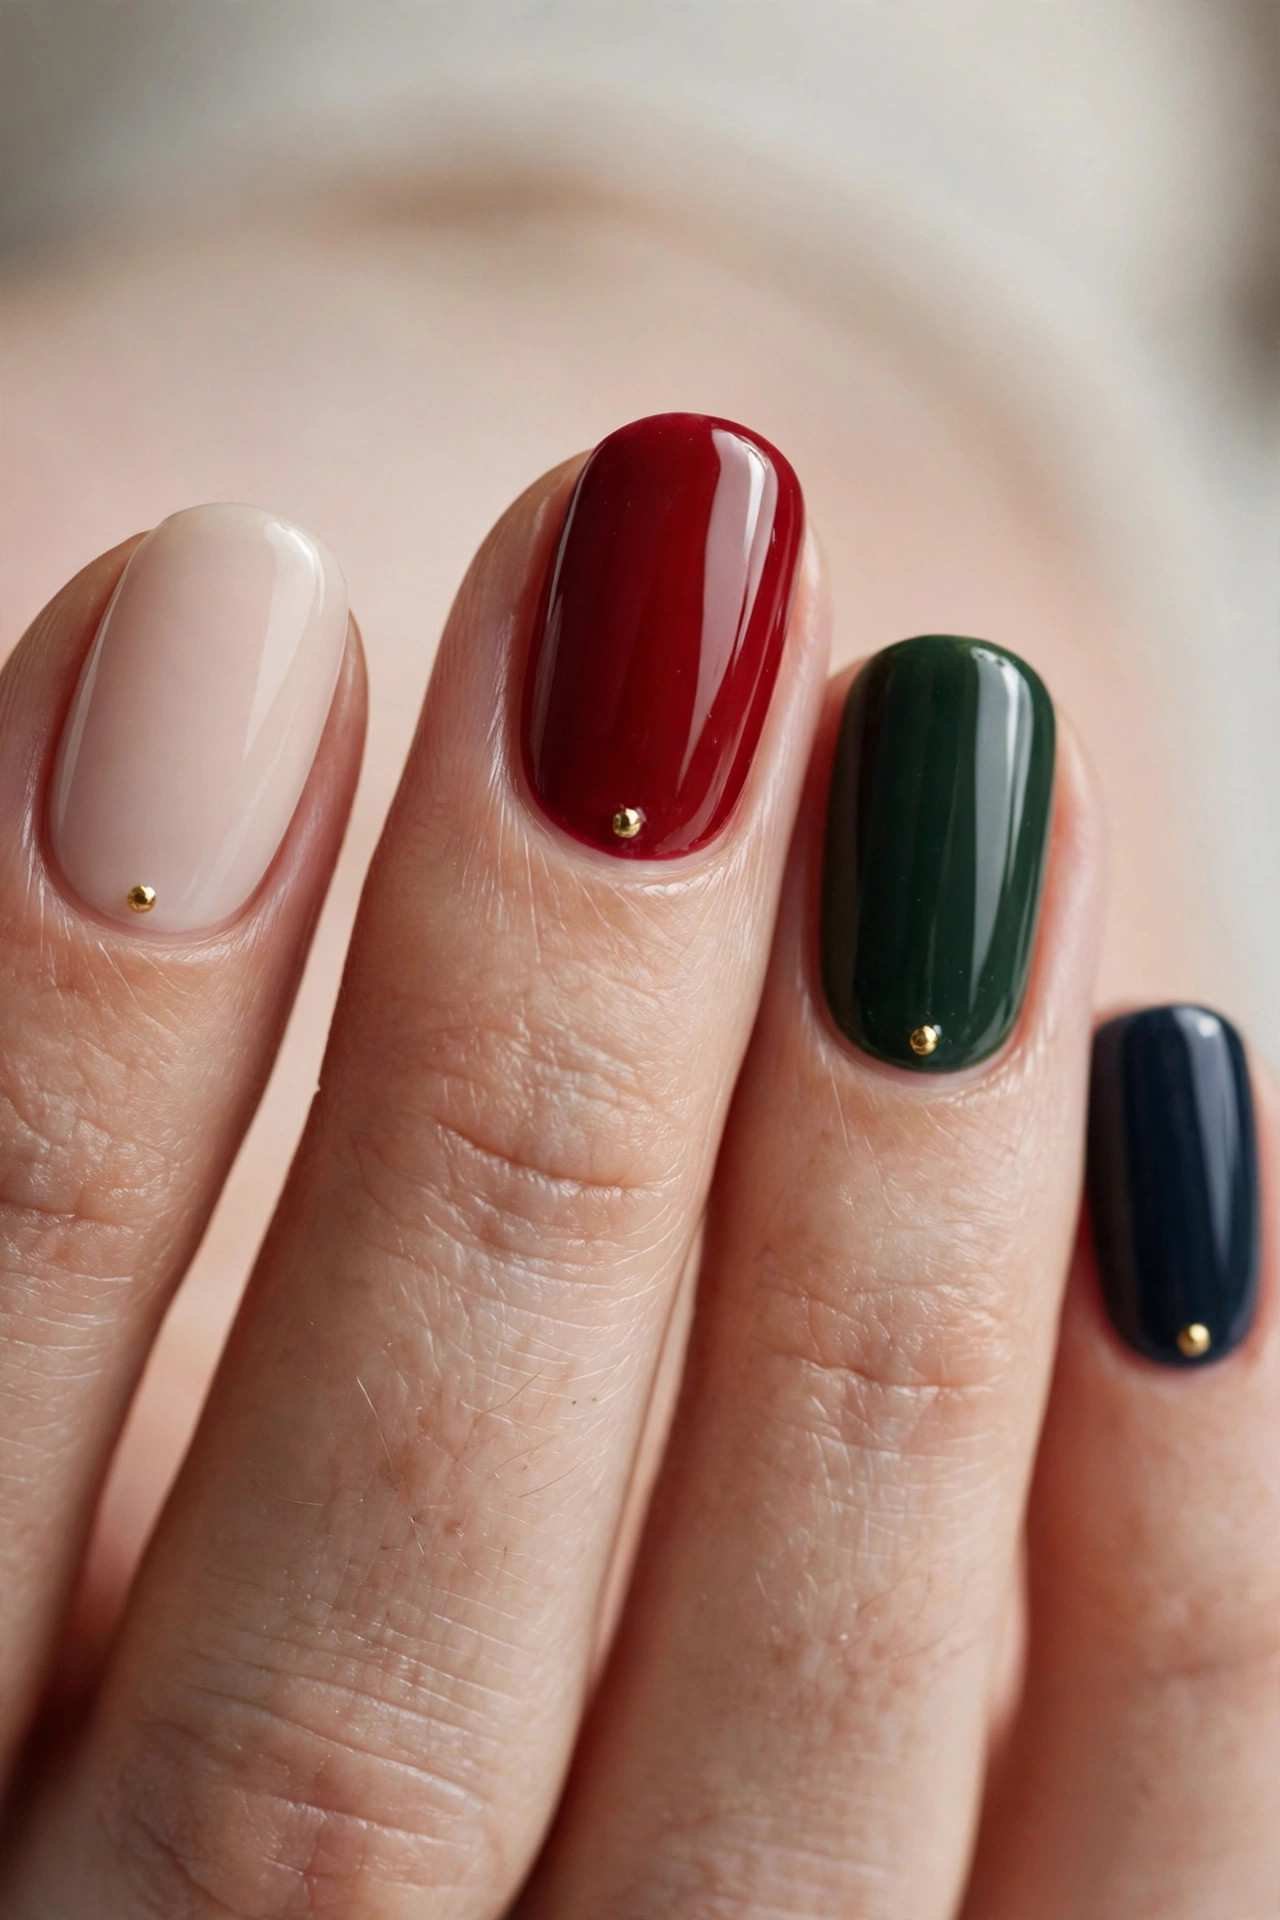
The single dot reads as jewelry for your nails — delicate, intentional, and surprisingly eye-catching. It works because of the contrast: the simplicity of the solid color makes that one metallic detail pop. Keep the dots small and consistently placed; a ruler-straight line of dots across all ten nails is what makes it look professional rather than random. This is also the fastest nail art on this list — the dotting takes about two minutes total.
📌 Good To Know: Metallic gold polish works, but a gold nail-art pen gives you a rounder, more controlled dot with zero cleanup.
12. Two-Tone Half-Moon Mani
- The design: A half-moon of one color at the cuticle, a different color on the rest of the nail — vintage-inspired and so easy.
- Winter combos: Nude + deep red, white + navy, blush + forest green, silver + black.
- The hack: Hole-punch reinforcement stickers make perfect half-moon guides — stick, paint, peel.
- Order matters: Paint the full nail in the tip color first, then add the half-moon in the second color.
- Finish: Glossy top coat blends the two colors seamlessly.
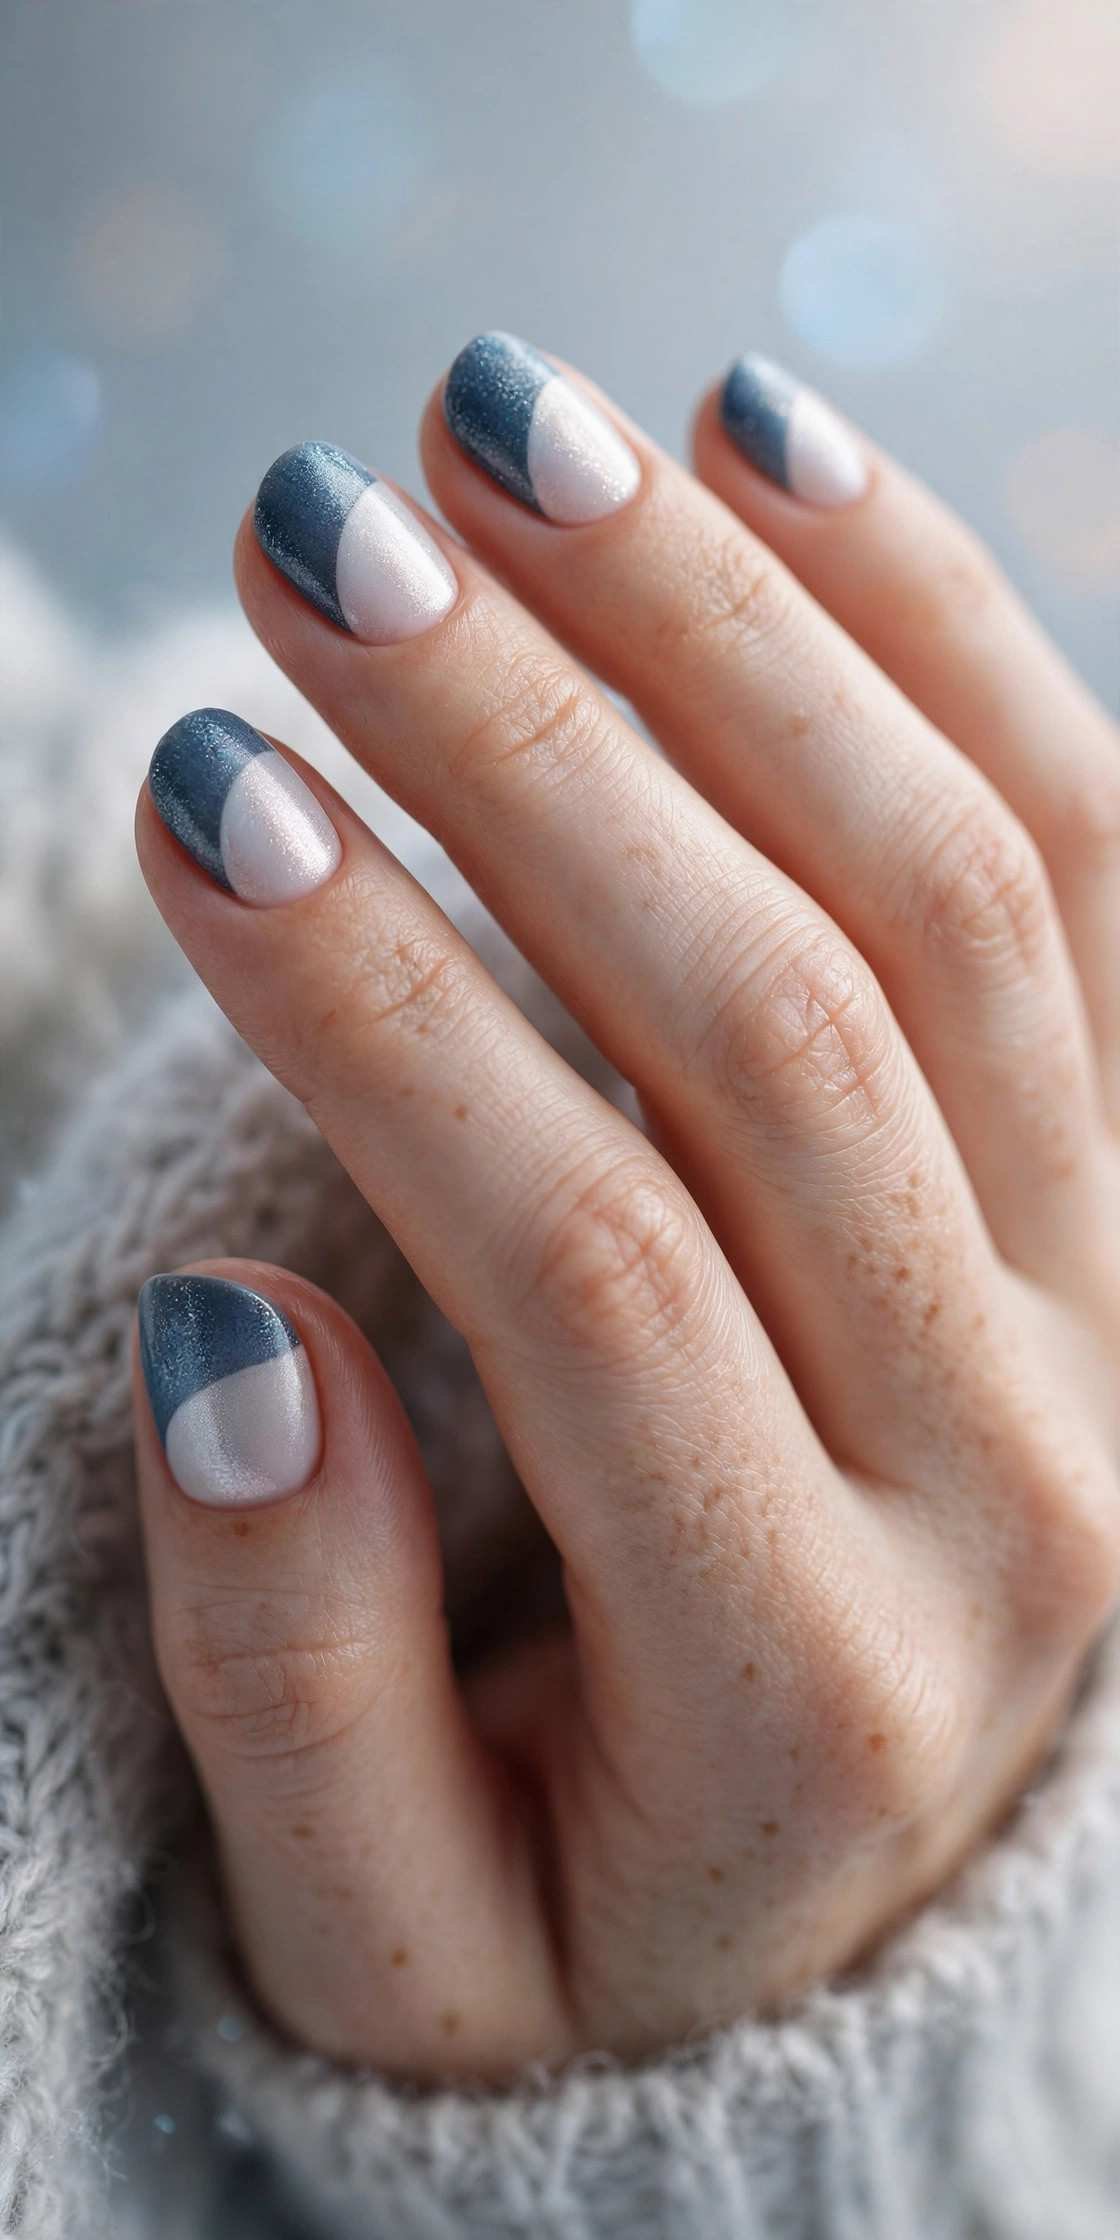
The half-moon manicure has been around since the 1920s for a reason — it’s graphic, elegant, and genuinely simple with the sticker-guide trick. The reinforcement stickers cost almost nothing at any office supply store and give you a crisp curve every time. Because the design sits at the cuticle, regrowth is less noticeable than tip-based art. It’s retro, it’s cute, and it takes about fifteen minutes plus drying time.
13. Clear Sparkle Top Coat Magic
Here’s a secret: you don’t even need colored polish for cute winter nails. Bare, well-shaped nails with two coats of a clear sparkle top coat — fine iridescent or holographic glitter suspended in clear base — look fresh, festive, and effortlessly pretty. It’s the “I woke up like this” of winter manicures.
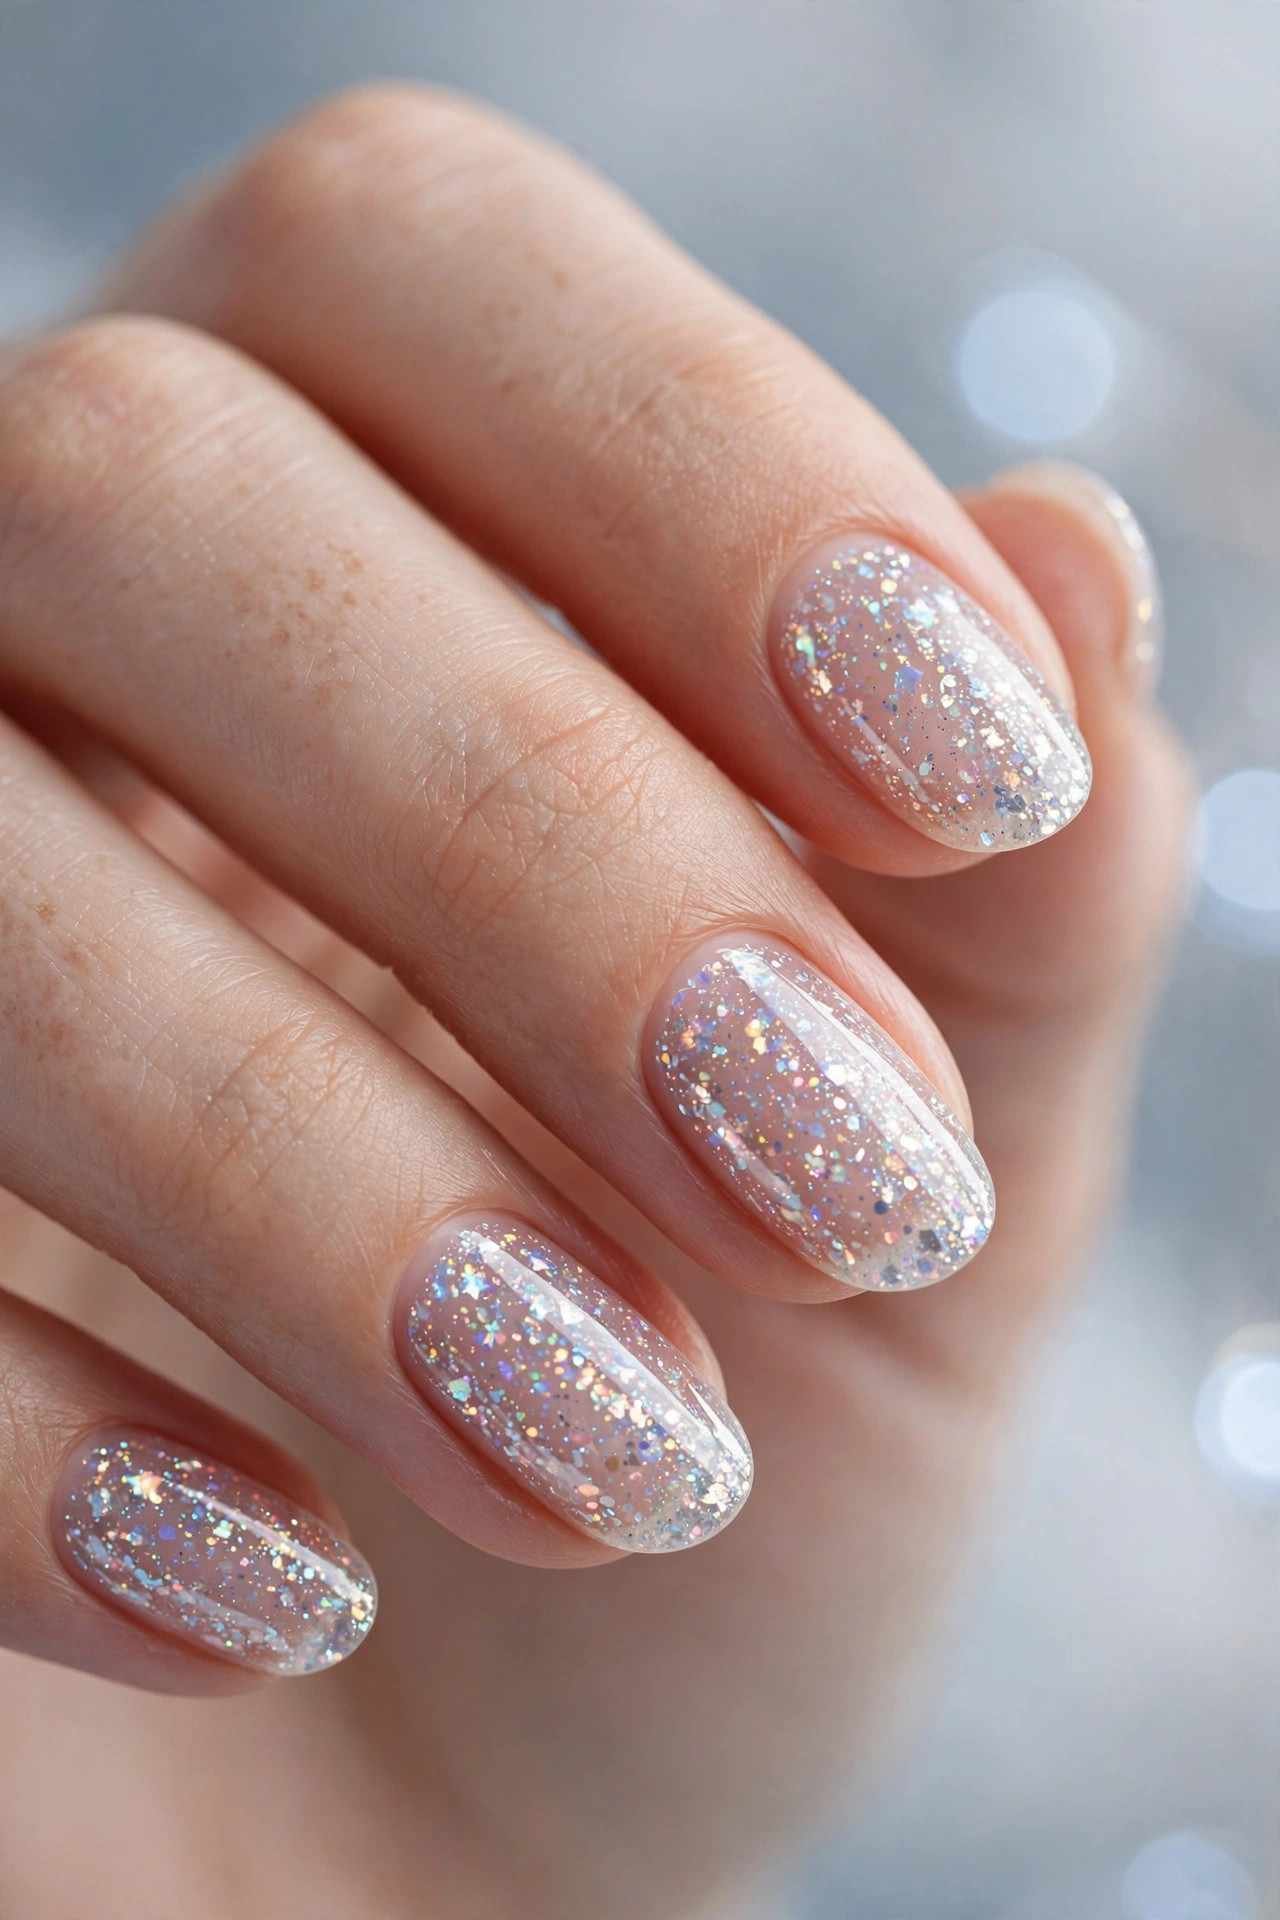
The key is nail prep, since there’s no color to hide behind. File into a clean shape, push back cuticles, buff gently, and apply a ridge-filling base coat first. Then the sparkle topper does everything — catching light with every movement while your natural nail shows through. This is ideal if your workplace restricts colored polish, or if you just prefer the clean-girl aesthetic. It also layers over any existing manicure to instantly winter-ize it.
💡 Quick Tip: This is the perfect refresh for a week-old manicure — one coat of sparkle topper hides tip wear and buys you three more days.
14. Deep Evergreen One-Coat
Green is winter’s most sophisticated color, and deep evergreen in a glossy finish needs absolutely no decoration. Like the red one-coat, success here is all about the formula — a rich, pigmented evergreen creme that covers in one or two coats. Two thin coats beat one thick coat every time for a smooth, even finish.
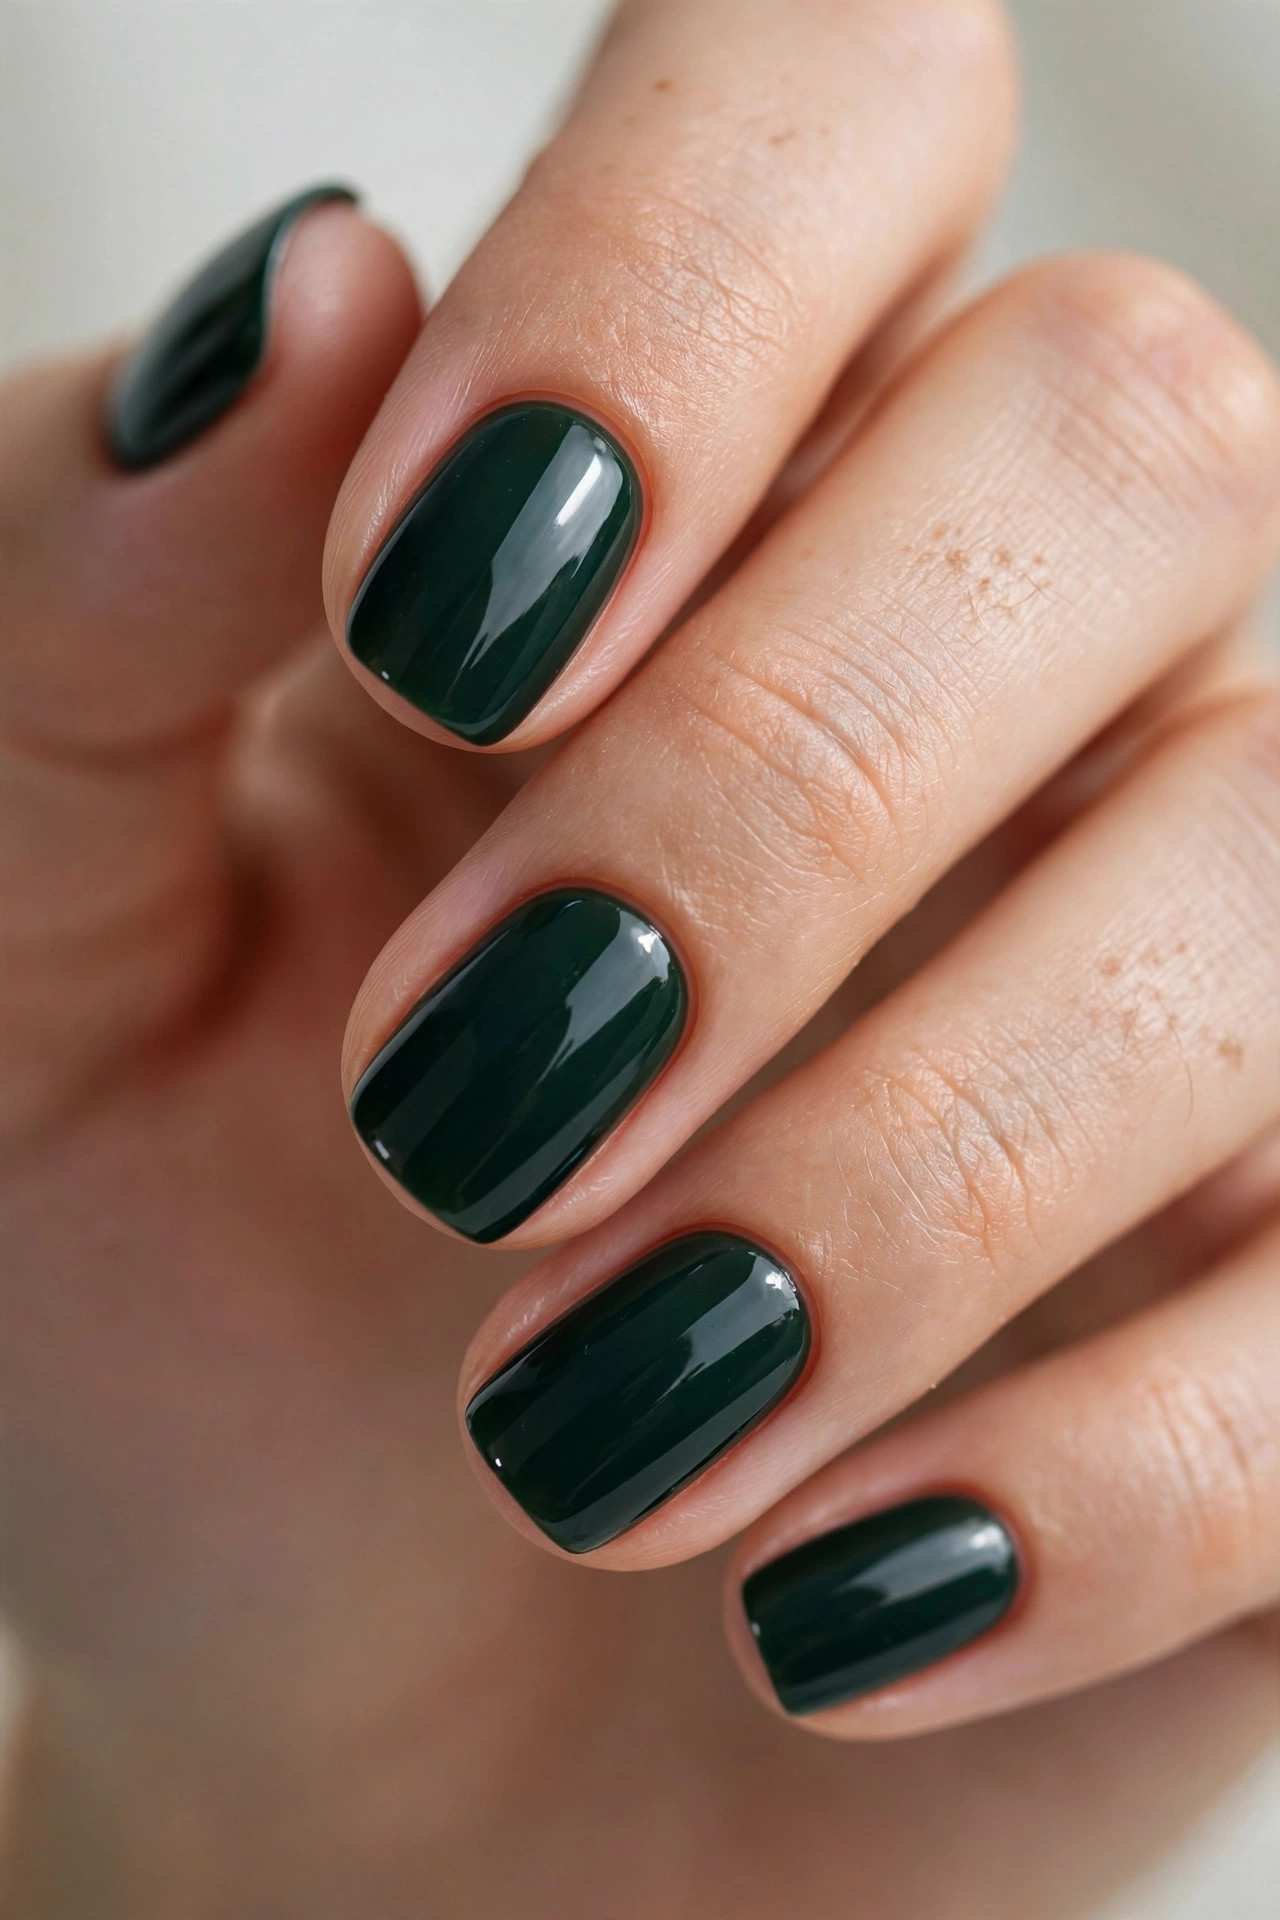
Evergreen flatters every skin tone and pairs with everything from black blazers to cream sweaters to gold jewelry. It’s festive without being literal — no one will ask if you’re “doing Christmas nails,” but the color still feels perfectly seasonal. Like red, evergreen hides chips well and only looks richer as the week goes on. It’s also a beautiful choice for winter weddings — elegant without stealing focus. Short square or oval nails show it off best. If you’re bored of red but want that same rich winter depth, evergreen is your answer. A glossy top coat is essential — it gives the deep green that lush, pine-forest richness.
15. Frosty Baby Blue
- The shade: A soft, icy baby blue — like a clear winter sky. Universally flattering and instantly seasonal.
- Coverage trick: Pastels can be streaky — apply three thin coats, not two thick ones.
- Finish: Glossy for a fresh, clean look; the shine keeps pale blue from looking chalky.
- Best shape: Short oval or squoval — baby blue looks sweetest on neat, shorter nails.
- Pair with: White and grey outfits, silver jewelry, and a cozy knit.
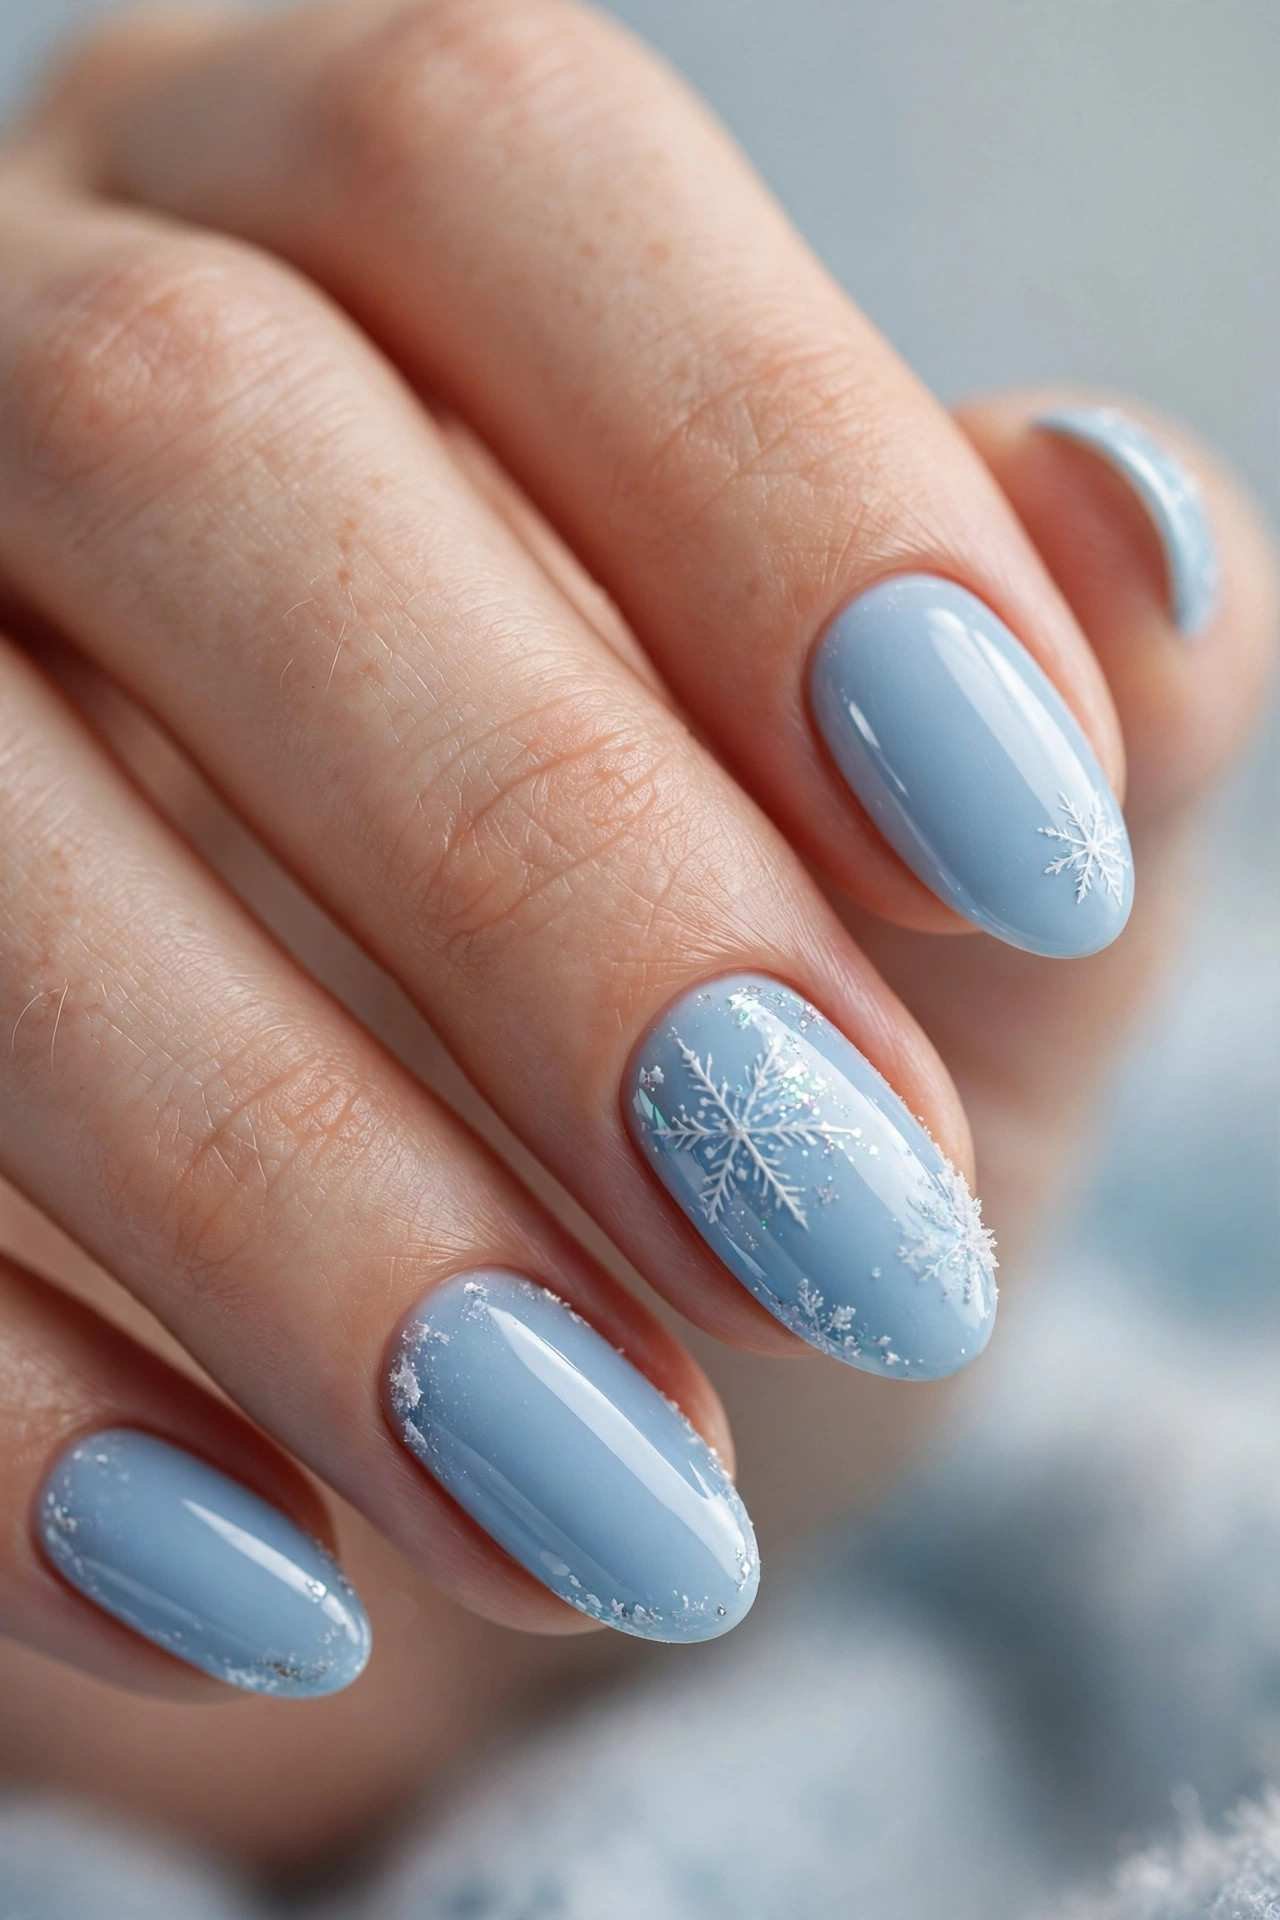
Baby blue is the winter pastel that somehow works on everyone — it brightens your hands, looks amazing in photos, and feels fresh when everything else is dark and heavy. It’s also one of the easiest colors to wear: no art needed, no occasion required. Top it with a fine iridescent glitter for a frosted effect, or wear it plain — either way, it’s the easiest winter color to pull off. Just a clean, pretty blue that says winter without saying a word.
16. Negative-Space French Tips
Negative-space nails leave part of your natural nail showing — and this French version is barely more work than a regular manicure. Instead of painting the whole nail nude first, you just paint the tip directly on your bare (base-coated) nail. Less polish, less drying time, and a modern, airy look.
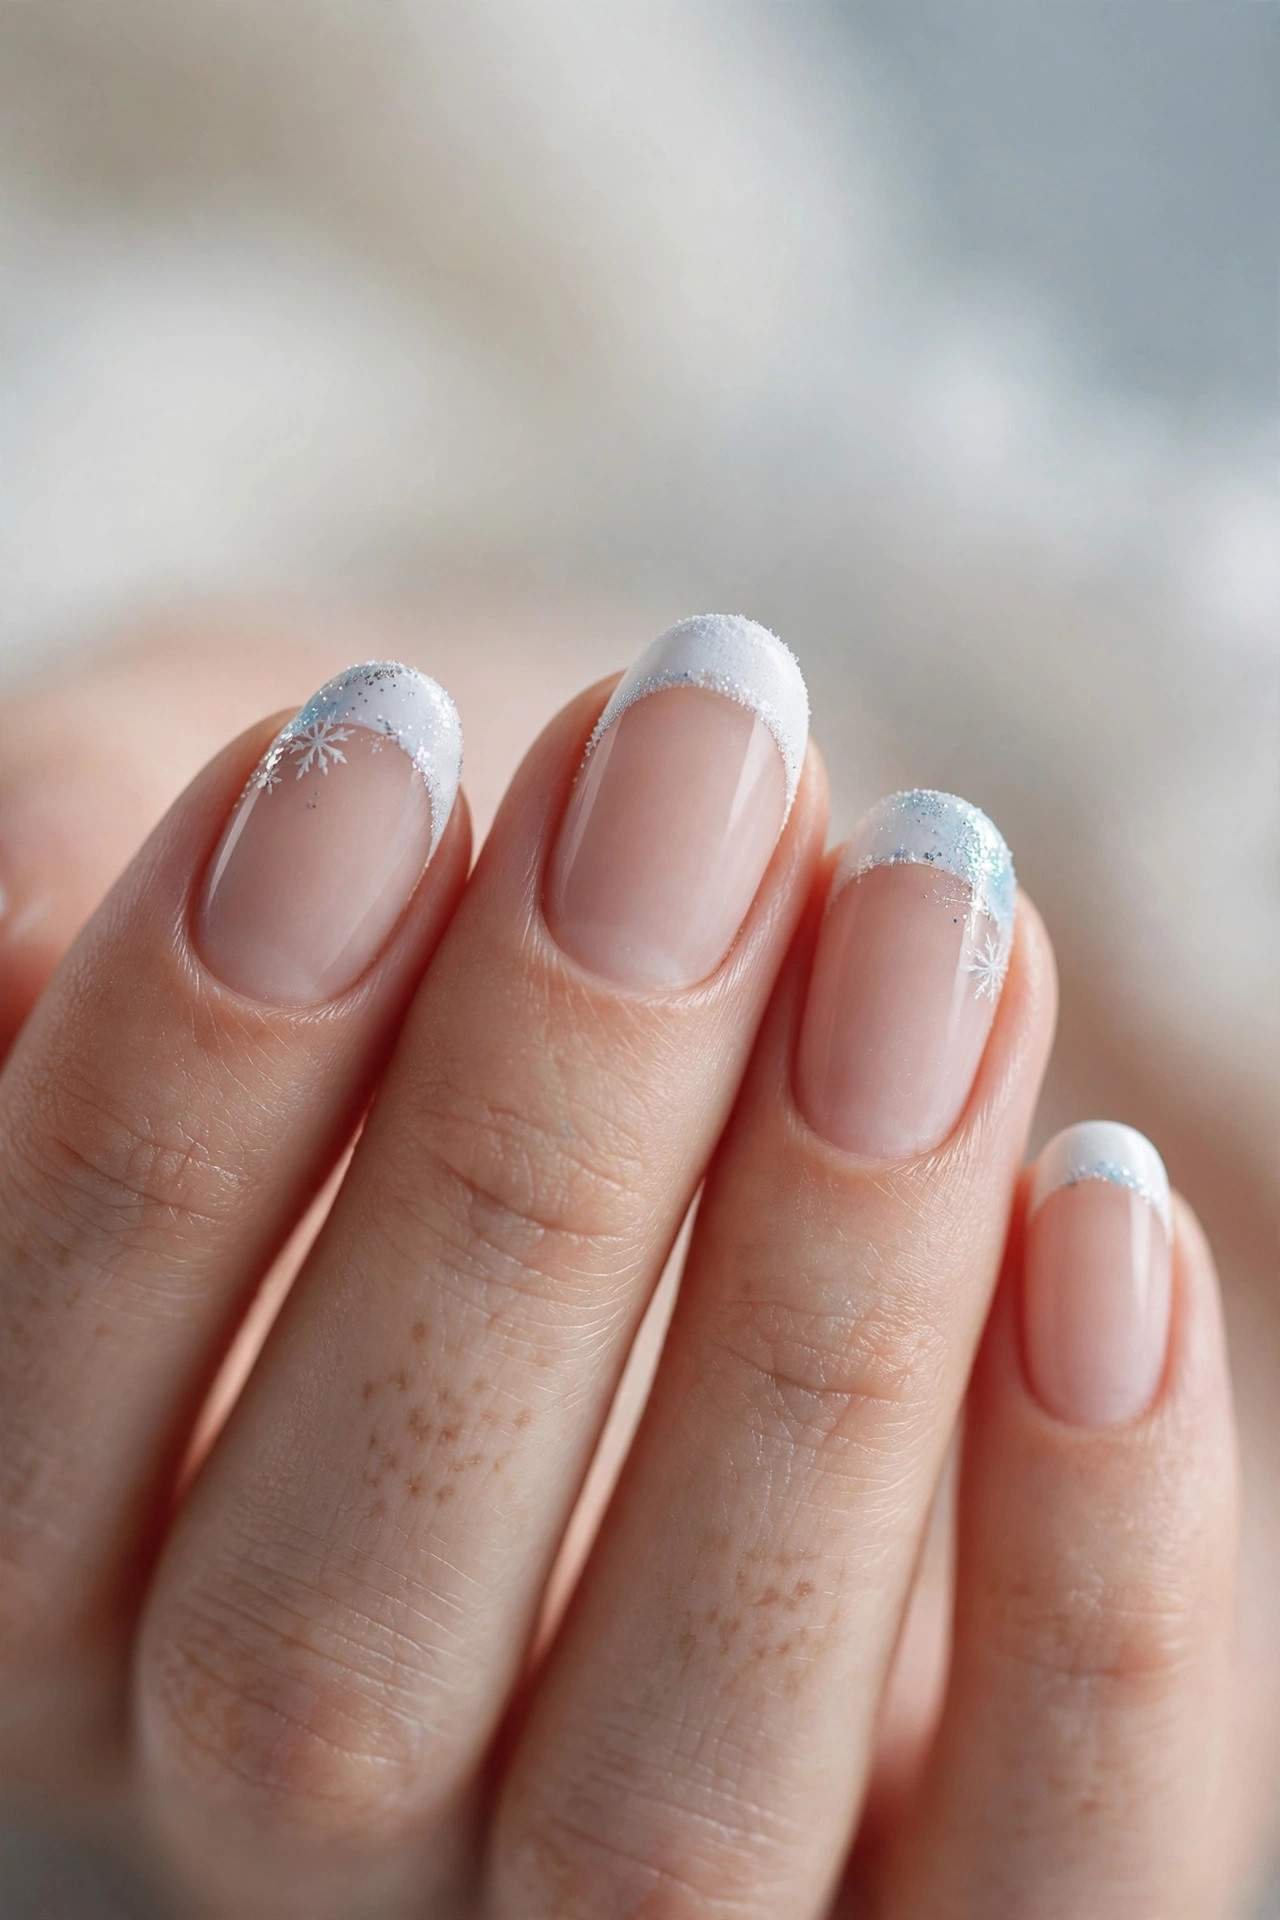
Use French tip guides for the cleanest line, and choose a tip color with some personality — deep red, navy, or even black instead of white. The bare-nail base means regrowth is essentially invisible, so this is one of the longest-lasting DIY designs. It’s minimalist, it’s chic, and it uses half the polish of a traditional French. The bare base also means you can go longer between manicures without obvious regrowth. What more could a beginner want?
⚠️ Watch Out: The bare base shows every ridge — use a ridge-filling base coat or the negative space will look uneven.
17. Full Chunky Gold Glitter
Sometimes simple means bold. A full nail of chunky gold glitter polish — two generous coats, no art, no fuss — is the easiest statement manicure you’ll ever do. Glitter formulas are the most forgiving polishes in existence: they hide every brush stroke, every uneven edge, every imperfection.
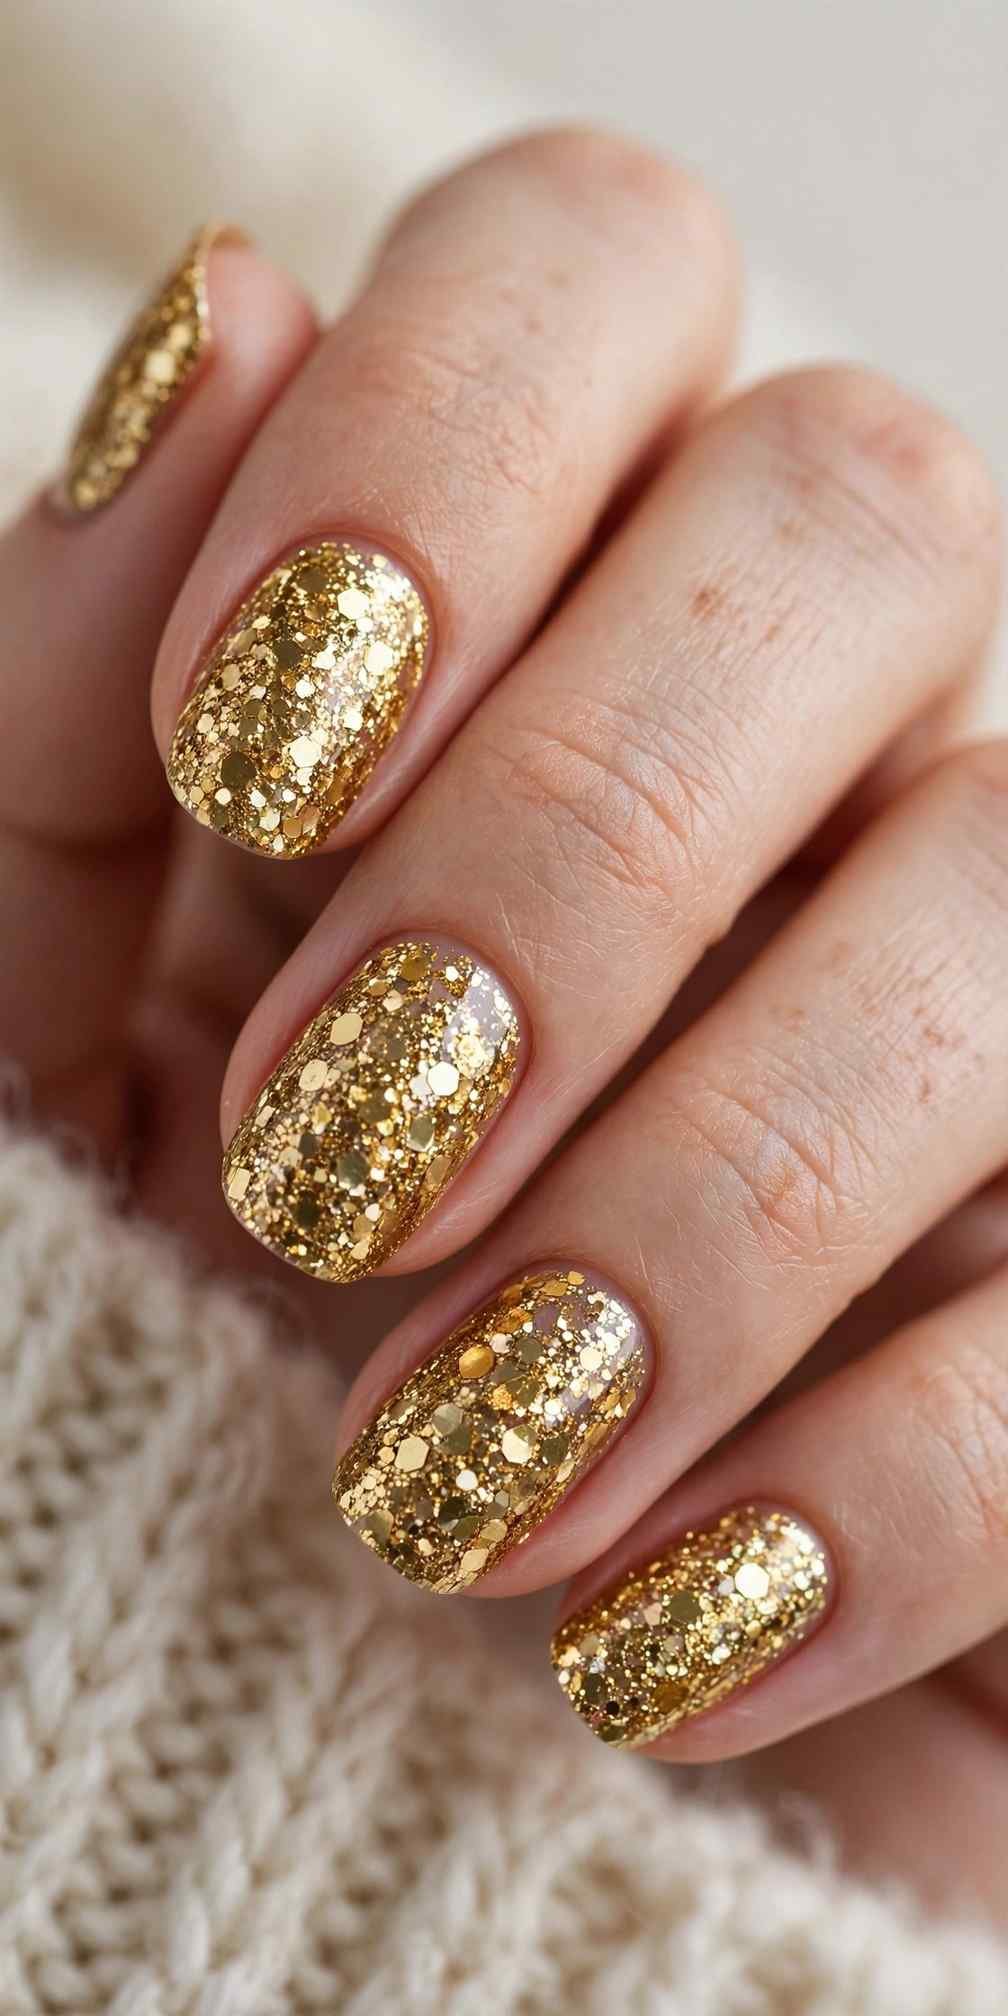
This is the manicure for holiday parties, New Year’s Eve, and anyone who wants maximum impact with minimum skill. Gold flatters every skin tone and photographs like a dream. On short nails, full glitter looks especially chic — the compact surface keeps the sparkle refined rather than overwhelming. It’s also the most forgiving polish for beginners; every brush stroke disappears into the glitter. The only real consideration is removal — glitter bonds like it means it. Use the foil-wrap acetone method: soak cotton in remover, wrap each nail in foil for ten minutes, and the glitter slides right off. Or use a peel-off base coat underneath and skip the drama entirely.
18. Tartan Plaid Accent Nail
- The shortcut: Full plaid on every nail is advanced — but one plaid accent nail with stickers is beginner-easy.
- Method: Paint all nails a solid winter red or navy, then apply a pre-printed plaid nail sticker to each ring finger.
- Seal well: Two coats of top coat melt the sticker edges into the polish.
- Color story: Red plaid + solid navy, or navy plaid + solid burgundy — keep it tonal.
- Why it works: The busy plaid pattern hides sticker edges better than any other print.
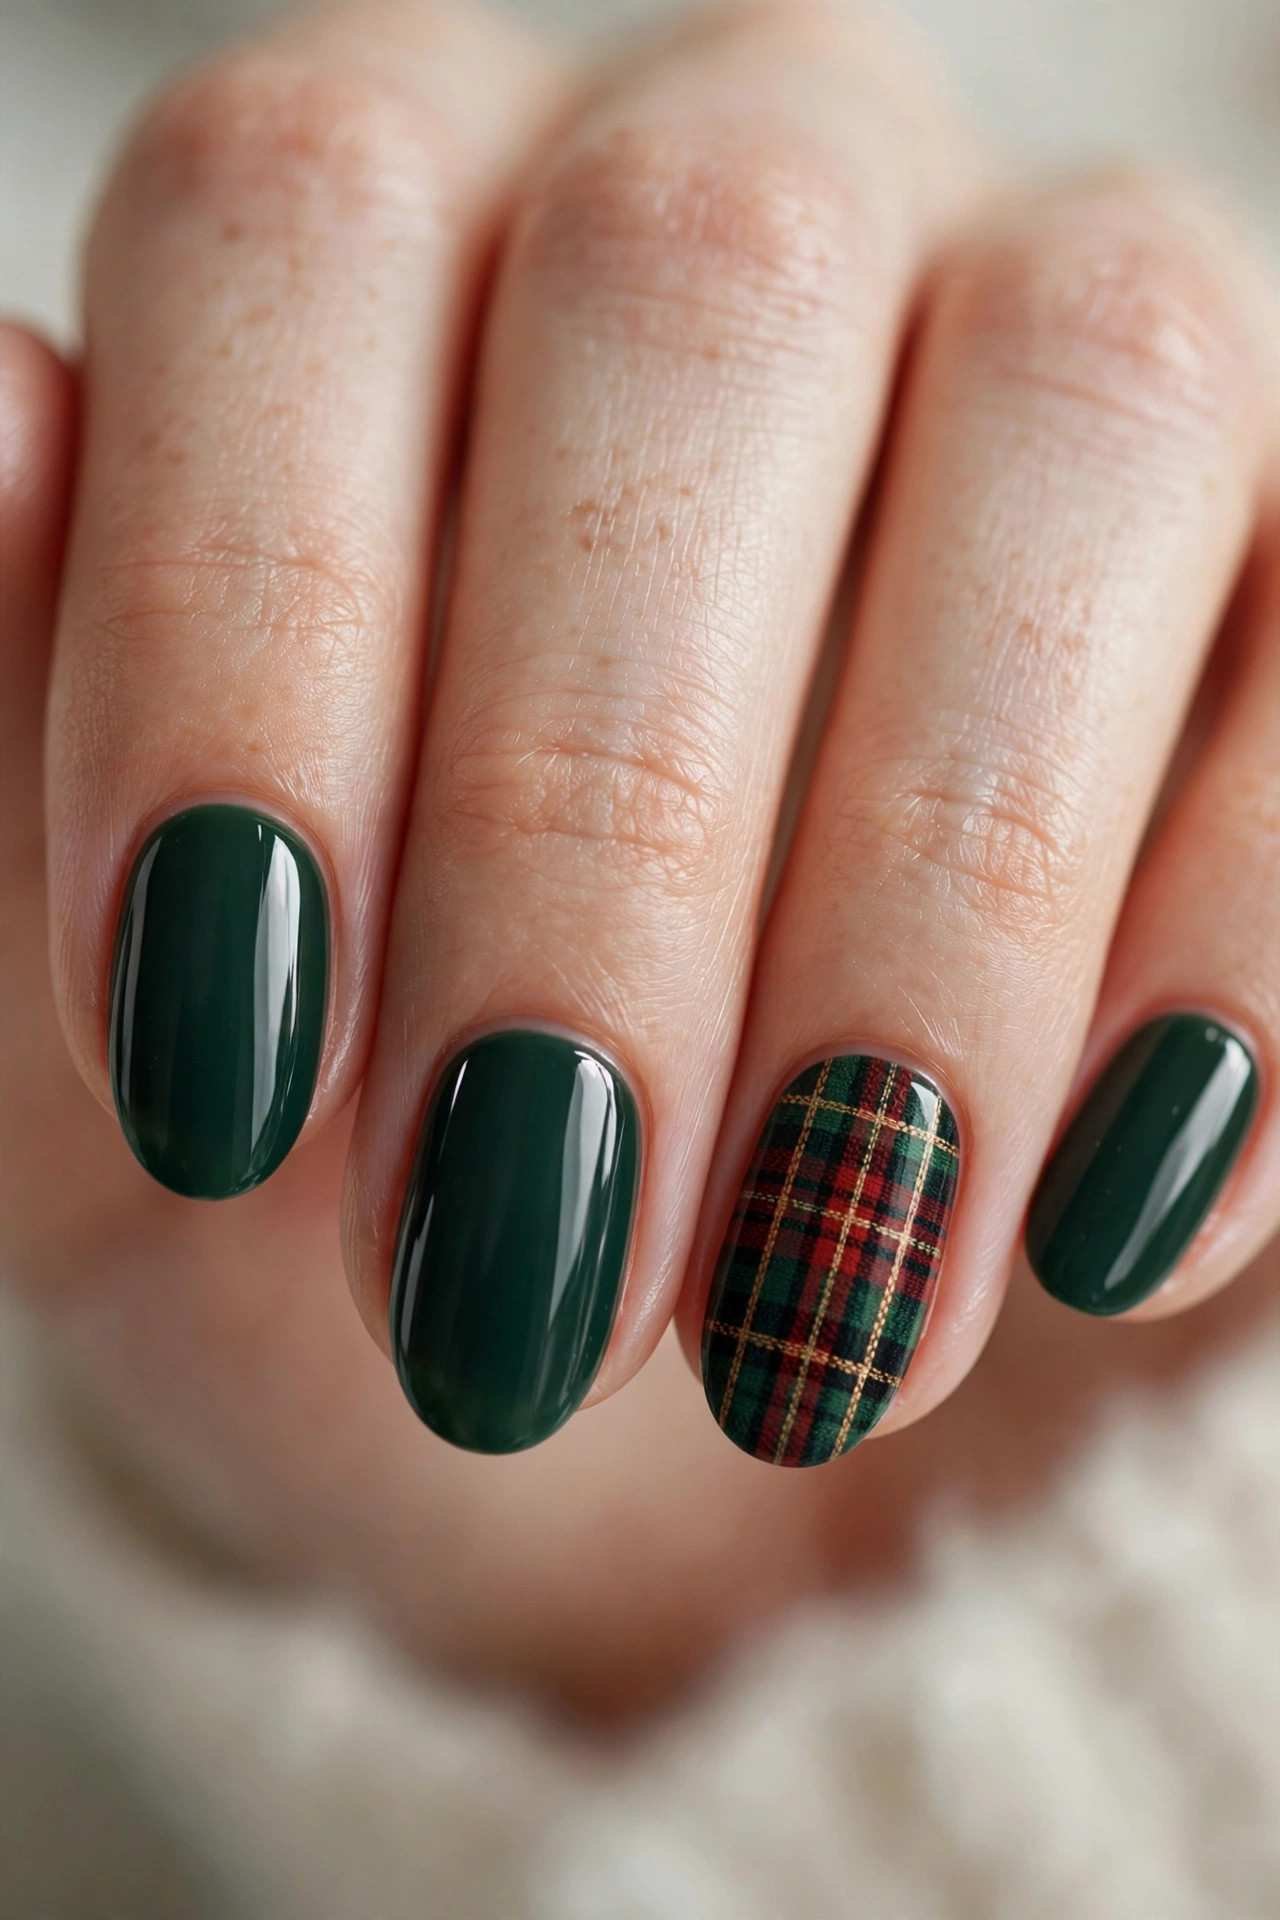
Plaid is peak winter cozy, and the sticker version gives you the look in about three minutes. The accent-nail approach keeps it tasteful — a full set of plaid can overwhelm, but one patterned nail per hand is the perfect amount of personality. This is also a great way to test whether you like bold patterns before committing to hand-painting them yourself. Seal the sticker with two coats of top coat so the edges melt invisibly into the polish.
19. Matte Merlot Simplicity
Merlot — that deep, wine-red that’s almost purple — is winter in a bottle. In a matte finish, it becomes something truly special: velvety, moody, and quietly luxurious. Two coats of merlot creme, one coat of matte topper, and you have a manicure that looks like it cost eighty dollars.
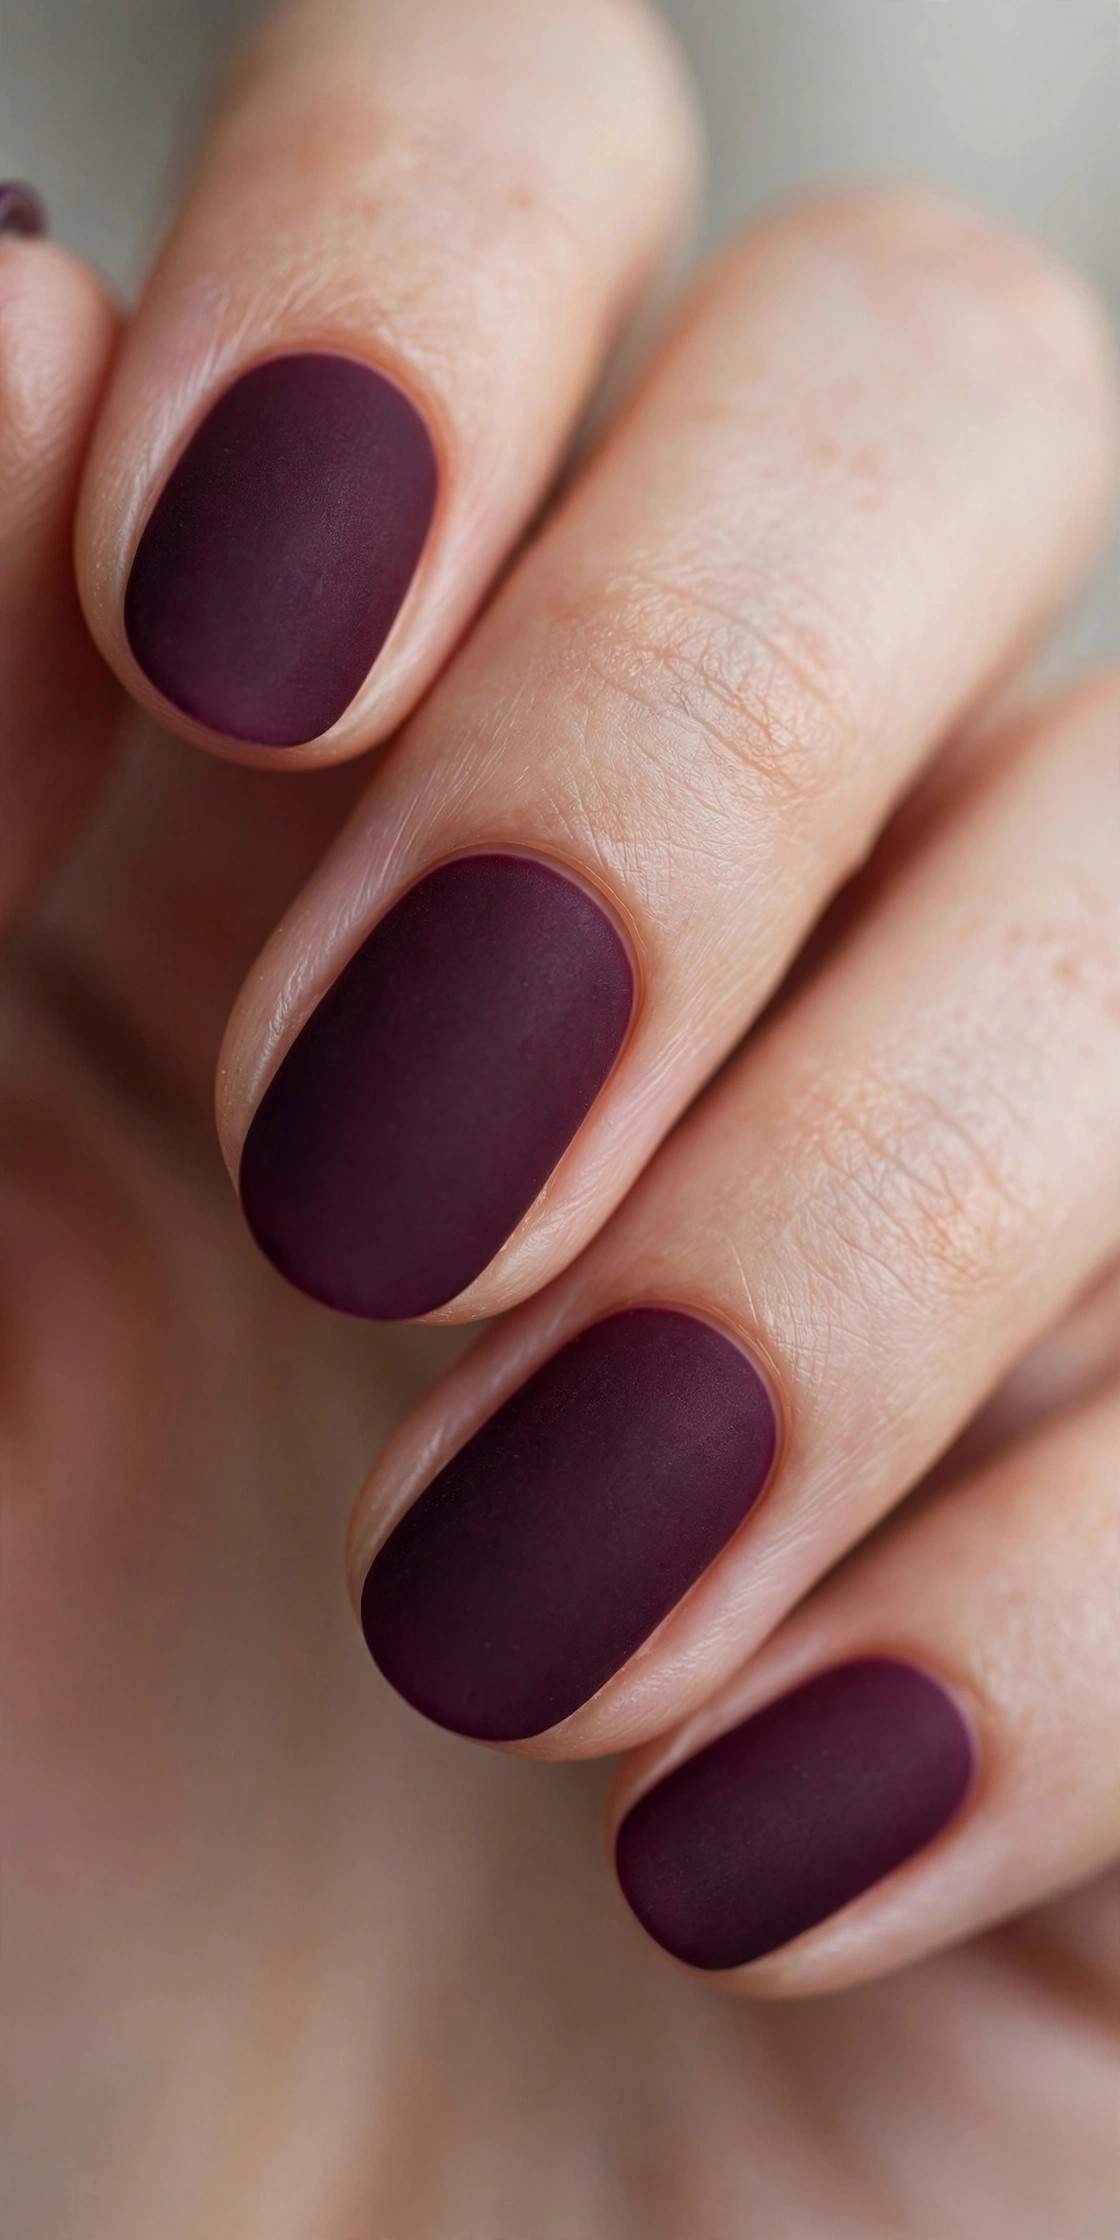
Matte textures elevate any color, but they do something magical to deep reds — the flat finish makes the color look richer and more dimensional, like actual wine in a glass. This is stunning on short nails, where the dark matte color looks neat and intentional. Just remember the matte rules: cap the free edge, touch up chips promptly, and keep hand cream off your fingertips. The payoff is a manicure that looks nothing like a DIY.
💡 Quick Tip: Matte top coat over any color in your collection gives you a second manicure for free — try it over shades you thought you were bored of.
20. Silver Foil Flakes
Gold foil gets all the attention, but silver foil flakes on a winter base are pure frost magic. Paint your nails a cool shade — icy blue, soft grey, or deep navy — then press tiny pieces of silver foil onto the tacky top coat with tweezers. The irregular metallic pieces catch light like ice crystals.
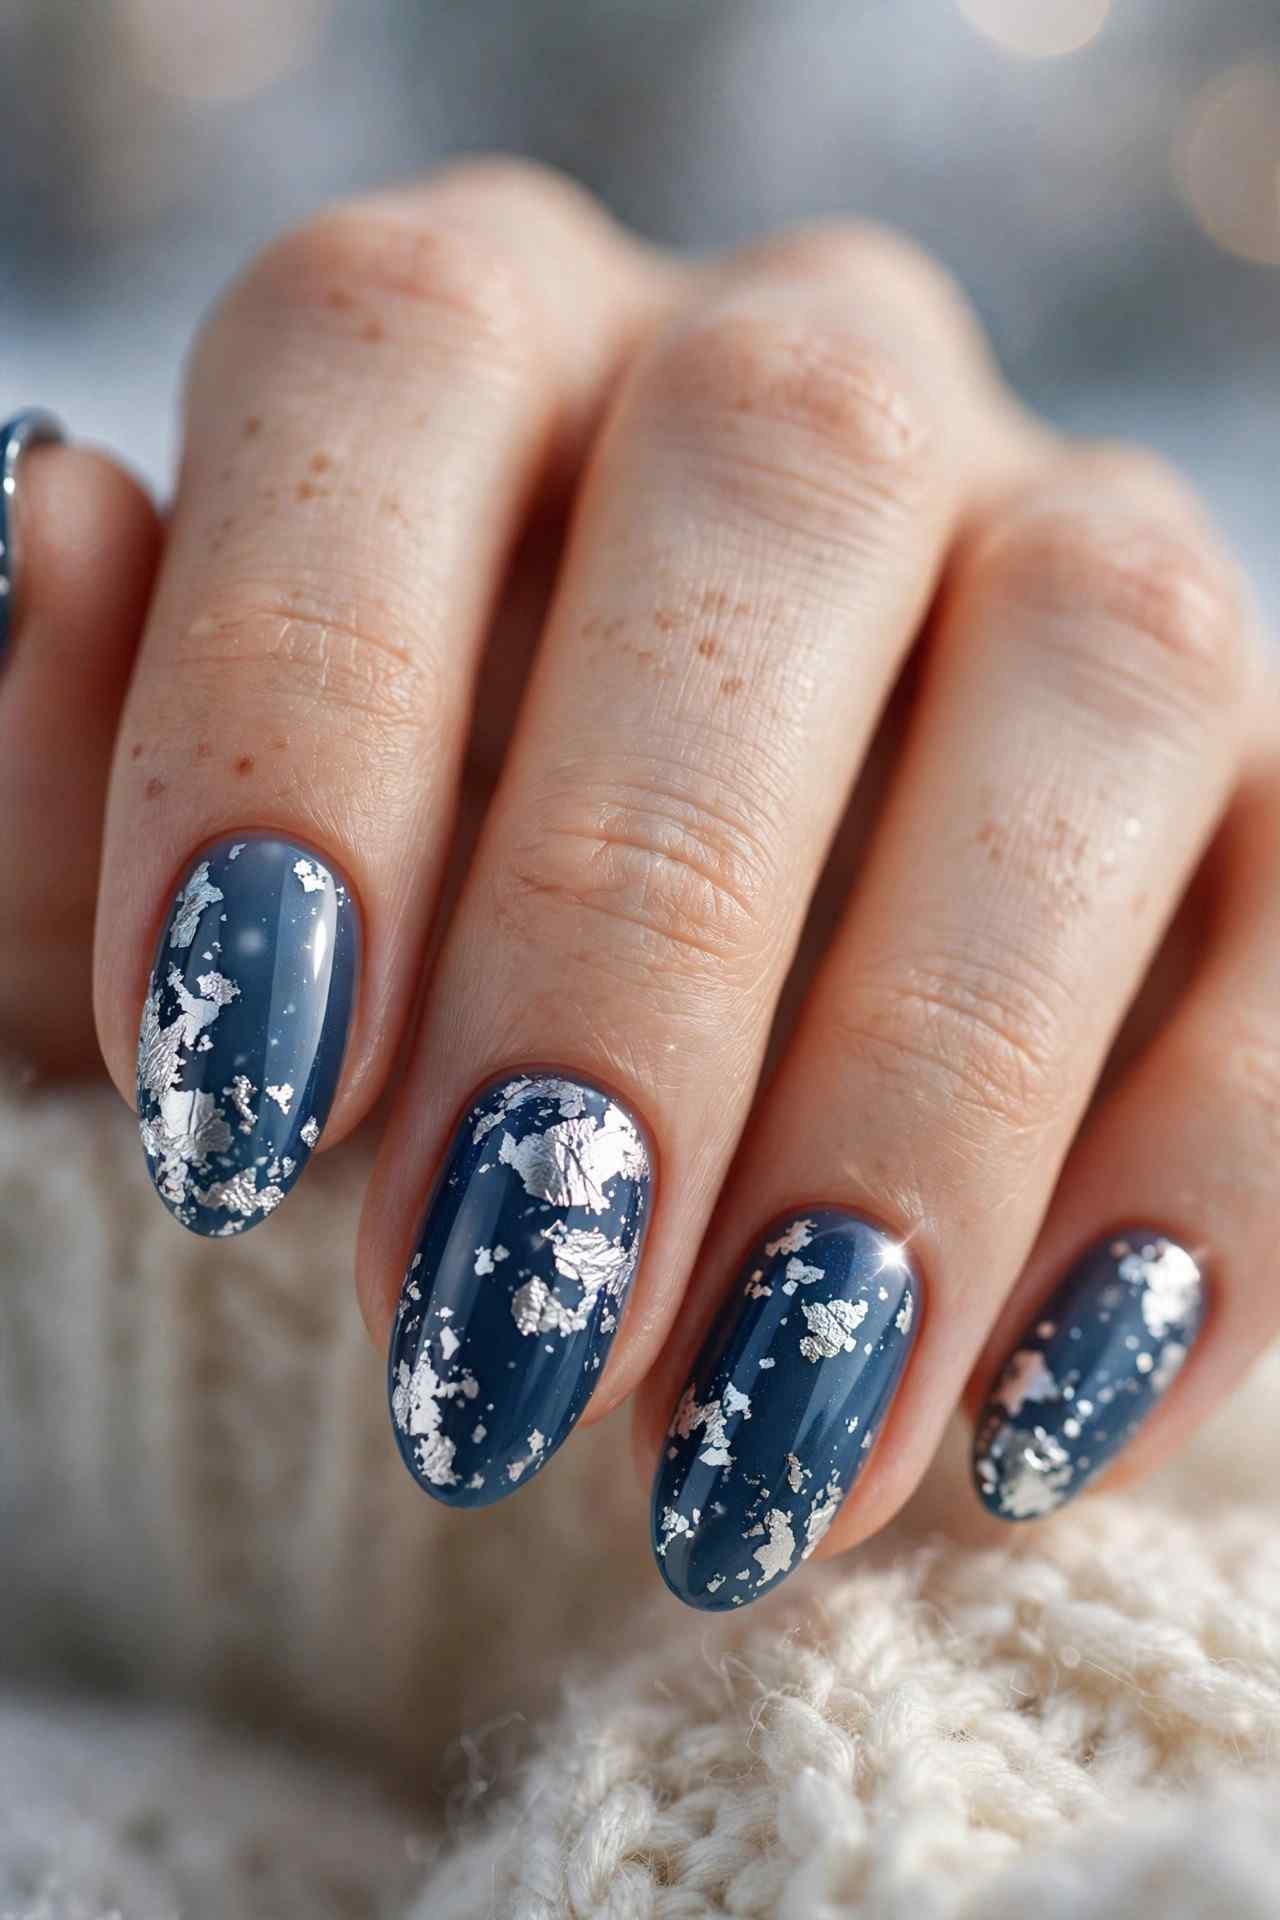
Foil is the ultimate beginner “art” because imperfection is the entire point — torn, scattered pieces look intentional and organic. You don’t need steady hands or any drawing ability. Keep the foil sparse: five or six small pieces per nail is plenty. Try it over deep navy or black for maximum contrast — the metallic pops even harder against dark bases. Seal with two layers of top coat so the edges don’t catch on fabric. The result looks like frost forming on your fingertips — delicate, dimensional, and deceptively simple. It’s also one of the fastest art designs here — the whole set takes under fifteen minutes.
CONCLUSION
Cute winter nails don’t require talent, time, or money — just the right idea and a few minutes. From one-coat reds to sticker snowflakes to press-ons that look salon-made, these 20 simple designs prove that the easiest manicure is often the prettiest. Pick the one that fits your mood (and your schedule), and enjoy winter-ready nails without the salon appointment.
📌 Save this post to your nails board on Pinterest so you have winter nail inspiration ready!