
20+ Easy Wedding Hairstyles Guest — Step by Step 2026
Running late for a wedding but still want to look like you planned your hair for weeks? These styles are built for real life — each one takes 15 minutes or less and comes with steps so simple you can follow them while your curling wand heats up.
No salon appointment, no complicated braiding degree required. Just grab your bobby pins, a brush, and whatever hot tool you already own, and work through the steps below.
Do a trial run once before the big day so the steps feel familiar. On the wedding morning, you will be done before your coffee cools.
1. Five-Minute Twisted Low Bun
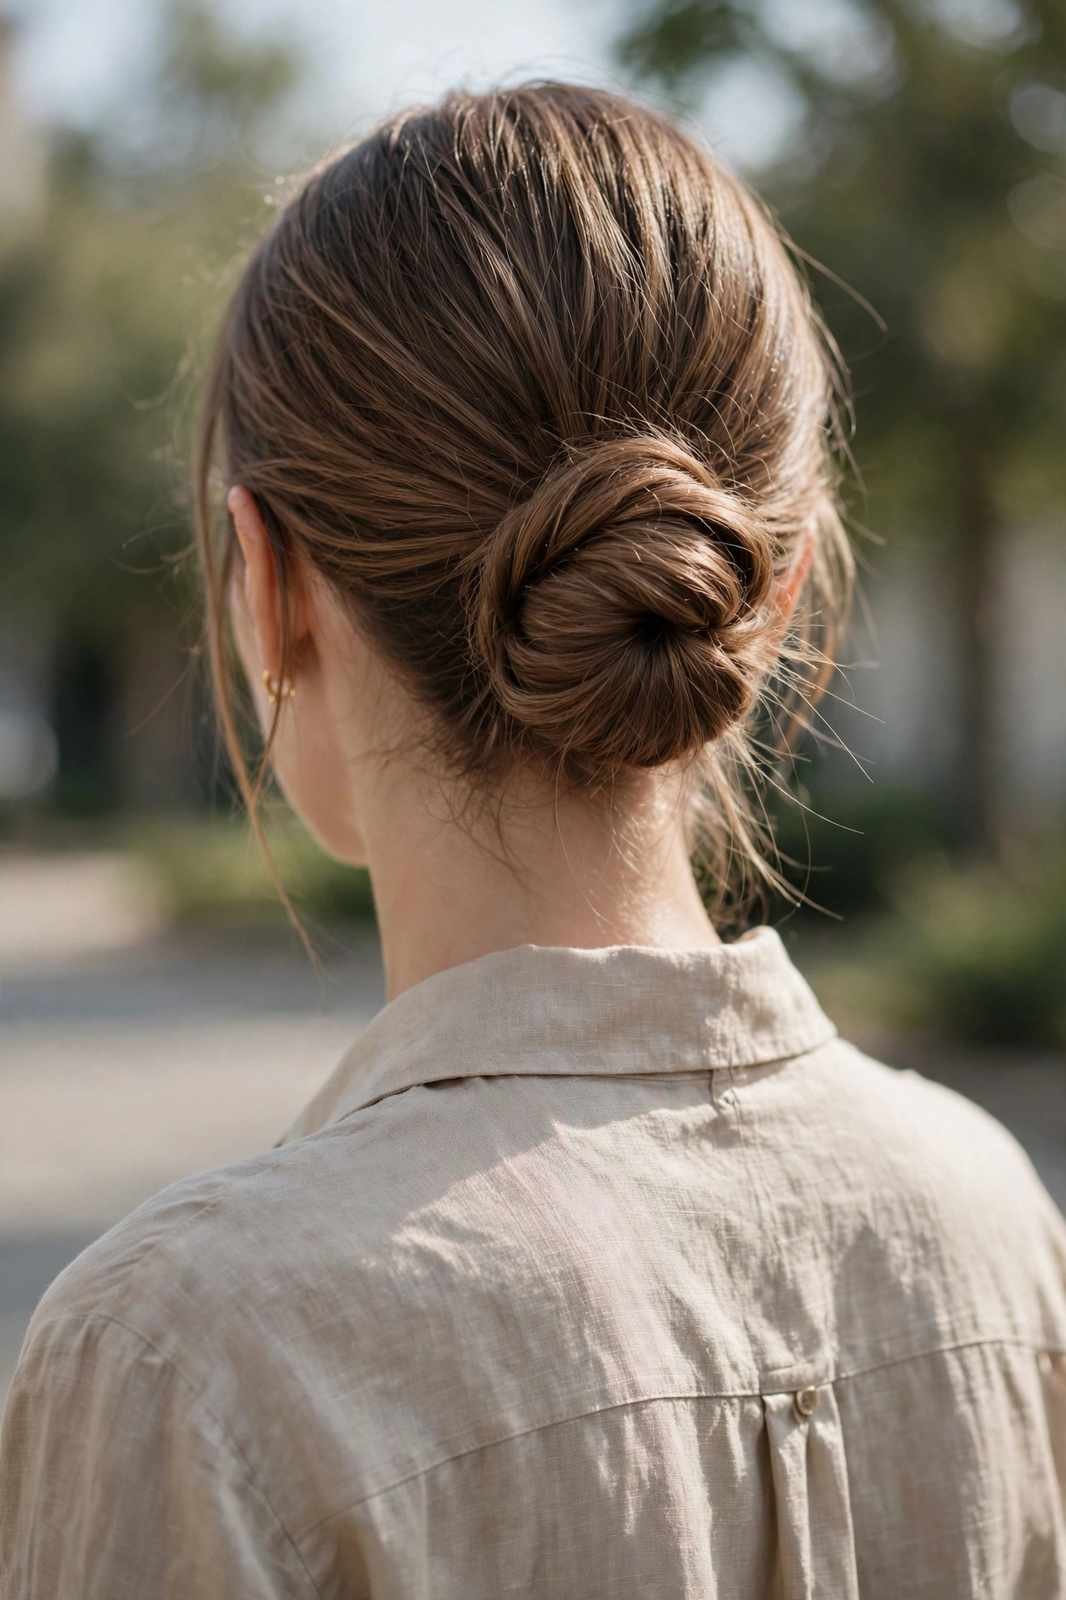
When the ceremony starts in twenty minutes, this is the style that saves you. It looks deliberate, holds all day, and genuinely takes five minutes.
- Step 1: Brush your hair back into a low ponytail at the nape and secure with an elastic.
- Step 2: Split the ponytail into two sections, twist them around each other, then coil the twist into a bun.
- Step 3: Pin the bun in place with 4–6 bobby pins, tucking the ends underneath.
- Step 4: Gently pull at the bun’s edges for fullness and mist with hairspray.
2. Easy Half-Up Twist With Soft Curls

Can a half-up style really be wedding-worthy in under ten minutes? Absolutely — the twist does all the visual work while your curls just need to exist.
First, curl your hair loosely with a 1.25-inch wand, working in large sections to save time — perfection is not the goal here. Next, take a two-inch section from each side of your head, twist each one back, and cross them over each other at the back. Pin the crossed twists with two bobby pins in an X shape. Finally, shake out the curls with your fingers and pull a few face-framing pieces loose. The whole thing reads soft and romantic, and the X-pinned twists will not budge through the reception.
3. Quick Side Braid Into a Low Bun
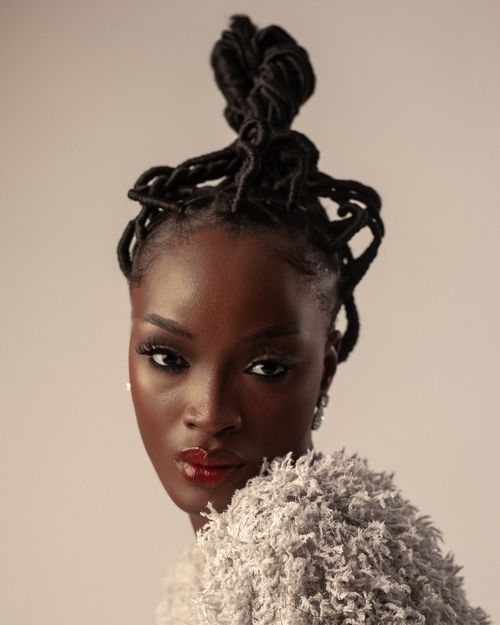
- Step 1: Part your hair to one side and braid a loose three-strand braid along the heavier side, from temple to nape.
- Step 2: Gather the braid together with the rest of your hair into a low ponytail.
- Step 3: Twist the ponytail into a bun and pin it, tucking the braid’s tail into the bun.
- Step 4: Pancake the braid gently for fullness and set everything with hairspray.
- Why it works: The braid adds all the interest, so the bun itself can be simple — nobody will know it took eight minutes.
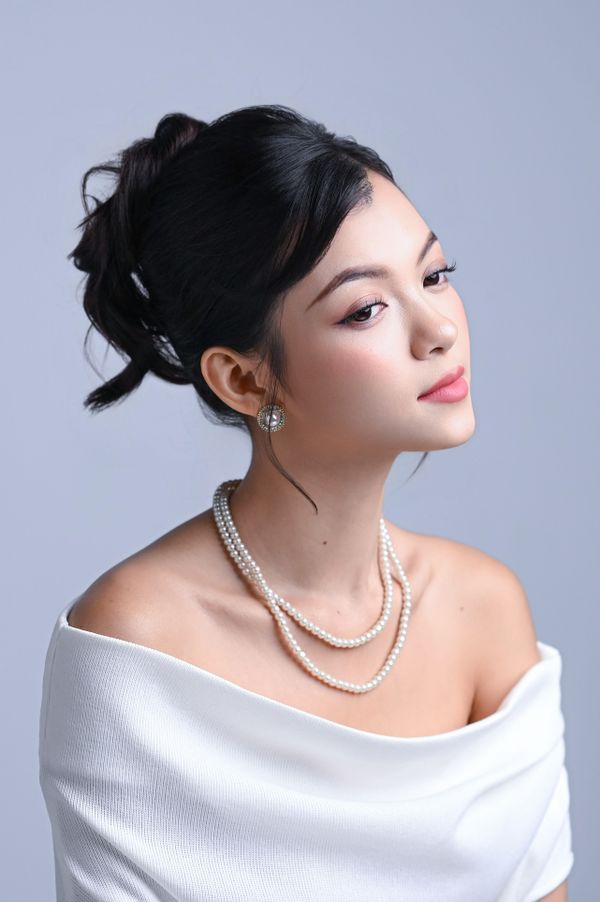
4. Effortless Messy Top Knot
The messy top knot only looks effortless when you build the texture first — here is how to get it right in six steps instead of redoing it six times.
Flip your head upside down and gather your hair into a high ponytail — the flip gives you instant volume at the crown. Backcomb the ponytail lightly, then twist it loosely and wrap it around its base. Pin as you go, leaving the ends to poke out naturally. Once upright, pull a few pieces loose around your face and gently tug at the knot for that undone fullness. Finish with a texturizing spray rather than a stiff hairspray so the style keeps its soft movement. The whole process takes about six minutes, and second-day hair actually works better than freshly washed.
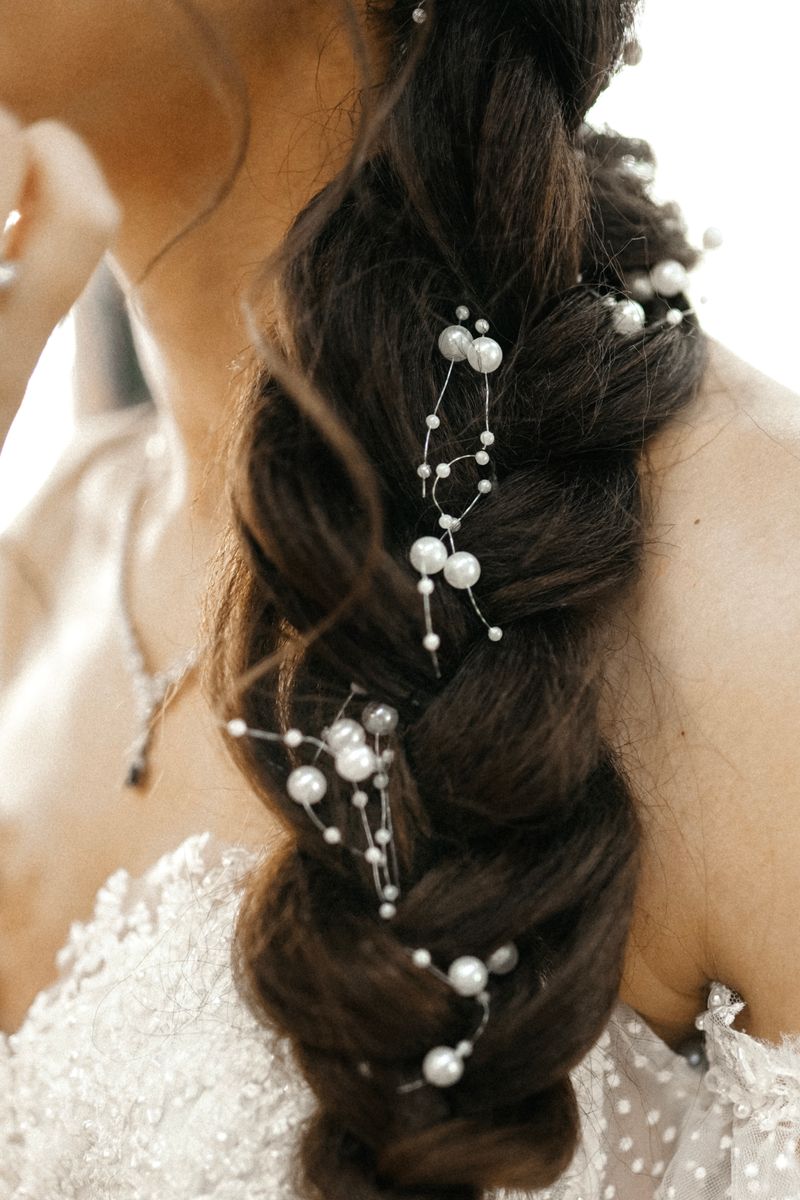
5. Simple Three-Strand Braided Ponytail
If you can braid at all, you can do this. It is the easiest style on this list, and the pearls-or-no-pearls version both look wedding-ready.
- Step 1: Pull your hair into a ponytail at your preferred height and secure tightly.
- Step 2: Braid the ponytail in a classic three-strand braid all the way down.
- Step 3: Tie off with a clear elastic and pancake the braid for fullness.
- Step 4: Wrap a small strand of hair around the base elastic and pin underneath.
For a wedding upgrade, weave a thin ribbon through the braid or slide in a few pearl pins. The wrapped base is the detail that takes it from gym to guest list.
6. Ten-Minute French Twist Shortcut
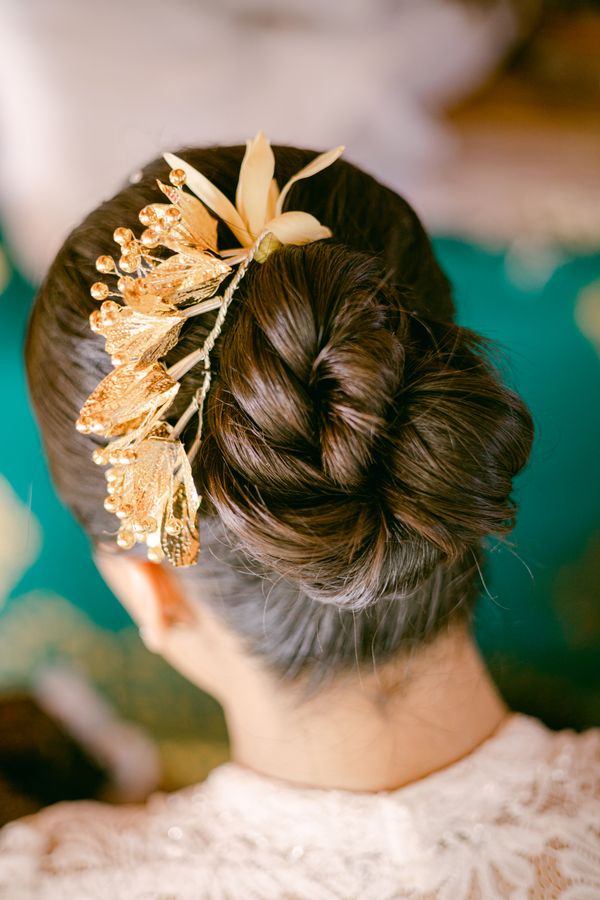
A traditional French twist takes practice. This shortcut version takes ten minutes and a single hair stick — and I have worn it to two weddings with zero touch-ups needed.
Gather your hair as if making a low ponytail but do not secure it. Twist the whole handful upward against the back of your head, folding the ends down into the twist’s pocket. Slide a hair stick or two large bobby pins diagonally through the roll to anchor it. The trick is twisting tightly at the start and then gently loosening the surface with your fingertips for that modern softness. Tuck any escaping ends back in and mist the inside of the roll with hairspray. Done — elegant, secure, and deceptively simple.
- Best For: Medium to long hair; works on straight and wavy textures.
- Pro Tip: A decorative hair stick doubles as your accessory — one purchase, two jobs done.
7. Easy Bubble Ponytail for Beginners

- Step 1: Secure your hair in a ponytail — high, mid, or low all work.
- Step 2: Place small clear elastics every 2–3 inches down the ponytail.
- Step 3: Gently pull each section outward with your fingertips to form round bubbles.
- Step 4: Wrap the top elastic with a strand of hair for a finished look.
- Best For: Long hair; fine hair loves this because the bubbles fake serious fullness.
- Pro Tip: Keep the bubbles even in size — measure with your fingers so the style looks intentional, not lumpy.
8. Flat-Iron Beach Waves in Fifteen Minutes
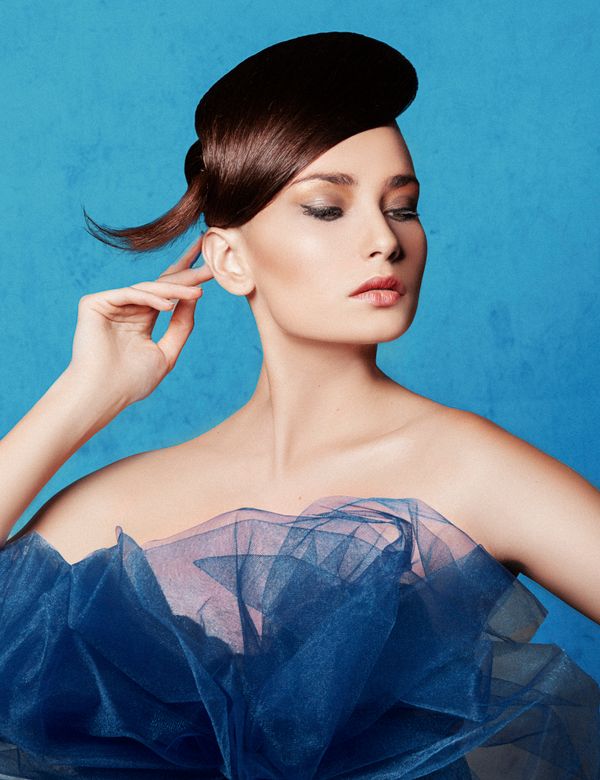
No curling wand? No problem. Your flat iron makes faster, more natural-looking waves — and most of us already own one.
Clamp a one-inch section near the roots, twist the iron a half-turn away from your face, and glide it slowly down to the ends. Work in big sections to keep it fast; beach waves are supposed to look imperfect. Once every section is waved, flip your head over, shake, and rake through with your fingers. A salt spray or light texturizer finishes it. The whole head takes about fifteen minutes, and the waves look better slightly lived-in — so this is one style where rushing actually helps.
9. Lazy-Girl Low Chignon

This is the updo for people who claim they cannot do updos. There is no twisting technique to learn and no perfect sections to measure — just gather, loop, and pin.
Pull your hair into a loose low ponytail. On the last pull-through of the elastic, stop halfway so the hair forms a loop with the ends hanging down. Wrap those ends around the base of the loop and pin them underneath. Fan the loop out slightly with your fingers so it looks full, and pull a few soft pieces out around your face. That is the entire style: four moves, under seven minutes, and it looks like a proper chignon from every angle. It works best on medium to long hair and holds well on second-day texture.
10. Simple Waterfall Braid Accent
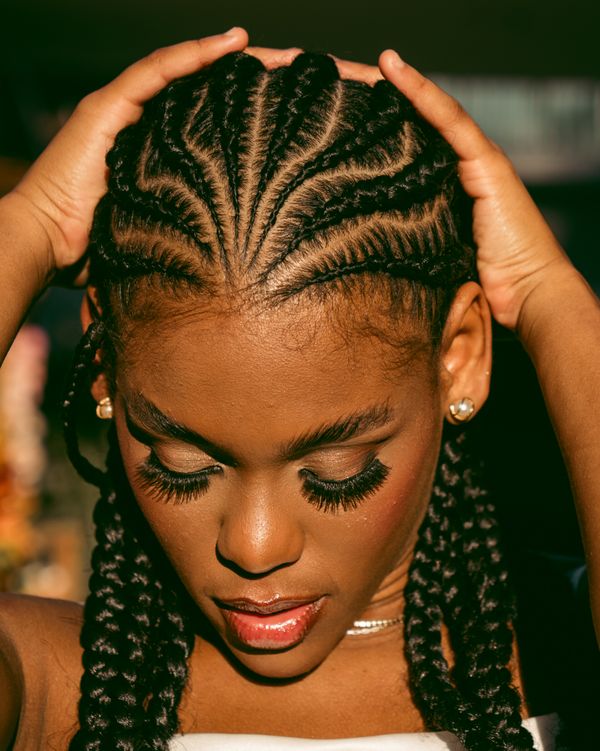
- Step 1: Take a 2-inch section near your temple and divide it into three strands.
- Step 2: Braid one stitch normally, then drop the bottom strand and pick up a new section of hair in its place.
- Step 3: Repeat the drop-and-replace rhythm across the back of your head.
- Step 4: Secure the end behind your ear with crossed bobby pins.
- Best For: Long hair; the cascading pieces need length to show.
- Pro Tip: Practice the drop-and-replace motion twice on dry hair before the wedding day — the rhythm clicks fast.
11. Two-Minute Sleek Low Ponytail
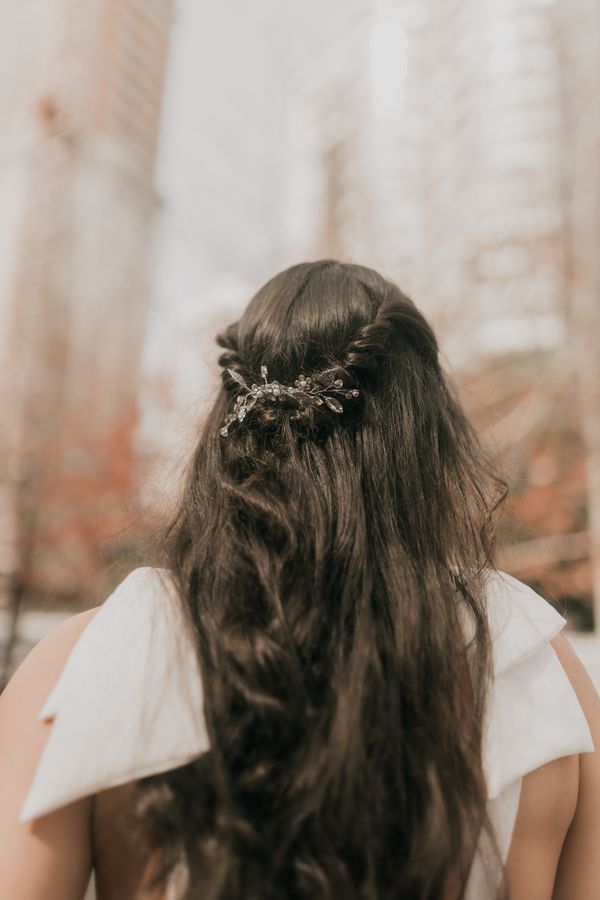
Is two minutes really enough for wedding hair? When the style is this clean, yes.
Brush everything straight back — no part, no fuss — into a low ponytail at the nape and secure it firmly. Take a thin strand from underneath the ponytail, wrap it around the elastic two or three times, and pin the end underneath. Smooth the crown with a boar bristle brush and press a tiny amount of serum over the surface for shine. The absence of a part is what makes it look sleek and modern rather than plain. It suits every hair length past the chin and every texture, and it keeps your neckline and earrings completely visible for photos.
12. Easy Twisted Crown Headband Style
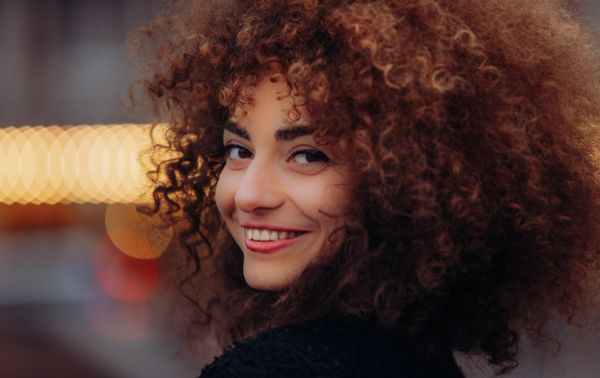
- Step 1: Part your hair down the middle.
- Step 2: Starting at one temple, twist a 2-inch section back along your hairline, adding hair as you go like a French braid.
- Step 3: Repeat on the other side and join both twists at the back with pins.
- Step 4: Leave the rest of your hair down — curl it or keep it natural.
The two twists meet to form a headband effect that keeps hair off your face all day. It takes about eight minutes once you have done it once, and it works on wavy, curly, and straight hair alike. Add a little texturizing spray to the twists before pinning so they grip.
13. Fast Half-Up Bubble Braid
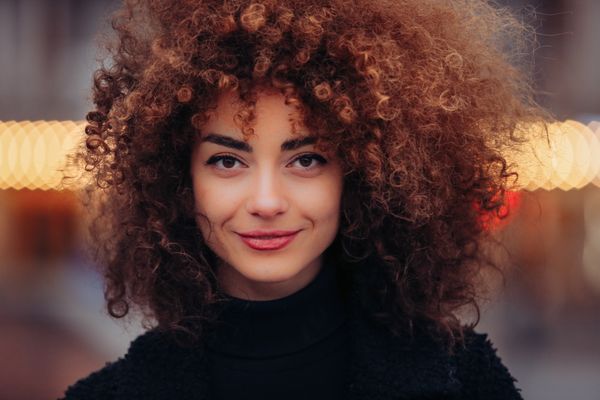
Take the top half of your hair and secure it in a small ponytail at the crown. Now add clear elastics down that ponytail every two inches and puff each section out with your fingers. That is the whole style — a bubble braid sitting on top of loose hair — and it takes about five minutes.
What makes it wedding-worthy is the contrast: the structured bubbles on top against soft hair below. Curl the loose lengths first if you have time, or leave them natural if you do not. This is especially flattering on long hair and gives fine hair the illusion of much more volume. Wrap the top elastic with a strand of hair and you are done. It photographs beautifully from behind during the ceremony.
14. Simple Rolled Chignon With Bobby Pins
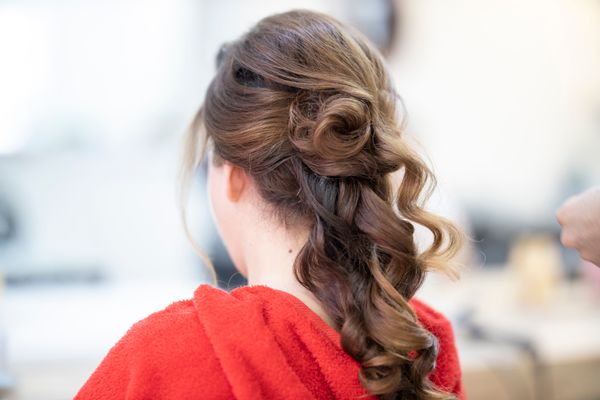
Want the oldest trick in the styling book? The rolled chignon has been getting women through formal events for decades because it never fails.
Gather your hair into a low ponytail and twist it upward, rolling it against the back of your head. Tuck the ends into the roll and secure with bobby pins placed in an X pattern — the crossing is what gives real hold. Gently loosen the roll with your fingertips for softness, and pull out two thin face-framing pieces. The X-pinned structure means this survives wind, hugs, and an entire evening of dancing. It works on medium to long hair and looks particularly elegant with a side part.
15. Easy Side-Swept Fishtail Braid
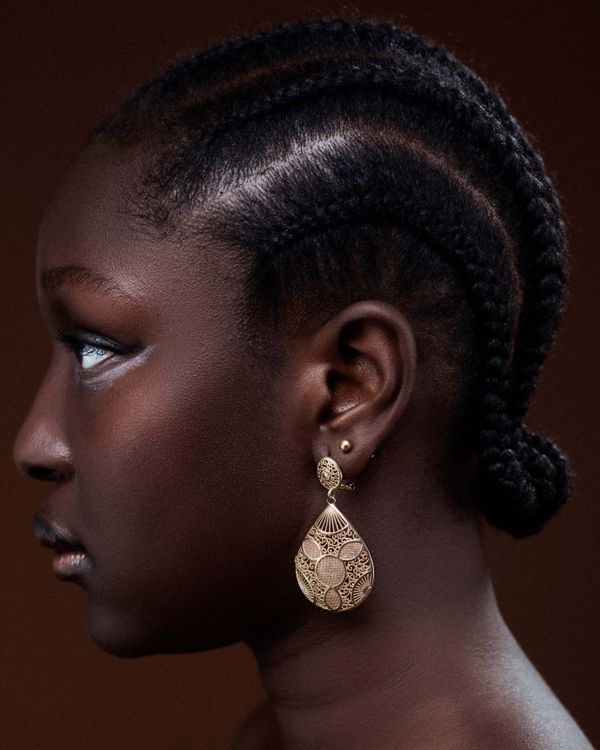
I learned the fishtail braid the night before a wedding from a five-minute video, and by morning I could do it half-asleep. If I can learn it that fast, so can you.
Sweep all your hair over one shoulder and split it into two equal sections. Take a thin piece from the outside of the left section, cross it over, and join it to the right section — then mirror on the other side. Keep going, keeping your tension loose. Tie it off, pancake the braid wide, and wrap the elastic. The fishtail looks intricate but uses the simplest possible motion repeated over and over. Long hair shows it best, and a little texturizing spray beforehand keeps silky hair from slipping through your fingers.
- Best For: Long hair, all textures.
- Pro Tip: Smaller crossed pieces make a more delicate, detailed-looking braid — take your time on the first few stitches.
16. Quick Voluminous Ponytail Trick

- Step 1: Split your hair horizontally into a top half and a bottom half.
- Step 2: Secure the bottom half in a ponytail at mid-height.
- Step 3: Secure the top half in a ponytail directly above it, letting it fall over the lower one.
- Step 4: Tease the top ponytail lightly at its base and smooth the surface.
- Why it works: The hidden lower ponytail props up the top one, faking dramatically thicker, longer-looking hair in minutes.
This is the backstage trick behind half the voluminous ponytails you see in photos. It takes five minutes, works on medium to long hair of any texture, and the double-elastic structure holds its lift all day. Curl the ends for extra polish.
17. Simple Pinned Faux-Bob Updo
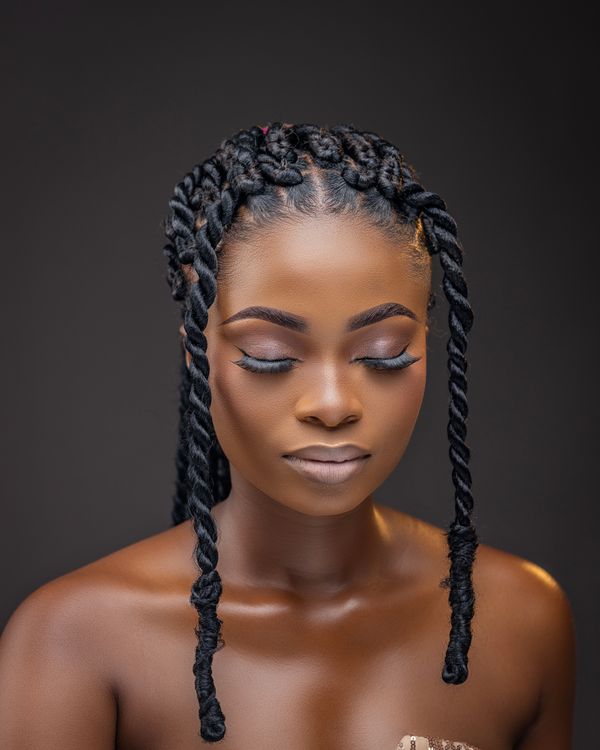
Love the look of a chic bob for one evening without the commitment of scissors? The faux-bob tucks your length away and fakes a short cut in about ten minutes.
Curl your hair first for the texture that sells the illusion. Then gather it into a loose low ponytail, roll the ponytail upward, and pin the roll flat against the back of your head, tucking the ends underneath so no length shows. Arrange the pinned hair so it falls like a bob’s rounded shape, and pull a few pieces forward around your face. The curls are what make it read as a real bob rather than an updo. Medium to long hair works best, and the style is wonderfully secure once pinned.
18. Easy Braided Headband With Hair Down
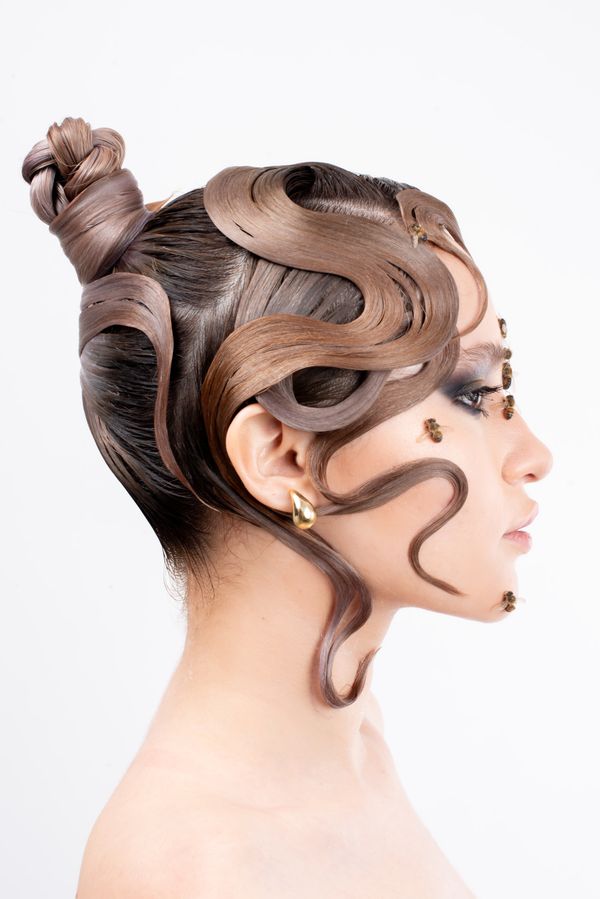
- Step 1: Take a 2-inch section behind one ear and braid it into a simple three-strand braid.
- Step 2: Bring the braid up and over the top of your head like a headband.
- Step 3: Pin the end behind the opposite ear, tucking it under your hair.
- Step 4: Pancake the braid for fullness and leave the rest of your hair down.
- Best For: Medium to long hair; works on straight, wavy, and curly textures.
19. Ten-Minute Soft Curls With Hot Rollers

Remember hot rollers? They are still the fastest route to soft, bouncy curls — and you can do your makeup while they set.
Heat the rollers and roll large sections of dry hair up and away from your face, clipping each in place. While they cool — about ten minutes — do your makeup or finish getting dressed. Unroll, flip your head over, and shake the curls out with your fingers. Run a wide-tooth comb through once for softness and finish with a flexible hairspray. The multitasking is the real win here: your hair styles itself while you handle everything else. This works beautifully on medium to long hair and gives fine hair volume that lasts for hours.
20. Easy Double-Twist Updo
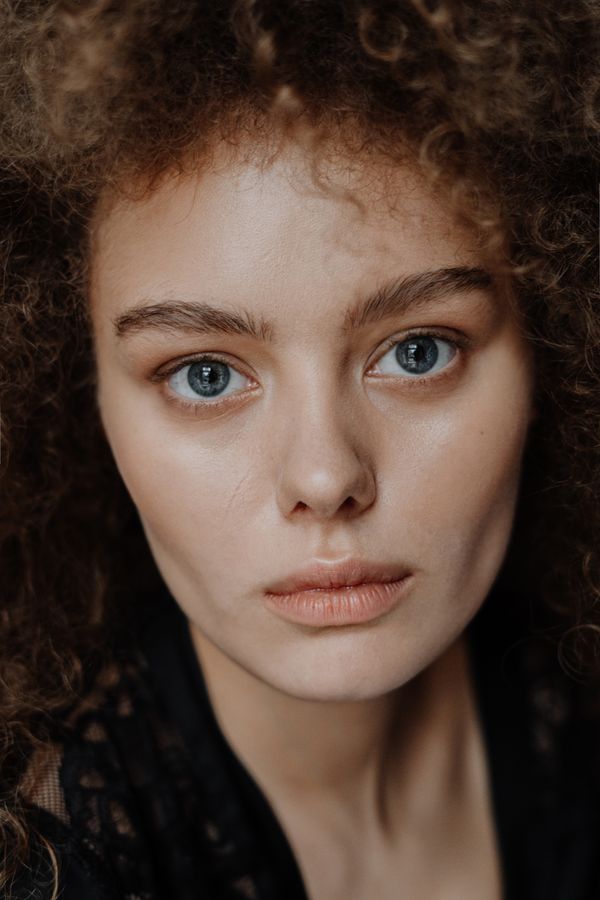
Two twists, one bun, ten minutes — this was my go-to throughout last wedding season and it never once let me down.
Part your hair down the middle and twist each side back toward the nape, securing each twist temporarily with a clip. Join both twists into a single low ponytail, then twist that ponytail into a bun and pin it. Release the clips as you gather so the side twists flow smoothly into the bun. The double twists add beautiful detail at the sides while the bun keeps everything neat for the formal parts of the day. It works on medium to long hair of any texture, and the symmetrical twists are very forgiving — they do not need to match perfectly to look intentional.
- Best For: Medium to long hair, all textures.
- Pro Tip: Apply a dab of styling cream to each section before twisting — it tames flyaways and helps the twists hold their shape.
CONCLUSION
Easy wedding guest hair is about smart shortcuts, not settling. Pick the style whose steps felt simplest when you read them, do one practice run this week, and keep a few bobby pins and a travel hairspray in your clutch on the day.
📌 Save this post to your wedding hairstyles board on Pinterest so you have gorgeous hair inspiration for every celebration!