
20+ Easy Party Hairstyles For Long Hair — Step by Step 2026
Got a party on Friday and absolutely no idea what to do with your long hair? You’re not alone. The funny thing is, long hair is basically a styling playground — ten minutes, a few bobby pins, and you can go from everyday to event-ready without a salon appointment.
I’ve rounded up 20 genuinely easy party hairstyles below, each broken down step by step so you’re never standing in front of the mirror guessing. No pro skills required — just your hair, a brush, and maybe a friend on standby for the trickier braids.
Whether you’re into sleek and polished or soft and romantic, there’s something here with your name on it. Let’s find your party hair.
1. Sleek High Ponytail
You know that feeling when you want to look put-together but you only have eight minutes? The sleek high ponytail is your answer. It’s the hairstyle equivalent of a great red lip — instantly polished, zero fuss, and it photographs beautifully from every angle.
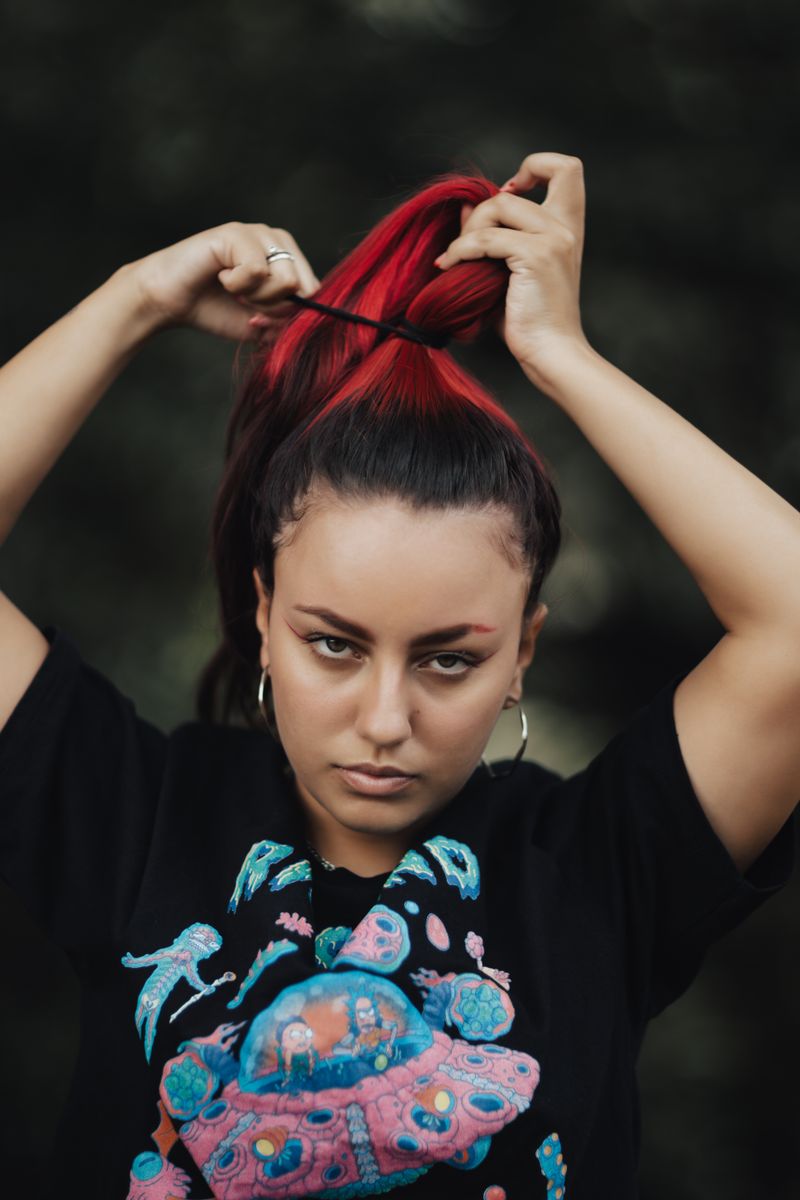
Start by brushing all your hair up toward the crown — flip your head upside down for extra lift at the roots. Secure with a strong elastic, then take a thin section from underneath the ponytail and wrap it around the base to hide the band, pinning it underneath. Smooth flyaways with a light mist of hairspray on a toothbrush (yes, really — it works better than your fingers). The trick is placement: the higher the ponytail sits, the more it lifts your whole face. Finish with a tiny drop of serum on the lengths for that glassy shine.
2. Soft Hollywood Waves
Nothing says “party” quite like soft, bouncy waves. Here’s how to get them without the whole look collapsing by 9pm:
- Prep with mousse: Work a golf-ball-sized amount through damp hair before blow-drying — this is what gives waves their staying power.
- Curl away from the face: Use a 1.25-inch iron, wrapping sections away from your face for that classic swoop.
- Cool before touching: Let every curl cool completely in your palm for five seconds. Touching hot curls is why waves fall flat.
- Brush it out: Once cool, gently brush through with a paddle brush to melt the curls into soft waves.
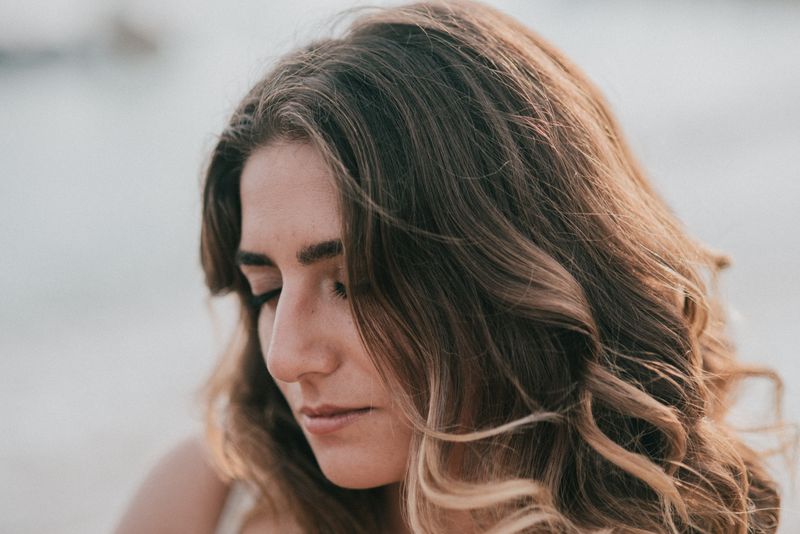
A light-hold hairspray misted from arm’s length keeps everything touchable, not crunchy. If your hair refuses to hold a curl, try curling second-day hair instead of freshly washed — the natural oils give the style something to grip.
3. Messy Top Knot
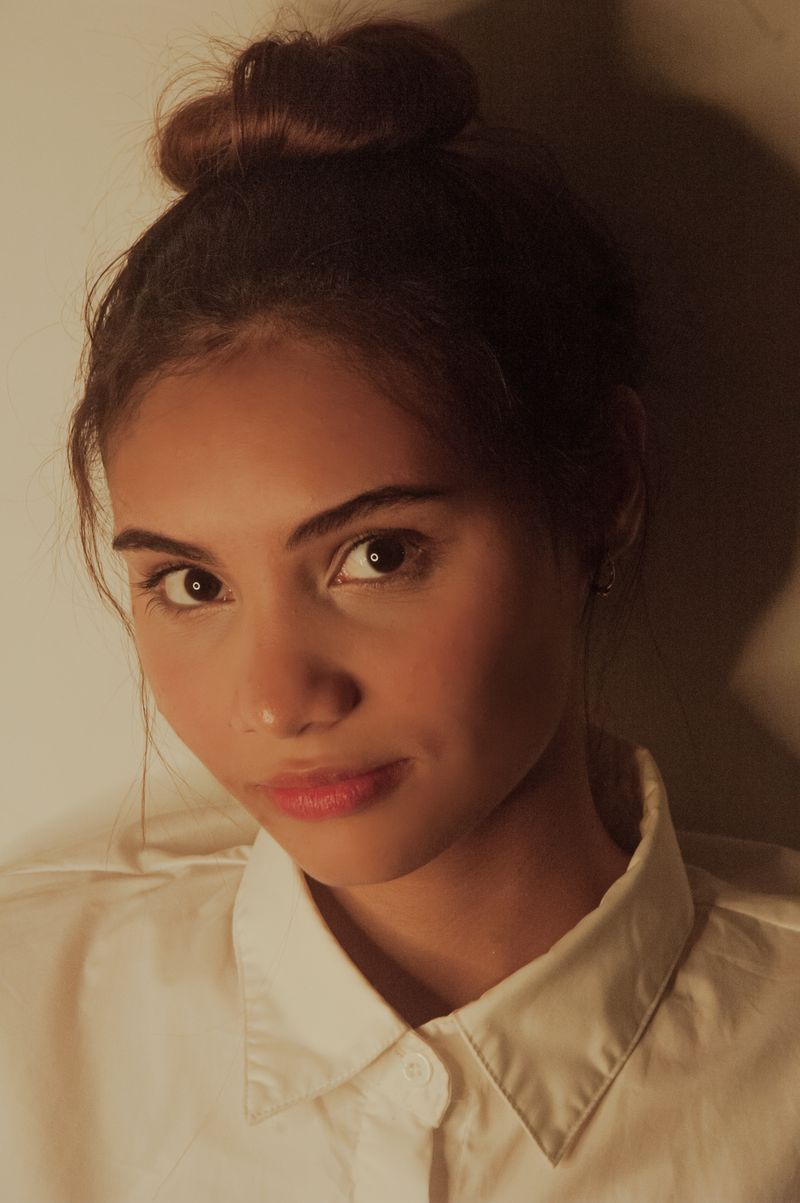
Let me explain why the messy top knot never goes out of style: it’s the rare updo that looks better slightly imperfect. Stray pieces aren’t mistakes here — they’re the whole point. Flip your head over, gather everything into a high ponytail, and twist the lengths loosely around the base.
Secure with bobby pins pushed in at different angles (crossing them in X shapes holds twice as well), then gently tug at the knot to loosen it. Pull out a few face-framing strands and you’re done. The whole thing takes under three minutes, which leaves you more time for eyeliner.
4. Classic French Twist
Want to look like you have your life completely together? The French twist is pure old-Hollywood elegance, and it’s secretly one of the easiest updos once you get the motion down.
Gather all your hair to one side at the nape, then twist it upward along the back of your head, tucking the ends into the twist as you go. Pin along the seam with bobby pins, sliding them in vertically so they disappear into the twist. The magic move: once pinned, gently pull the twist outward with your fingertips to fatten it up — a skinny twist looks severe, a full one looks expensive.
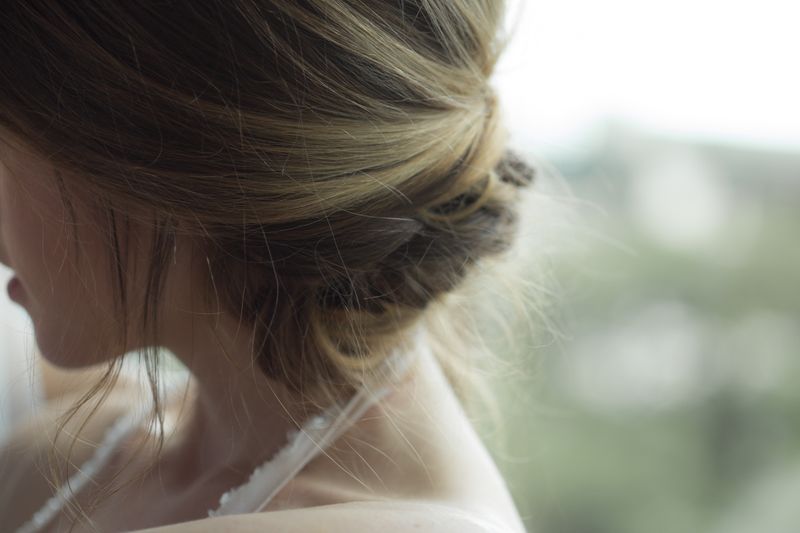
Smooth the front with a boar-bristle brush for that sleek finish, and add a decorative pin or small comb on one side if you’re feeling fancy. This style holds beautifully through dinner, dancing, and that long goodbye at the door.
5. Side-Swept Curls
- Deep side part: Part your hair dramatically to one side — the deeper the part, the more drama you get.
- Curl everything: Use a medium iron on all sections, curling in the same direction for uniform waves.
- Sweep and pin: Gather all the hair to one side and secure loosely at the nape with bobby pins tucked underneath.
- Drape over the shoulder: Let the curls fall over one shoulder and arrange them so they cascade, not clump.
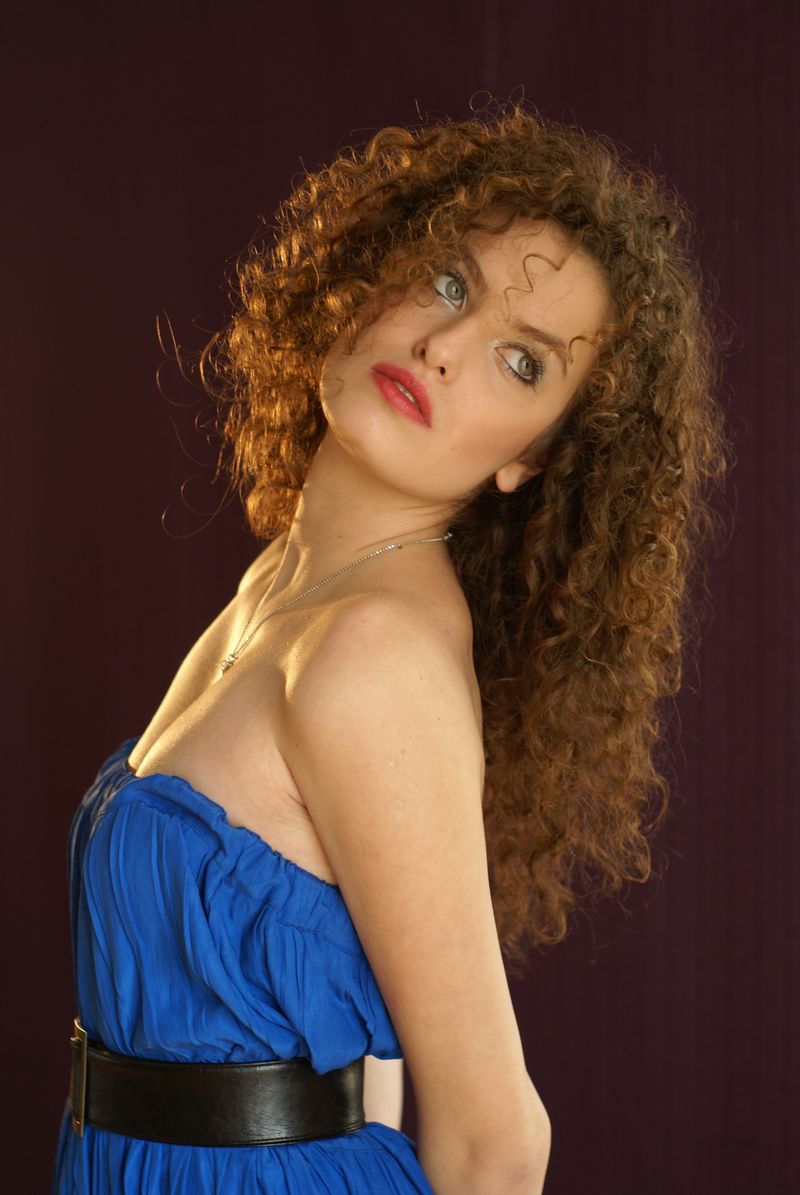
A pair of statement earrings on the exposed side completes the look. This is the hairstyle that makes people assume you hired someone.
6. Braided Crown
There’s something undeniably romantic about a braid wrapped around your head like a crown. It keeps every strand off your face (perfect for dancing), it works on second- or third-day hair, and it makes even a simple dress look intentional.
Part your hair down the middle and Dutch-braid each side from the hairline toward the nape — Dutch braiding (crossing under instead of over) makes the braid pop outward beautifully. Cross the two braids over each other at the back and pin them along the crown, tucking the ends underneath. Pancake the braids gently by tugging the edges outward for a fuller, softer crown.
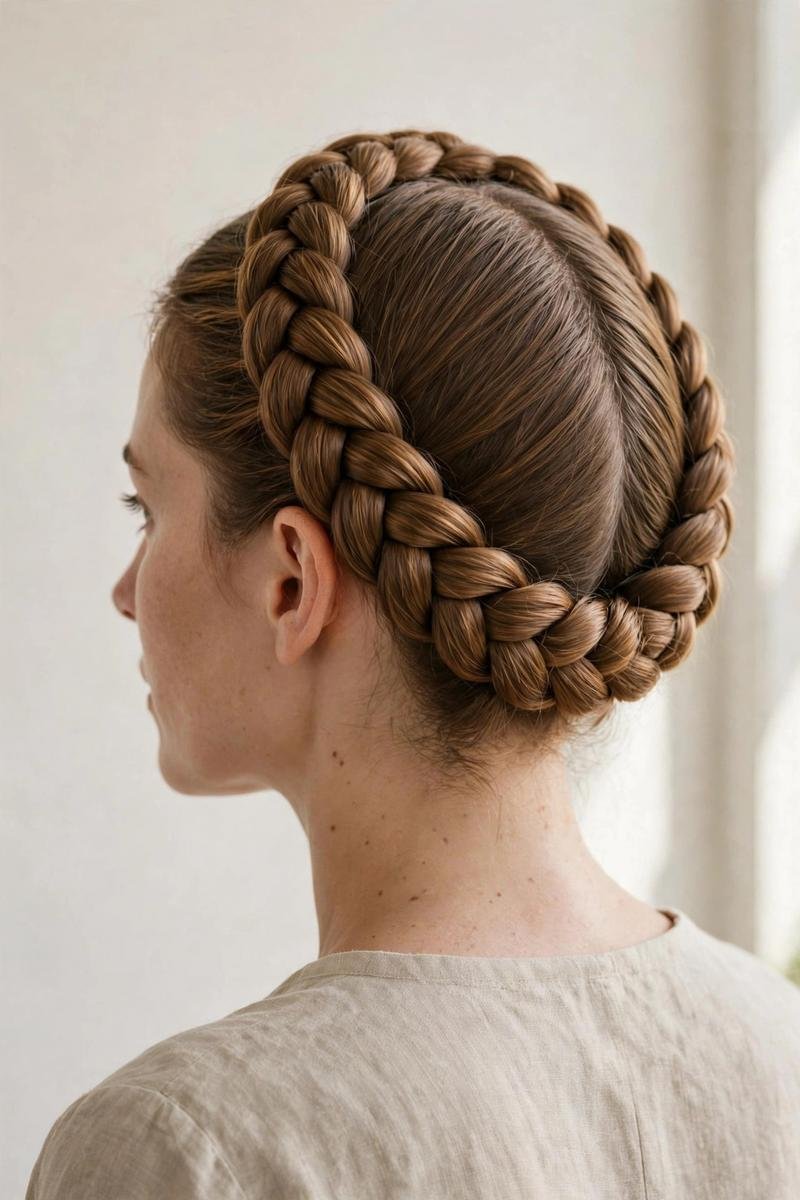
If your braiding skills are shaky, cheat: do two simple three-strand braids and pin them up the same way. From the front, nobody can tell the difference — promise.
7. Low Sleek Bun
The low sleek bun is the quiet luxury of party hairstyles. No height, no drama — just smooth, glossy perfection sitting at the nape. It’s the ideal partner for a bold lip or statement earrings because it never competes for attention.
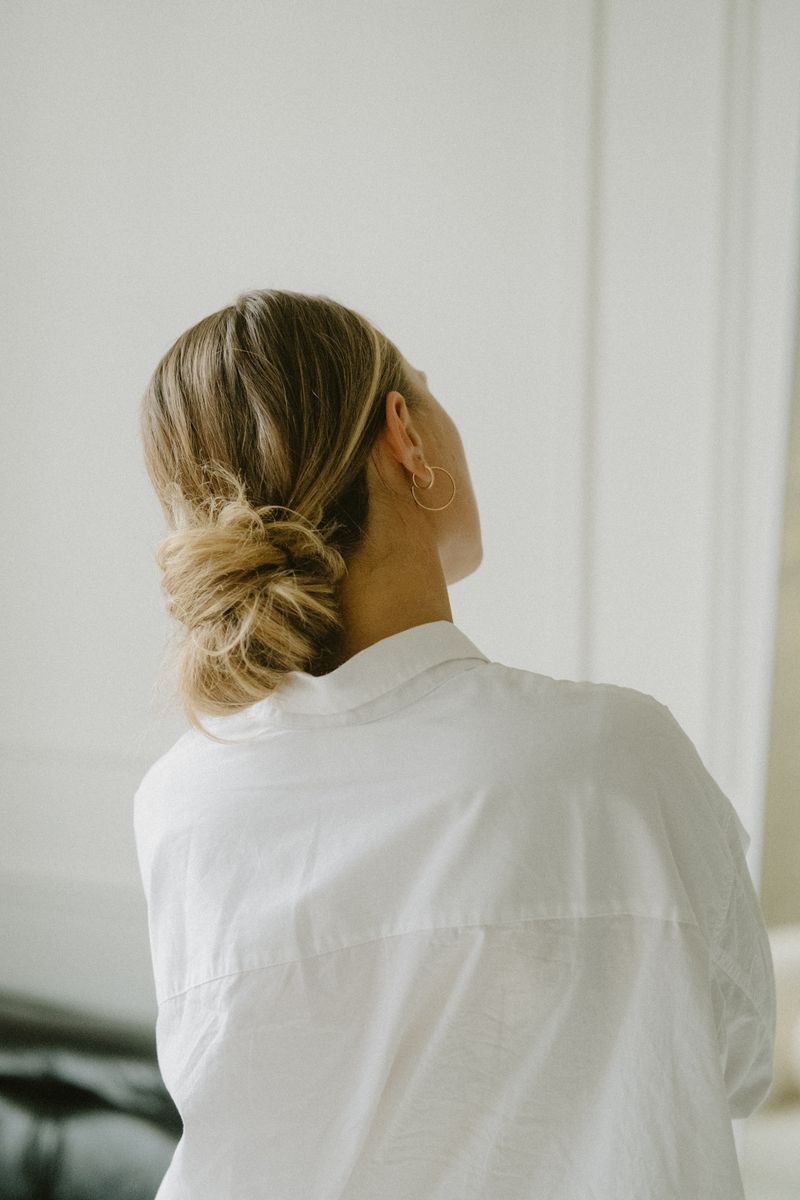
Apply a smoothing cream to damp hair and blow-dry straight, then gather into a low ponytail. Twist the ponytail into a neat coil and pin it flat against your head, tucking the ends under. The non-negotiable step: a fine mist of strong-hold hairspray, then smooth a dryer sheet over the surface to kill static and flyaways. For extra polish, wrap a small section around the base. Center part or deep side part both work — pick whichever flatters your face shape more.
8. Half-Up Twisted Crown
Can’t decide between wearing your hair up or down? Don’t. The half-up twisted crown gives you the best of both — your length still shows, but your face is completely free for the whole night.
- Section it: Take a two-inch section from each temple, leaving the rest down.
- Twist back: Twist each section away from your face, adding a little more hair as you go like a French twist.
- Cross and pin: Cross the twists at the back of your head and pin them flat, overlapping the ends.
- Soften it: Gently tug the twists wider and pull out a few wisps around your face.
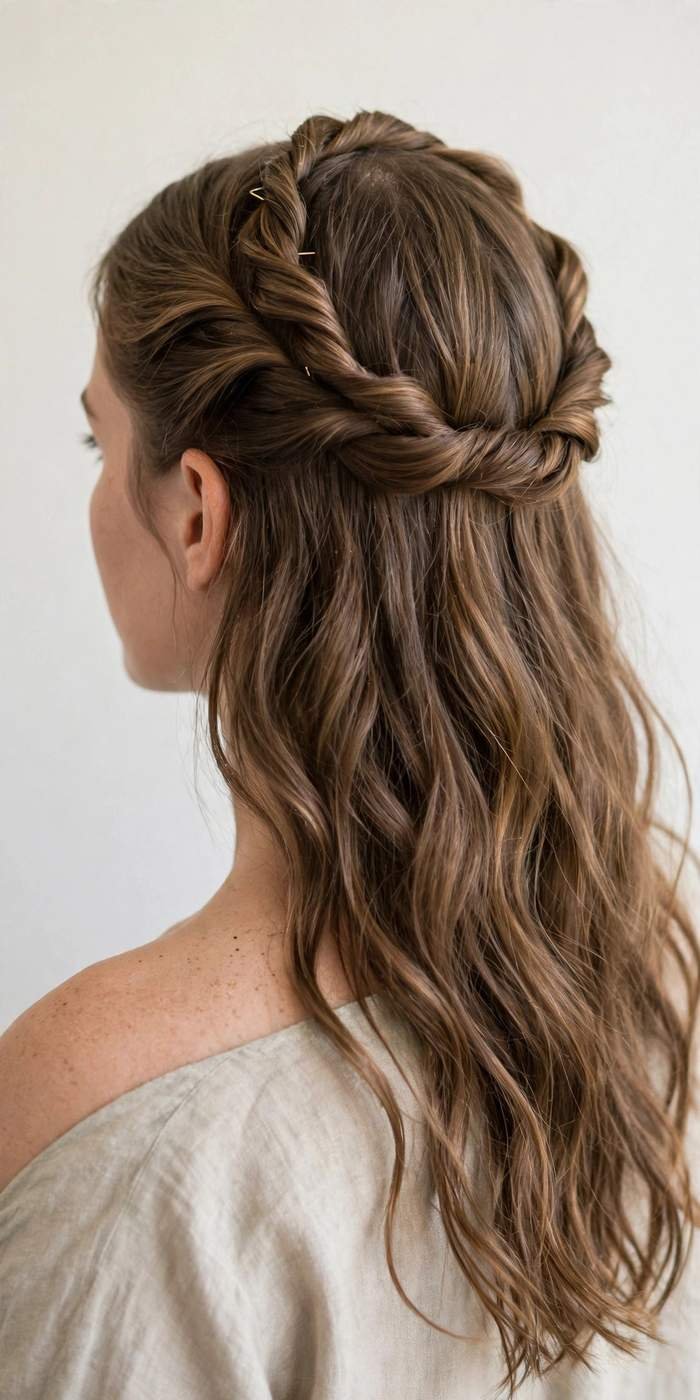
This works beautifully on wavy or curly hair because the texture hides every pin. Add a sprig of baby’s breath or a sparkly clip where the twists meet for instant party vibes.
9. Fishtail Side Braid
Okay, real talk: the fishtail braid looks impossibly intricate, but it’s literally just two sections. Two! If you can count to two, you can fishtail. Sweep all your hair over one shoulder, split it into two equal halves, then take a thin strand from the outside of the left section and cross it over to the right. Repeat on the other side, and keep going.
The thinner your strands, the more detailed the braid looks — but it also takes longer, so find your happy medium. Once you reach the end, secure with a clear elastic and then pancake the braid by gently pulling each section outward. This is what transforms it from “schoolgirl” to “stunning.”
10. Voluminous Blowout
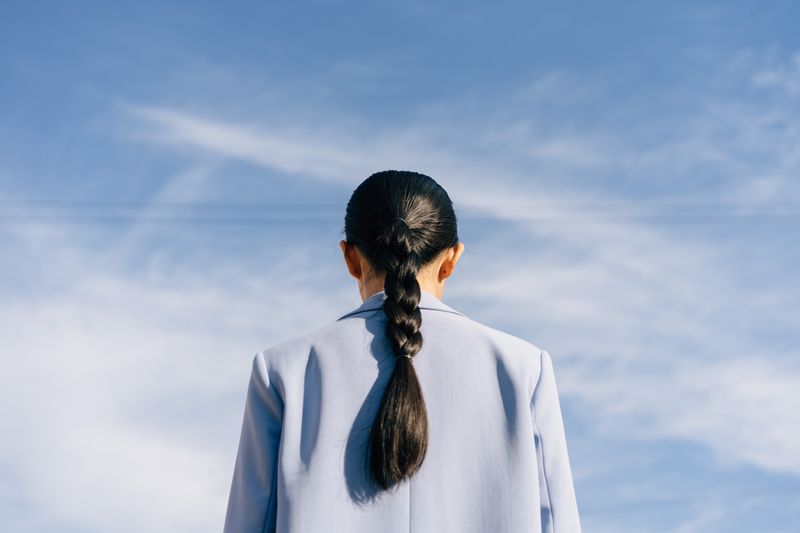
There are few things more party-ready than a big, bouncy blowout. The secret isn’t the brush — it’s the direction you dry. Flip your head upside down and rough-dry until you’re about 80% dry, focusing the airflow at the roots for lift.
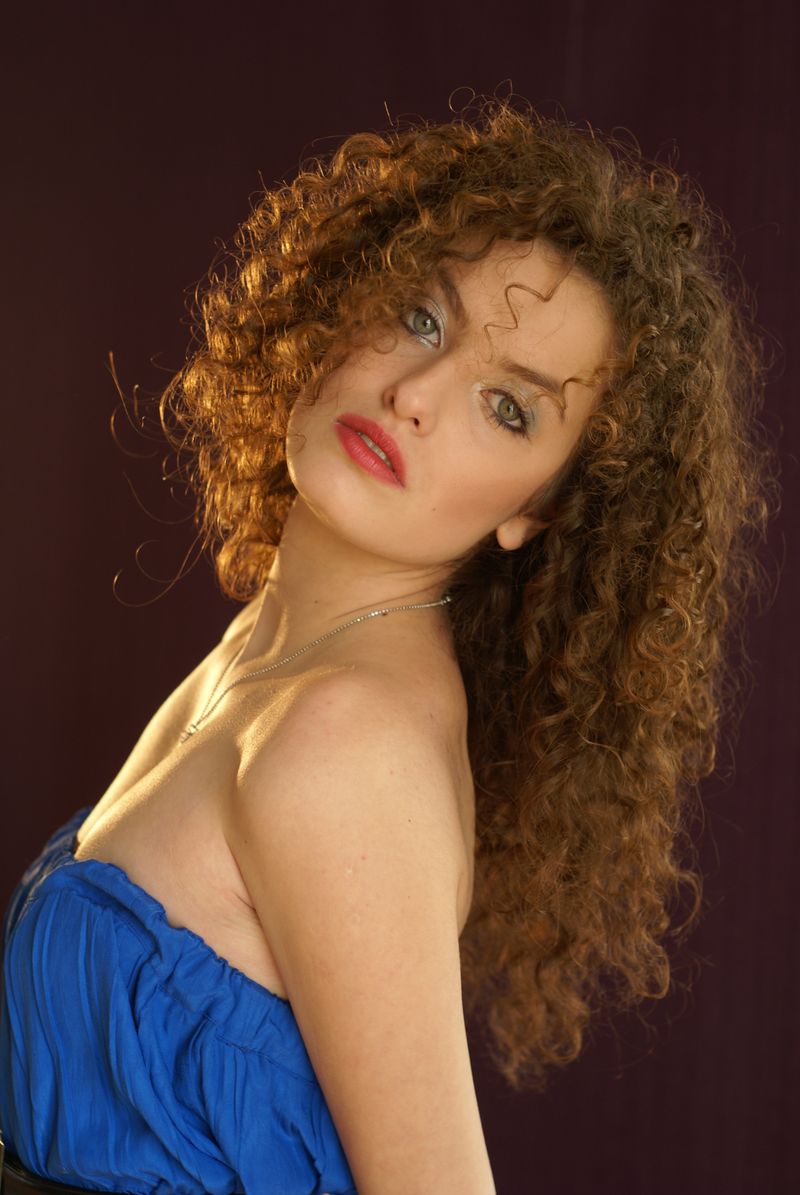
Then work in sections with a large round brush, rolling each section up and away from your face. The game-changer: once each section is dry and hot, roll it up and clip it to your head like a giant roller, and leave it while you do your makeup. When you take the clips out, you’ll have volume that actually survives the night. Finish with a cool shot from the dryer to set everything, and shake it out with your fingers — never a brush, which kills the bounce.
11. Polished Wrapped Ponytail
- Smooth the base: Brush hair into a mid-height ponytail, using a smoothing serum to tame the top layer completely flat.
- Secure tightly: Use two elastics stacked together for a ponytail that won’t droop by midnight.
- Wrap the base: Take a one-inch section from the ponytail, wrap it neatly around the elastic, and pin underneath.
- Straighten the tail: Run a flat iron over the ponytail in sections for that liquid-smooth finish.
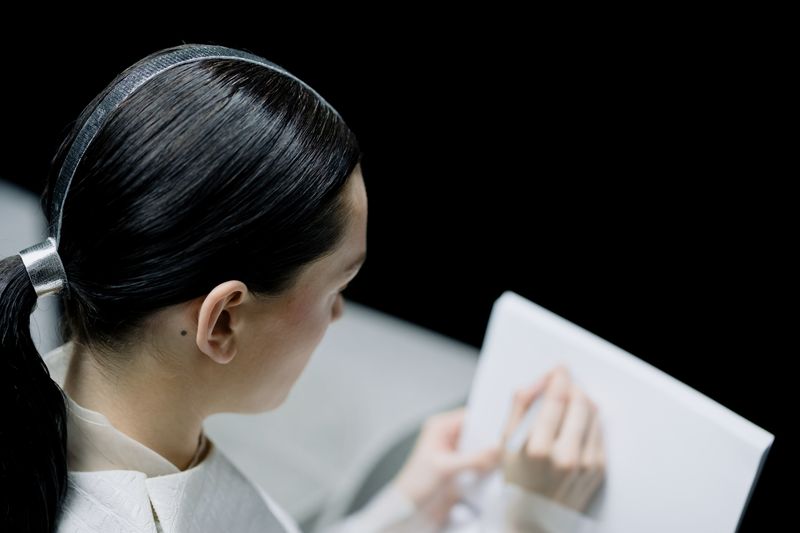
This is the ponytail that looks expensive. Pair it with a sharp outfit and watch people assume you spent an hour on your hair. You spent twelve minutes.
12. Elegant Low Chignon
When the invitation says “cocktail attire” and you want to look like you belong in a champagne ad, the low chignon delivers. It’s soft, it’s graceful, and it has that undone French elegance that’s impossible to overdo.
Make a loose low ponytail, then twist it up into a soft knot at the nape, allowing the twist to stay loose and airy rather than pulled tight. Pin as you go, tucking ends wherever they naturally want to go. Then — and this is the important part — use the tail of a rattail comb to gently lift and loosen sections around the knot for that perfectly imperfect texture. Leave the front soft with a middle or side part, and pull out two thin strands to frame your face.
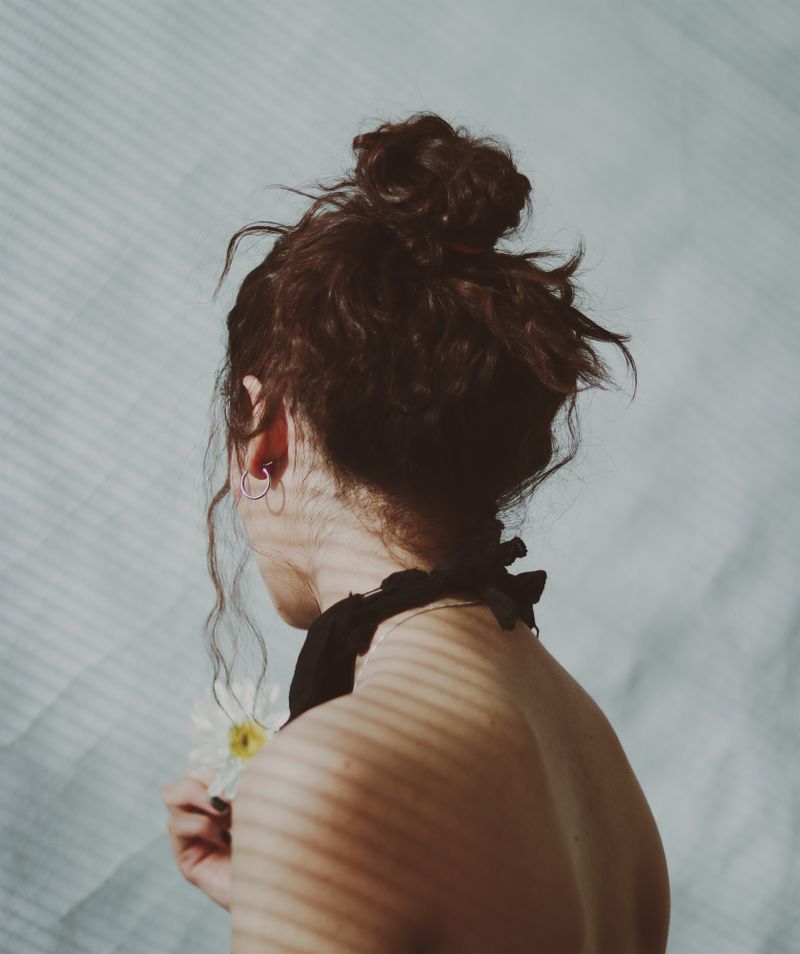
Tuck a small fresh flower or a pearl pin into one side and you’re basically a romance novel cover. This style is also wonderfully forgiving on fine hair — the looseness creates the illusion of thickness.
13. Waterfall Braid
The waterfall braid is pure magic: strands cascade through the braid like water over rocks, and people will absolutely ask how you did it. Here’s the trick — you braid normally, but every time you cross a section over, you drop the bottom piece and pick up a new one from underneath.
Start at one temple with a small three-strand braid. As you work across the back of your head, drop the lower strand each time and replace it with fresh hair from below the braid. That’s it. That’s the whole technique. The dropped pieces become the “waterfall.”
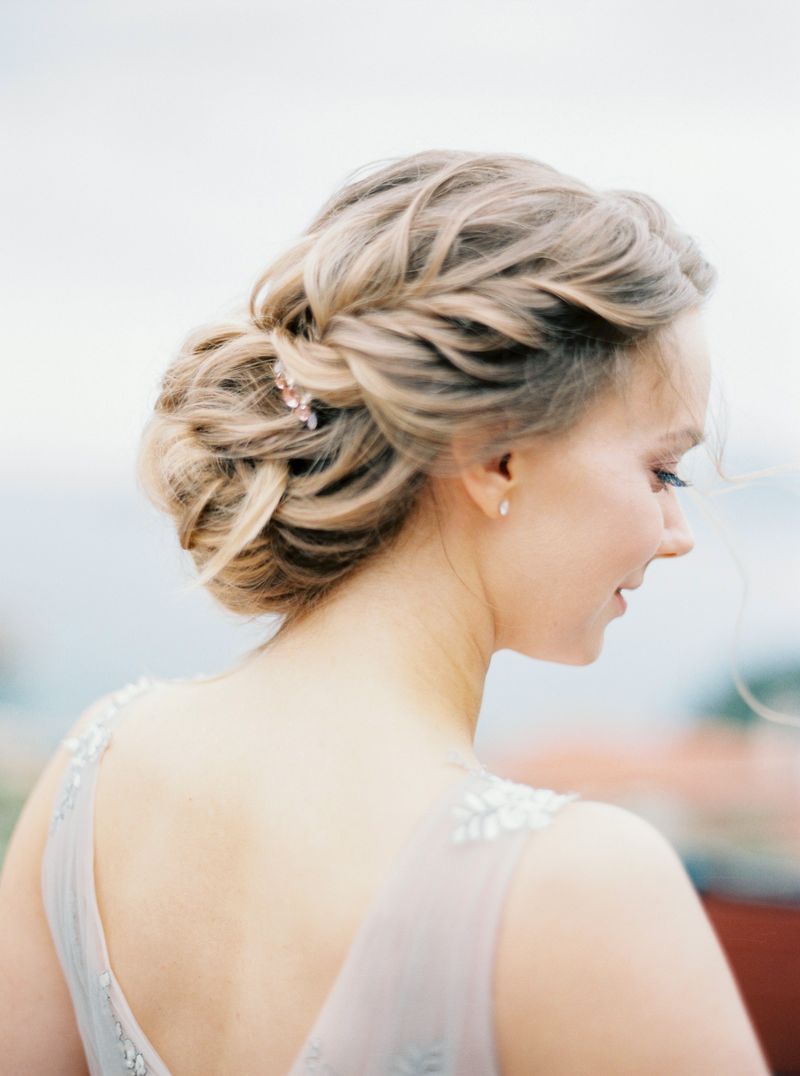
Work it across to the other side and pin the end discreetly, or let it trail into a regular braid. Curl the “waterfall” pieces lightly and they’ll catch the light every time you turn your head. Fair warning: practice this one once before party day.
14. Sleek Straight Middle Part
Sometimes the most striking party hair is the simplest. Glass-straight hair with a razor-sharp middle part has that model-off-duty energy that works with literally everything — a slip dress, a blazer, jeans and heels.
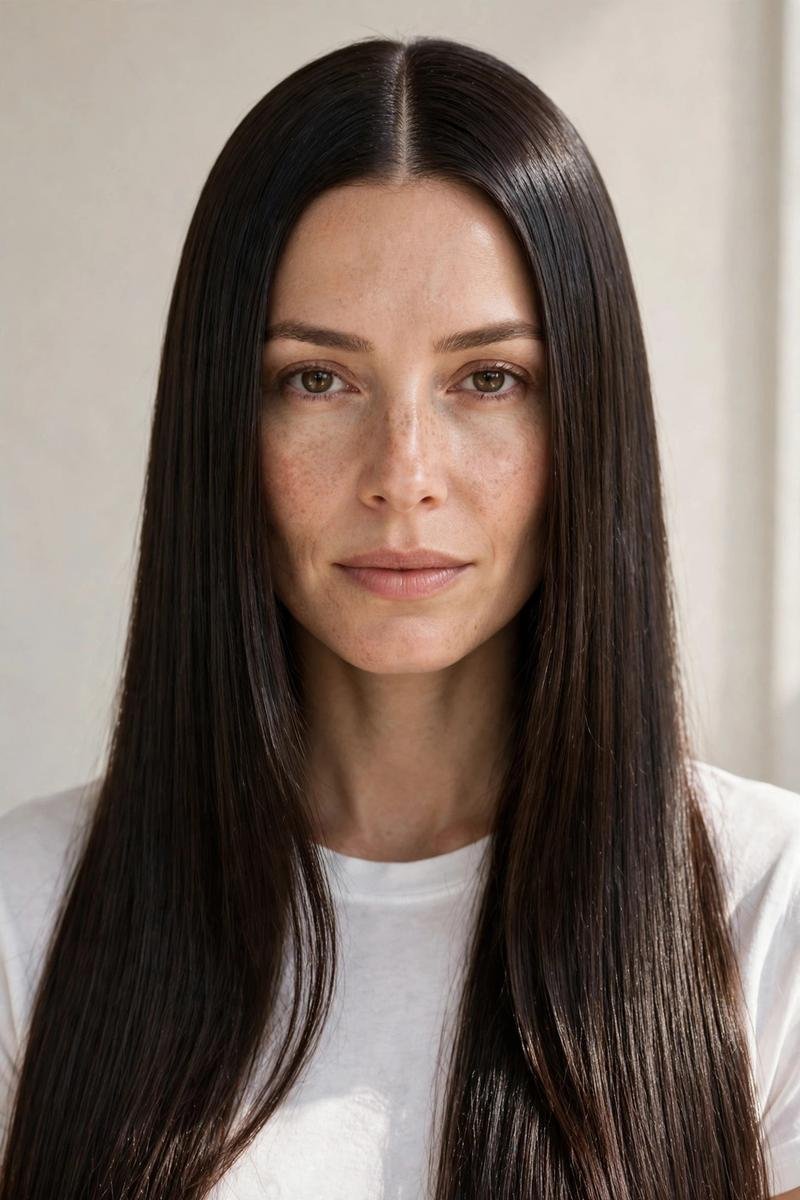
The key is in the prep, not the iron. Apply a heat protectant with smoothing properties to damp hair, then blow-dry with a paddle brush, pulling each section taut. Only then go in with the flat iron, working in thin sections with one slow pass each — multiple fast passes create frizz, not smoothness. Find your middle part with the handle of a comb for a perfectly straight line, and finish with a pea-sized amount of shine serum, focusing on the mid-lengths and ends. Tuck one side behind your ear to show off an earring and add a little asymmetry.
15. Soft Romantic Low Ponytail
Not every party look needs to be dramatic. The soft romantic low ponytail is for those evenings when you want to look beautiful without looking like you tried too hard — loose, touchable, and effortlessly pretty.
- Texture first: Add loose waves with an iron or braid damp hair overnight — texture is what keeps this from looking like a gym ponytail.
- Low and loose: Gather hair at the nape with a side part, keeping everything soft rather than pulled tight.
- Hide the elastic: Wrap a strand around the base or use a pretty scrunchie — velvet ones look especially luxe.
- Face-framers out: Pull out generous pieces around your face and curl them away for softness.
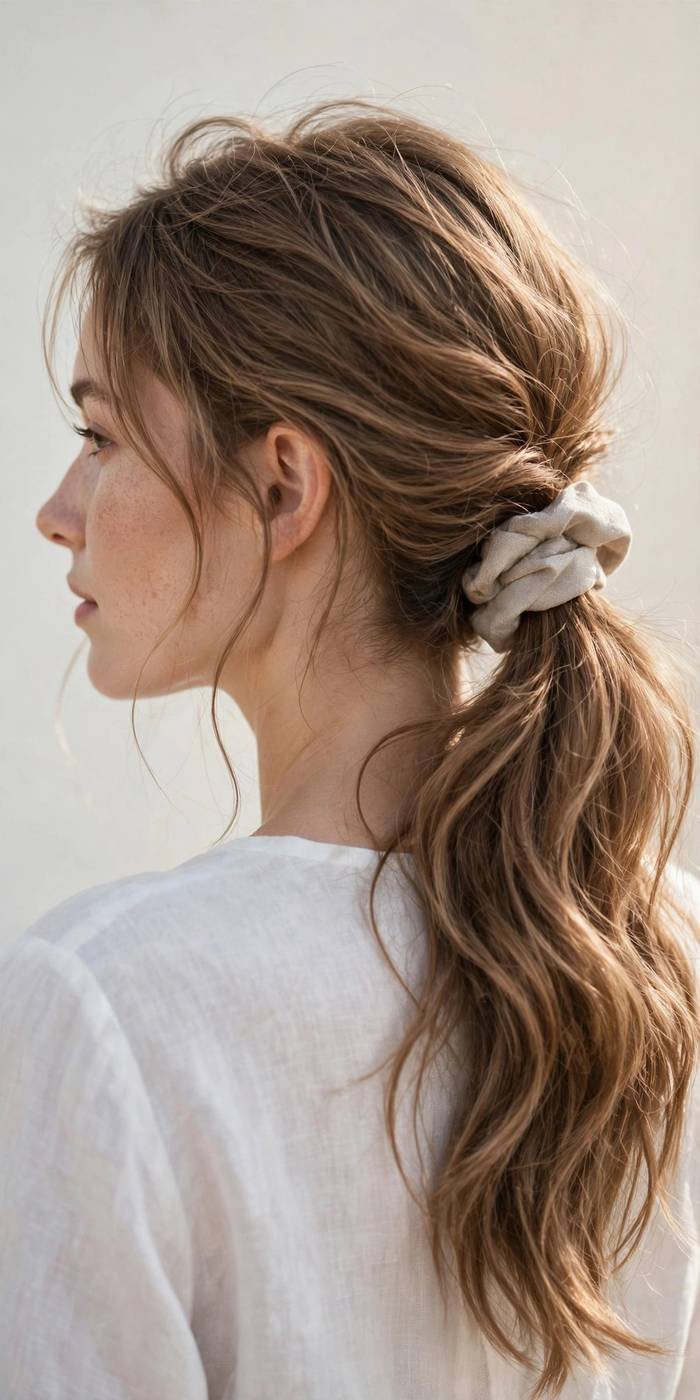
A spritz of texturizing spray through the tail gives it that airy, piece-y finish. This is the hairstyle equivalent of candlelight — flattering on everyone.
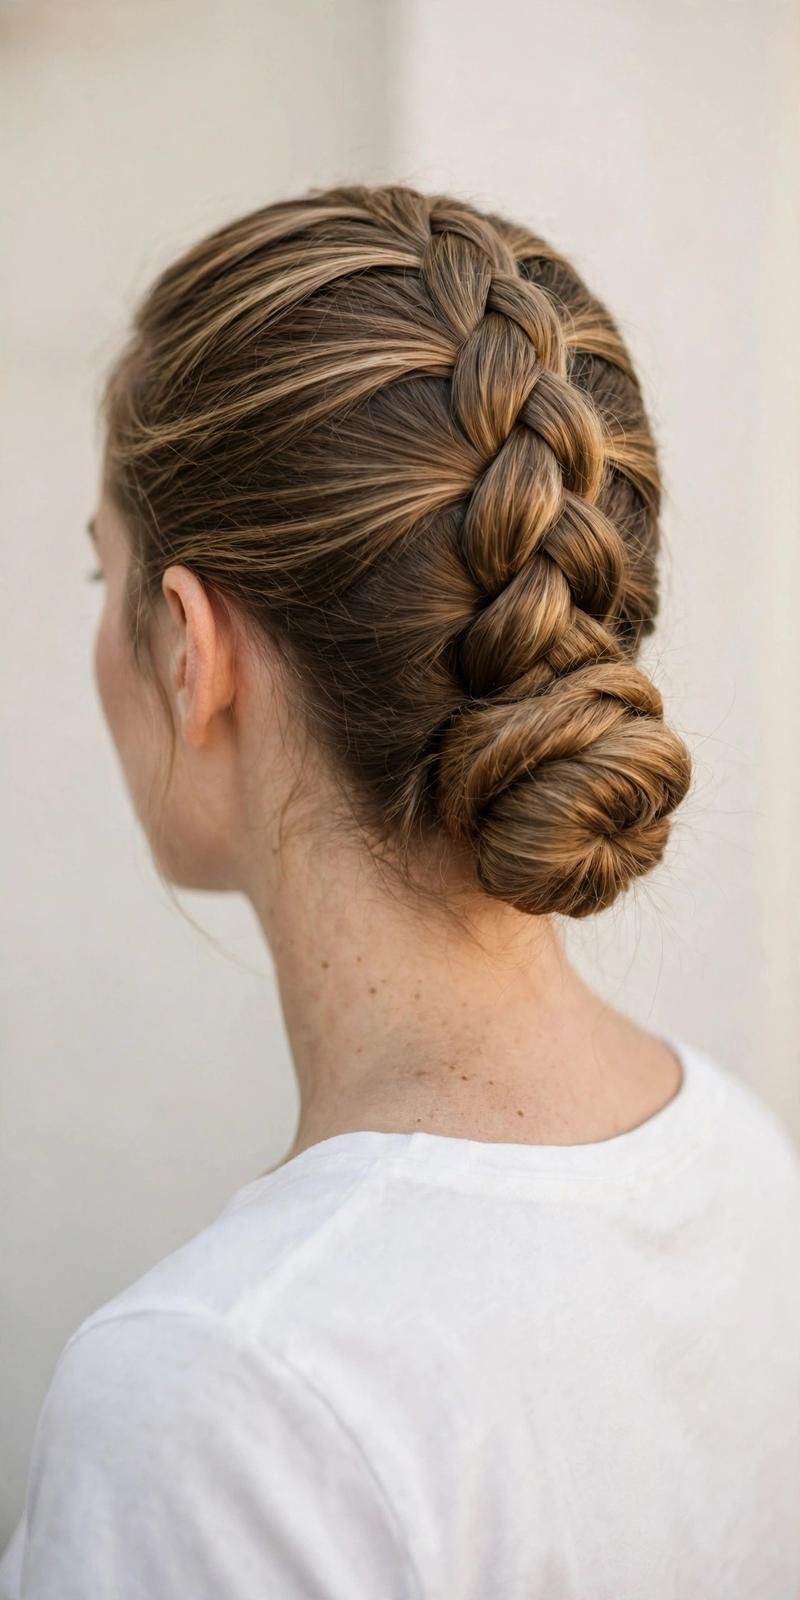
16. Dutch Braid into Low Bun
Why choose between a braid and a bun when you can have the drama of both? Dutch-braid from the nape upward (yes, flip your head over — it’s easier than it sounds), and when you reach the crown, gather everything into a bun.
The inverted braid creates this gorgeous raised texture up the back of your head that looks incredibly intricate. Coil the remaining hair into a bun — messy or sleek, your call — and pin it securely. Pancake the braid edges for extra fullness, and don’t stress about perfection: a few pulled-out pieces around the hairline make it look softer and more modern.
17. Pinned-Back Hollywood Glam
Channel your inner screen siren. This is the look: deep side part, glossy waves, and one side swept back and pinned behind the ear to show off a jaw-dropping earring. It’s vintage glamour without the vintage effort.
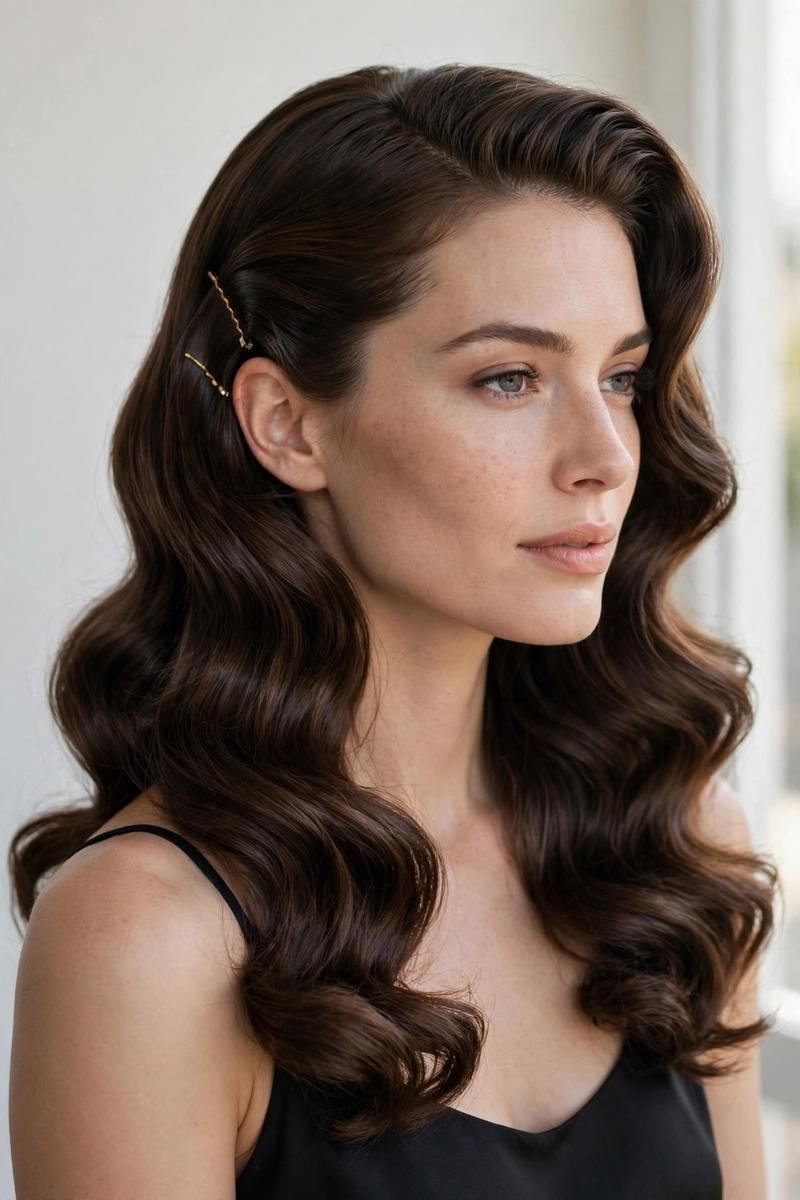
Create a severe deep side part, then set large waves with a big-barrel iron, all curling in the same direction. Brush them out into smooth, uniform S-waves — this is where the Hollywood part happens. On the side with less hair, smooth it back tightly and secure with two crossed bobby pins hidden just above the ear, then let the longer side cascade over your shoulder. A strong-hold spray is non-negotiable here; those waves need to stay sculpted. Red lip optional but highly encouraged.
18. Textured Beach Waves
- Twist and iron: Take two-inch sections, twist each one away from your face, then clamp the iron over the twist — this creates that perfectly imperfect wave pattern.
- Alternate directions: Twist one section away, the next toward your face. The mix is what makes it look natural.
- Leave the ends out: Don’t iron the last inch — straight ends are the signature of effortless beach texture.
- Salt spray finish: Mist with sea salt spray and scrunch upward for grit and separation.
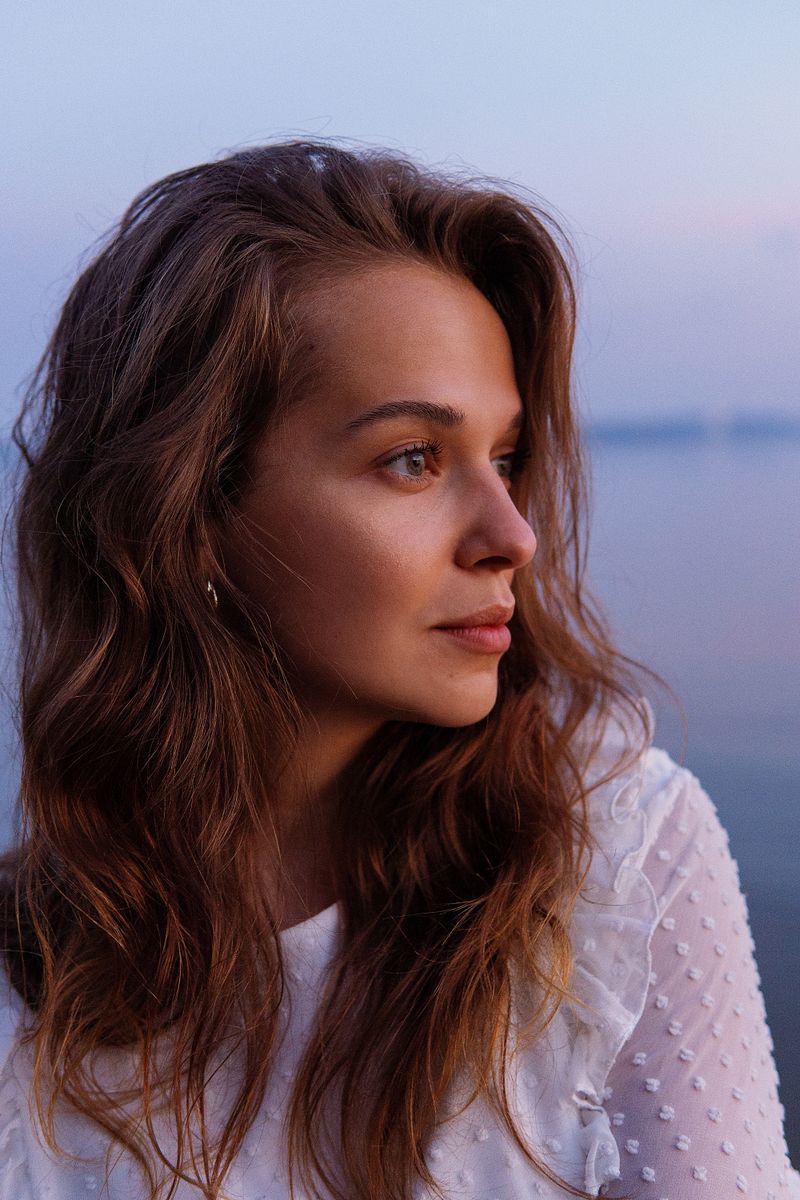
Beach waves say “I woke up like this” even when you absolutely did not. They’re relaxed, touchable, and they move beautifully when you dance.
19. Braided Headband Updo
Here’s a clever little trick: braid a section of your own hair and use it as a headband, pinning the rest up behind it. It looks like you bought some fancy hair accessory, but it’s all you.
Take a two-inch section from behind one ear and braid it tightly all the way down. Sweep the rest of your hair into a low bun or twist, then bring the braid up and over your head like a headband, pinning it behind the opposite ear. Tuck the end into the bun so it disappears. The braid frames your face beautifully and adds so much visual interest to a simple updo.
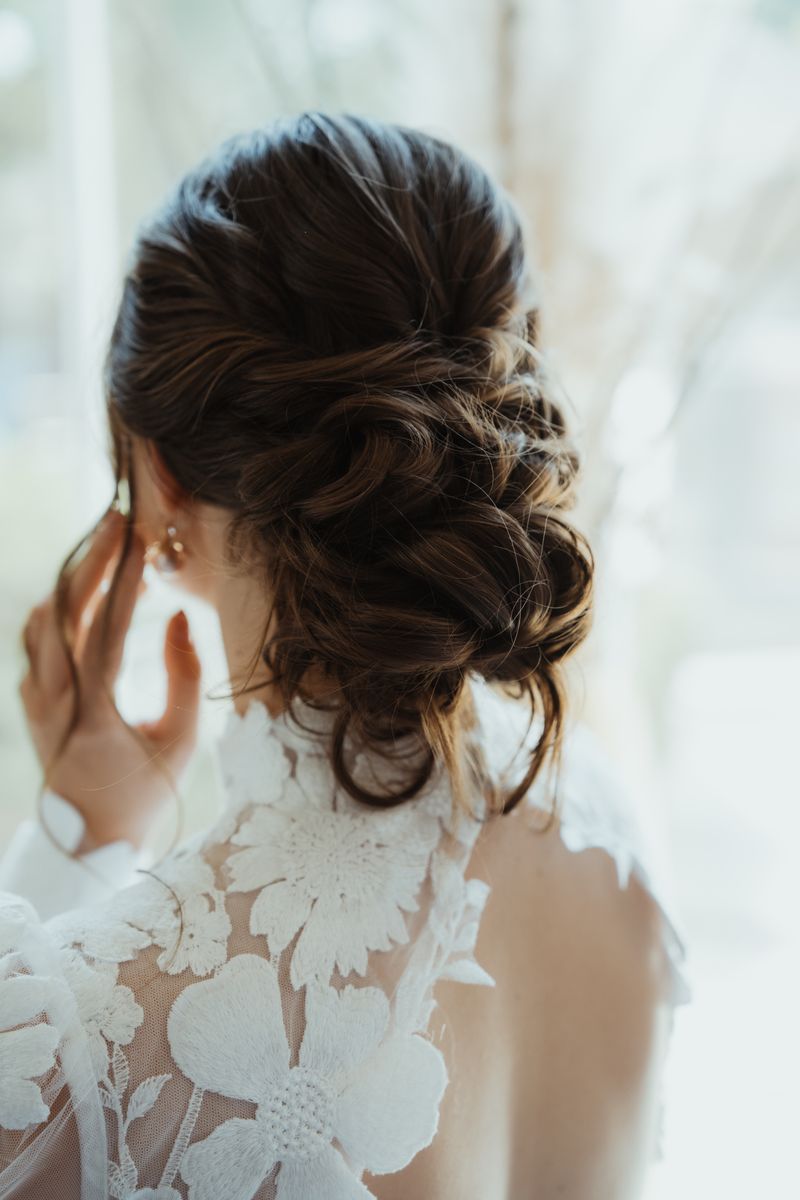
This works on practically any updo — buns, twists, even a ponytail. And because the “headband” is your real hair, it never slides off mid-party like the store-bought kind.
20. Twisted Low Bun
Last but definitely not least: the twisted low bun, the chameleon of party hair. Dress it up with pins and it reads black-tie; keep it simple and it’s perfect for a dinner party.
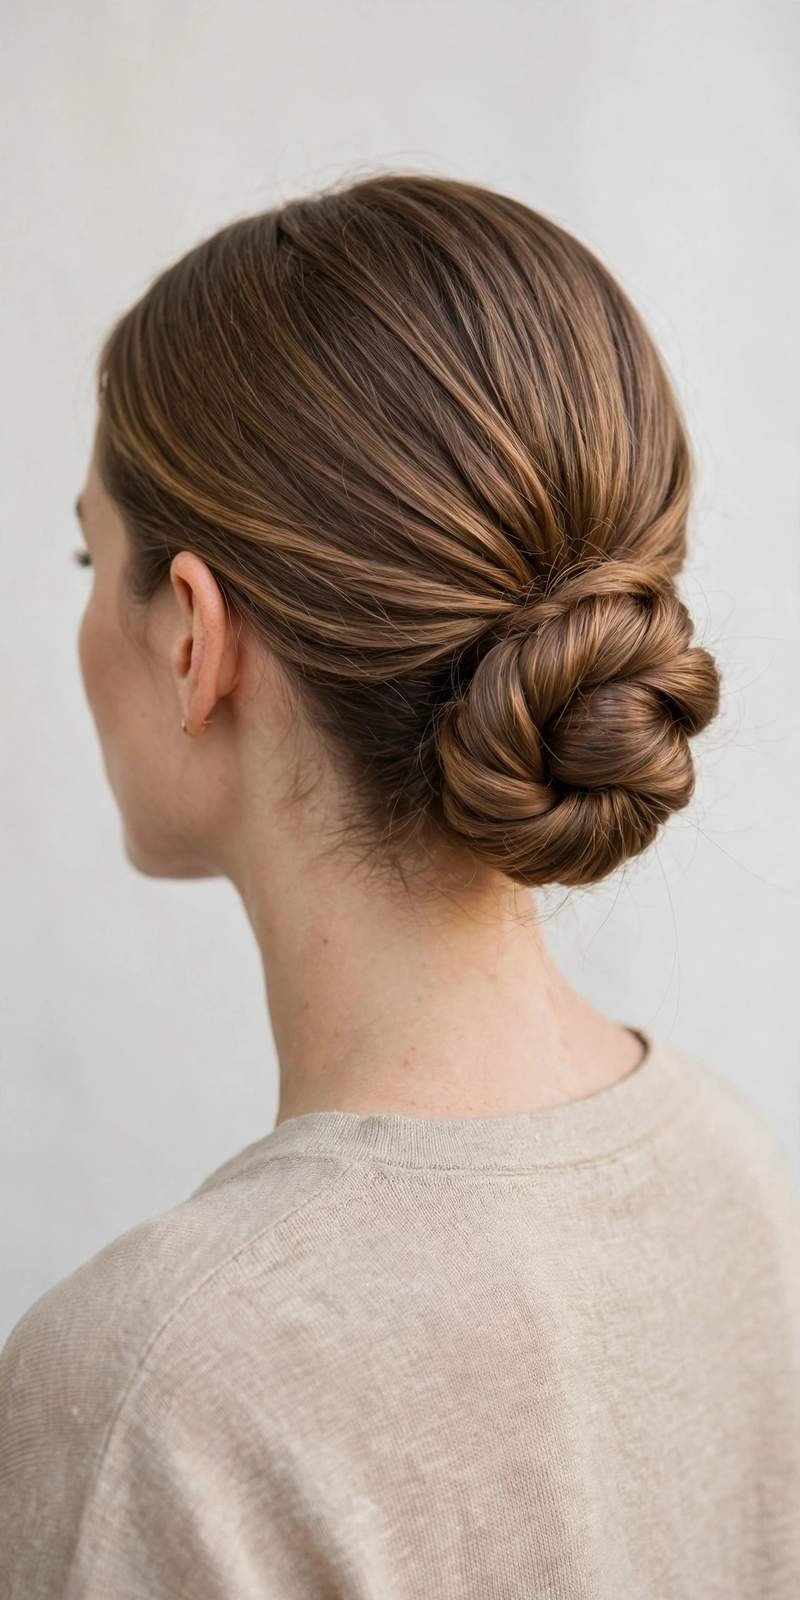
Part your hair in the middle, then twist each side back toward the nape — not a braid, just a simple rope twist, which takes about thirty seconds per side. Join the two twists at the back and coil them into a low bun, pinning as you go. Pull out soft pieces around your face and loosen the twists slightly for that romantic, lived-in feel. The whole style takes five minutes but looks like you booked a stylist. Add pearl pins for weddings, keep it bare for everything else.
CONCLUSION
Twenty party hairstyles, zero salon appointments needed. The real secret to great party hair isn’t complicated technique — it’s picking a style that matches your mood and giving yourself enough time to enjoy the process (rushed hair never cooperates). Try your favorite once before the big night, keep bobby pins in your clutch, and have fun with it.
📌 Save this post to Pinterest so you have party hairstyles for long hair inspiration ready!