
20+ Easy Quick Easy Hairstyles — Step by Step 2026
Busy mornings don’t have to mean bad hair days. The difference between a rushed mess and a polished look is rarely more than five minutes — it’s just knowing the right steps in the right order.
This list breaks twenty gorgeous hairstyles down into simple, beginner-friendly steps. No guesswork, no “figure it out yourself” energy — just clear, doable instructions that work even when you’re half awake.
Whether you’re racing to class, heading to work, or just want to look put-together without the effort, these tutorials have you covered. Let’s get your hair done.
1. Perfect Messy Bun: Step by Step
The messy bun looks effortless because it is — but there’s a method to the madness. Follow these steps and you’ll get that perfectly imperfect bun every single time, in under three minutes.
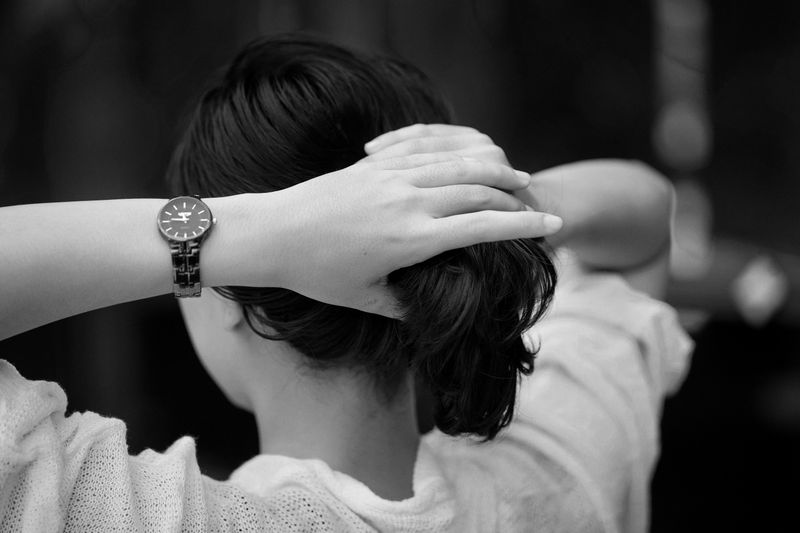
- Gather all your hair into a high ponytail — don’t worry about smoothness.
- Twist the ponytail loosely around its base to form a bun shape.
- Secure with a second elastic or a few bobby pins.
- Gently tug sections of the bun outward to create fullness.
- Pull out face-framing pieces and loosen the hairline for softness.
The golden rule: stop before it looks “done.” A messy bun that’s too neat just looks like a failed sleek bun. Embrace the flyaways — they’re the whole point.
2. Five-Minute French Braid Tutorial
The French braid intimidates everyone until they try it — then they wonder what the fuss was about. It’s just a regular braid where you keep adding hair. Here’s the breakdown.

Start with a section at the crown and divide it into three. Braid one stitch normally, then each time you cross a section over, add a bit of loose hair from that side before crossing. Keep your hands close to the head and maintain even tension — that’s the whole secret. When you run out of hair to add, finish with a regular three-strand braid and secure. Your first attempt might be lumpy; your fifth will be beautiful. Everyone’s was.
💡 Quick Tip: Practice on slightly damp hair — it’s more cooperative and holds the braid pattern better while you’re learning the hand movements.
3. Elegant Twisted Updo Tutorial
Need to look elegant in a hurry? This twisted updo creates a soft, romantic style that works for weddings, dinners, and anywhere you’d wear something nice — and it’s genuinely just twists and pins.

- Part your hair down the middle and divide into two sections.
- Twist each section loosely away from your face.
- Cross the twists at the back and pin them into a low, soft shape.
- Tuck the ends under and secure with pins that match your hair color.
- Pull out a few tendrils around your face for softness.
- Finish with a light mist of flexible-hold hairspray.
📌 Good To Know: This updo looks even better slightly undone — don’t aim for ballerina perfection. The softness is what makes it romantic rather than severe.
4. Bouncy Curls in 10 Minutes
Ten minutes. That’s all that stands between you and bouncy, touchable curls. The trick isn’t curling more carefully — it’s curling smarter, in bigger sections, and letting the cooling do the work.
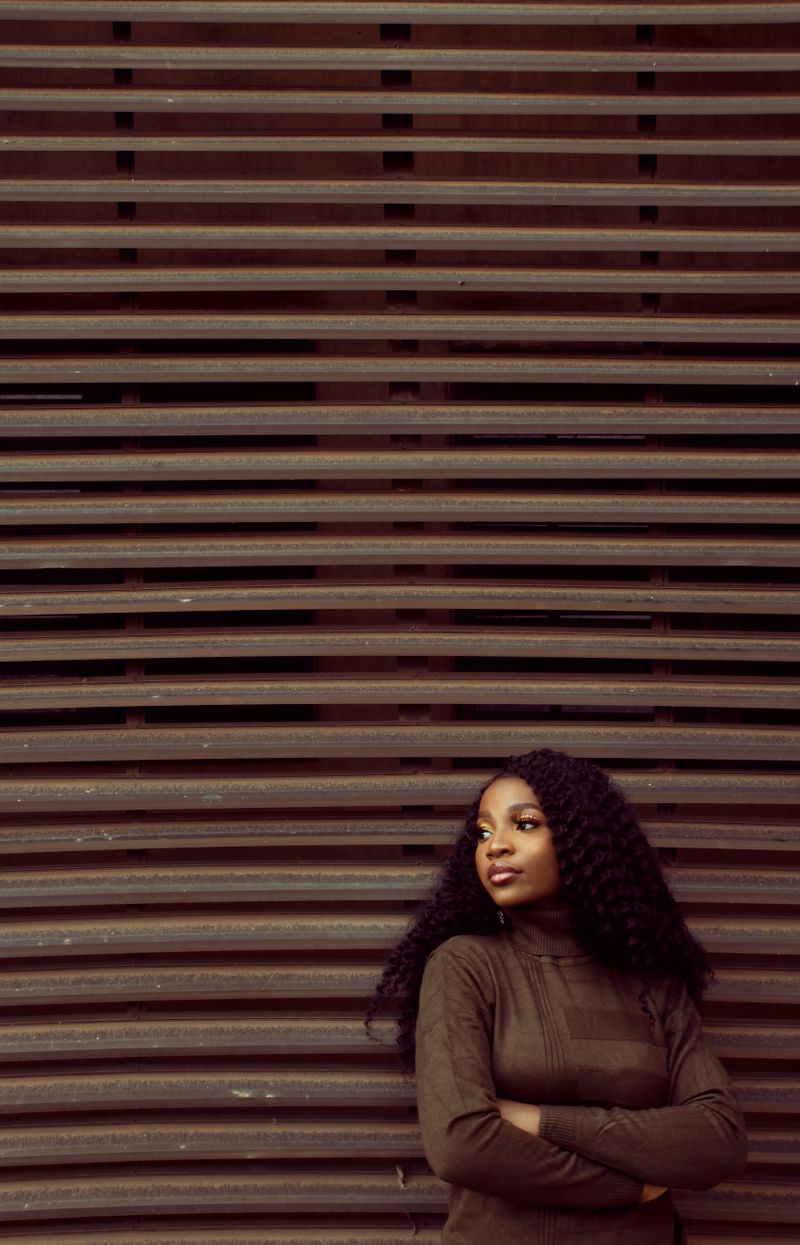
Apply heat protectant, then divide your hair into just six to eight large sections — fewer sections means less time. Wrap each around a large-barrel iron, hold for eight seconds, and release the curl into your palm to cool for a moment before dropping it. Once every section is done, flip your head over and shake gently, then finger-comb. The curls will look bouncy and natural, not stiff and pageant-like. A flexible spray keeps them alive all day without crunch.
5. Simple Half-Up Bun How-To
The half-up bun — the “hun” — is the ultimate cool-girl style: playful on top, flowing underneath. It takes two minutes and works on every hair texture from pin-straight to coily.

- Section off the top third of your hair, ear to ear.
- Twist the section loosely and coil it into a small bun at your crown.
- Secure with an elastic or pins — whichever you prefer.
- Tug the bun gently for fullness and pull out face-framing pieces.
- Smooth or texturize the bottom section depending on your mood.
Position matters: a bun right at the crown reads playful, while one slightly back reads more polished. Play with placement until you find your sweet spot.
6. Playful Side Braid Steps
A side braid has a carefree, youthful charm that a centered braid just doesn’t. It’s also more forgiving for beginners — since it’s off to the side, small imperfections are less noticeable. Here’s how to nail it.

Sweep all your hair over one shoulder and divide into three sections. Braid normally — no French technique needed — keeping the tension relaxed. Secure with an elastic, then pancake the braid by gently pulling each loop outward. The pancaking is what transforms it from a plain plait into something pretty: it doubles the visual thickness and gives that soft, romantic texture. Drape it over your shoulder, pull out a few wisps, and you’re done in under five minutes.
⚠️ Watch Out: Don’t braid too tightly at the start near your ear — a super-tight side braid pulls uncomfortably all day. Keep the first few stitches relaxed.
7. Romantic Braid with Floral Accent
Adding a flower to a braid is the smallest effort for the biggest transformation — it takes a simple style straight to romantic, wedding-guest, garden-party territory. Fresh or faux, one bloom changes everything.
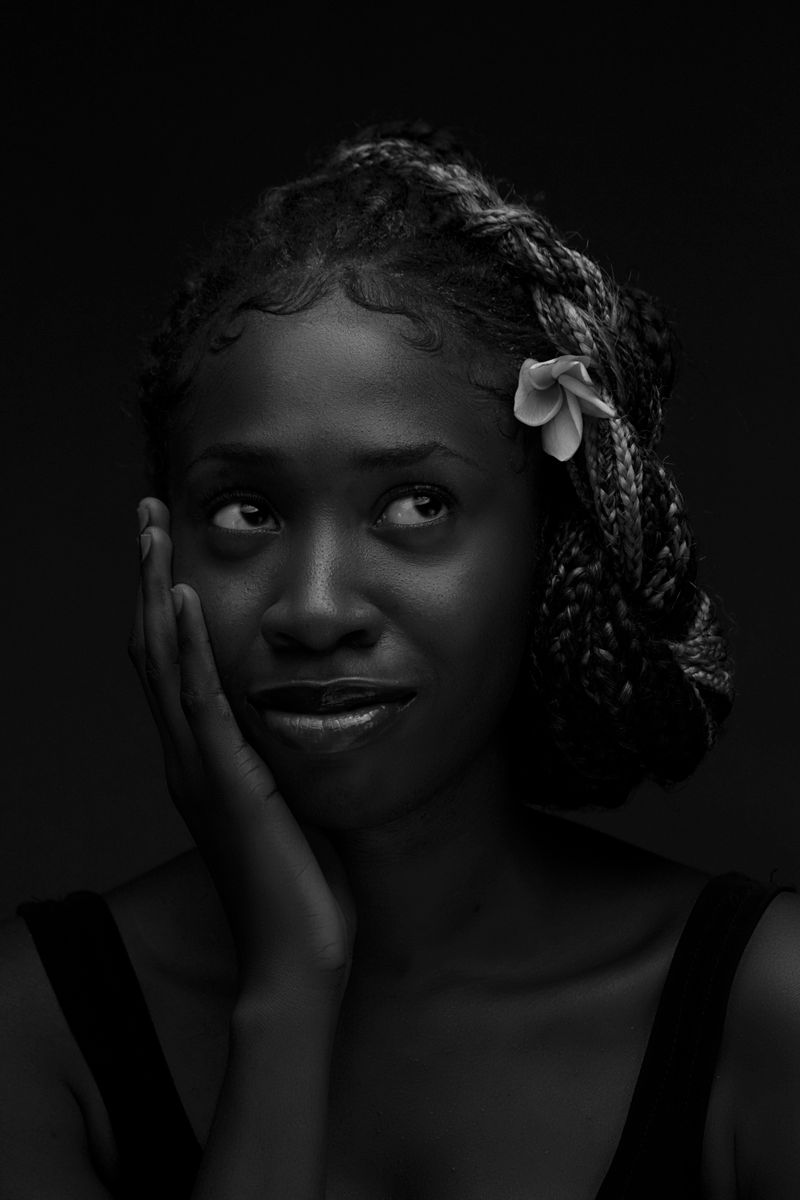
- Create a loose side braid or fishtail as your base.
- Pancake generously — the braid should look soft and full.
- Tuck a small flower (or faux bloom) into the braid near your ear or at the end.
- Secure the stem with a bobby pin woven through the braid.
- Mist lightly with hairspray to keep everything in place.
Baby’s breath, small roses, and wildflowers all work beautifully. This is a gorgeous option for spring events, photoshoots, and any day you want your hair to feel a little bit magical.
8. Defined Natural Curls Routine
Curly girls, this one’s for you. Wash-day definition doesn’t require a twelve-step routine — it’s about the right products in the right order on soaking-wet hair. Get the foundation right and your curls practically style themselves.
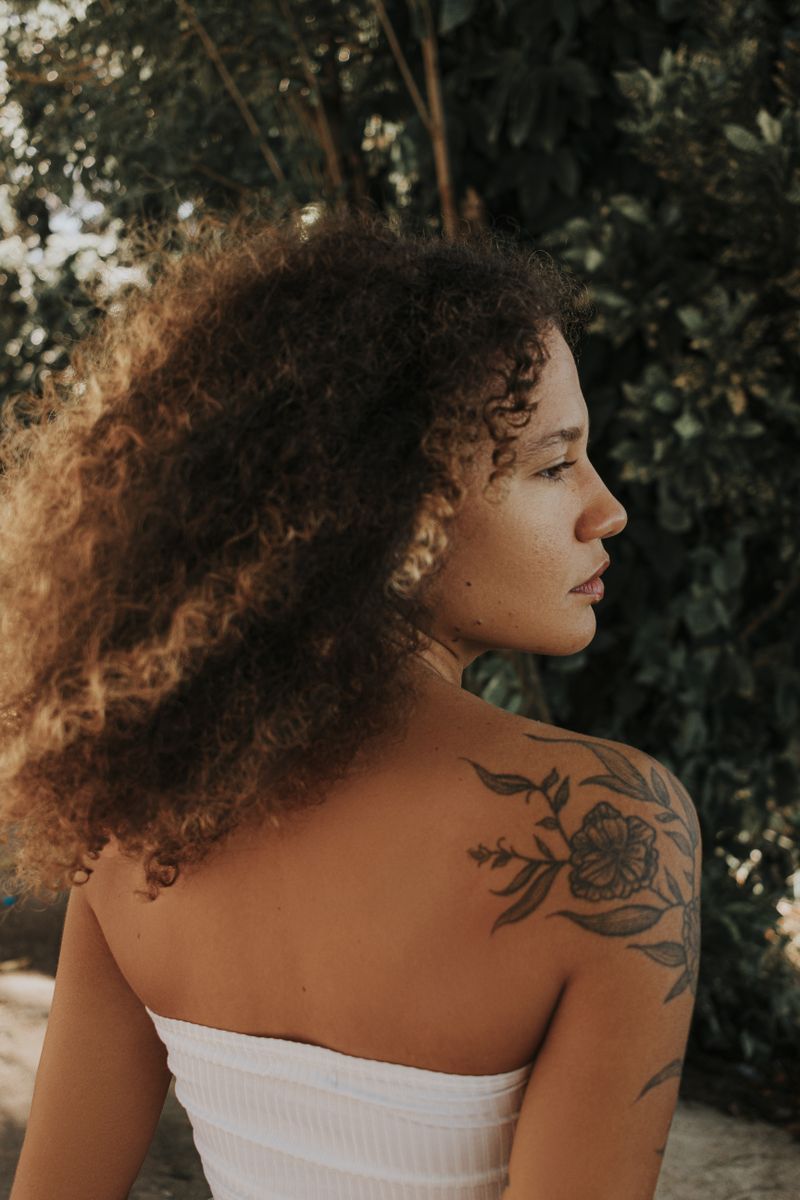
- On soaking-wet hair, rake a leave-in conditioner through evenly.
- Scrunch in your curl cream, then a gel for hold — in that order.
- Use the “praying hands” method to smooth, then scrunch upward.
- Diffuse on low heat and low speed, or air-dry if you have time.
- Once 100% dry, scrunch out the gel cast for soft, touchable curls.
The non-negotiable rule: don’t touch your curls while they dry. Every touch creates frizz. Hands off until fully dry, then fluff the roots and go.
9. Voluminous Blowout Curls Steps
Want that bouncy, salon-blowout volume at home? The secret isn’t a fancy dryer — it’s the round brush technique and the direction you pull. Here’s the exact method.

Start with roughly dried hair — about 80% dry. Working in sections, wrap each around a large round brush and pull upward and outward while directing heat at the roots; that’s where volume is born. Roll the ends under for that classic blowout curl. When each section is dry, roll it back up and clip it to cool — this sets the shape the way cooling sets a curling-iron wave. Release all the clips, flip your head over, and shake. Massive, bouncy, touchable volume.
💡 Quick Tip: A shot of cool air on each section before moving on locks the volume in place — it’s the step that makes your blowout last past noon.
10. Curtain Bangs Styling in 3 Steps
Curtain bangs are gorgeous and low-maintenance — except for the thirty seconds each morning when they need to be told what to do. Master this three-step routine and they’ll behave beautifully.

- Dampen the bangs slightly — a spray bottle or wet hands work.
- Blow-dry them forward and down with a round brush, curving outward at the ends.
- Once cool, part down the middle and let them fall naturally to each side.
That’s genuinely it. The forward-then-part motion is what creates that perfect curtain swoop. A tiny bit of texturizing spray keeps them piece-y instead of helmet-like, and dry shampoo on the bangs alone extends them between washes.
11. Polished Party Updo Tutorial
When the invitation says “dressy” and your hair needs to match, this polished updo delivers red-carpet elegance with drugstore simplicity. It’s structured, it’s sophisticated, and it photographs like a dream.
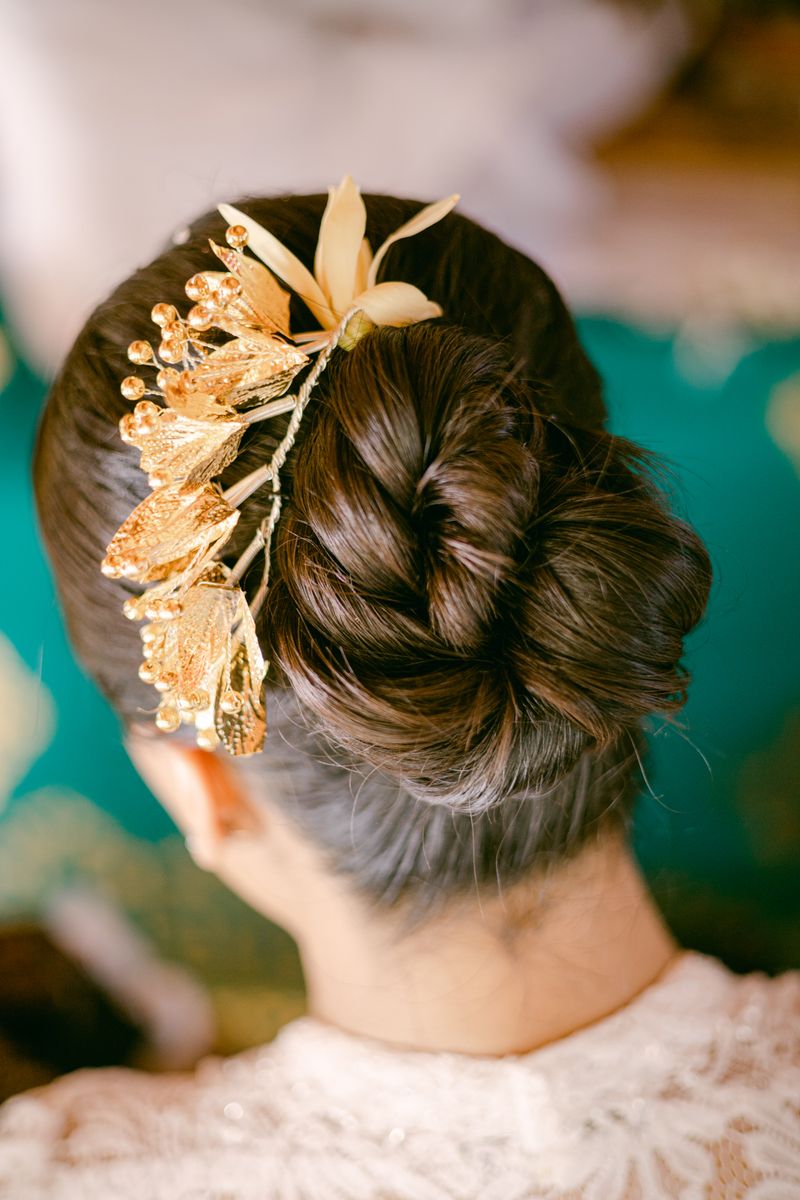
- Smooth hair into a sleek ponytail — high for drama, low for classic.
- Backcomb the ponytail gently for volume and grip.
- Twist and coil into a structured bun, pinning securely.
- Smooth the surface with a brush and strong-hold spray.
- Add a decorative hairpiece, gold pins, or a jeweled comb.
📌 Good To Know: Polished updos last longest on day-old hair with a bit of texture spray at the roots — freshly washed hair is too slippery to hold pins securely.
12. Elegant Pinned Updo Steps
Not every updo needs to be a production. This pinned style is soft, easy, and elegant — the kind of updo that looks like you have a hairstylist on speed dial but actually took eight minutes in your bathroom.
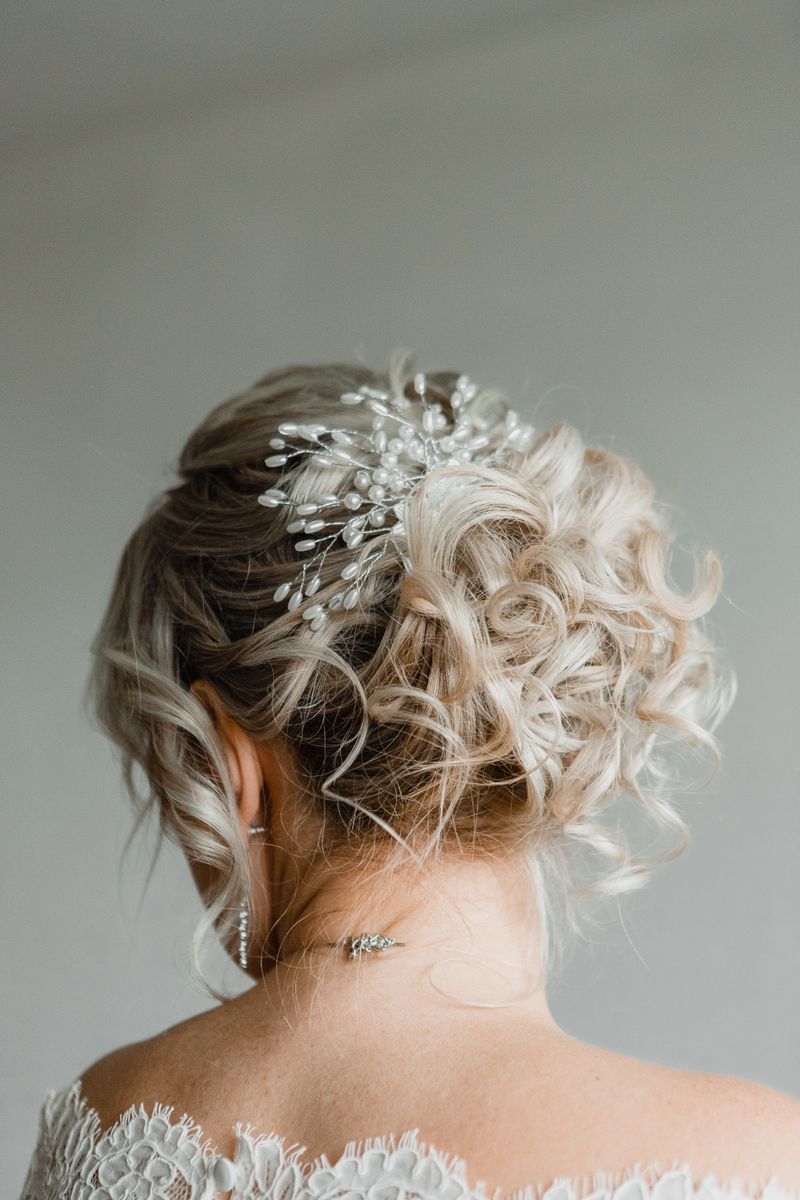
Loosely twist random sections of hair and pin them into a low, organic shape at the back of your head — there’s no pattern to follow, which is what makes it foolproof. Overlap the twists, tuck the ends, and let a few pieces fall naturally. The beauty of this style is its imperfection: every pinned updo looks slightly different, and they’re all pretty. Add one decorative pin or comb as the finishing touch, mist with hairspray, and you’re event-ready.
13. Classic Ballerina Bun Steps
The ballerina bun is the gold standard of sleek updos — clean, timeless, and appropriate for literally everything from ballet class to black-tie events. Here’s how to get that perfectly smooth, perfectly round shape.

- Brush all hair into a high, tight ponytail and secure firmly.
- Twist the ponytail and coil it neatly around the base.
- Pin every few centimeters, tucking ends underneath.
- Smooth the surface with a brush and gel or strong spray.
- Check from all angles — symmetry is the whole point here.
A sock bun or donut form makes this dramatically easier if your hair is fine or short — it gives you the perfect round shape to wrap your hair around. Slick, symmetrical, done.
14. Pearl-Pinned Updo Tutorial
Pearls in hair are having a major moment, and for good reason — they’re timeless, feminine, and they make even the simplest updo look bridal-worthy. This tutorial turns a basic bun into something special.
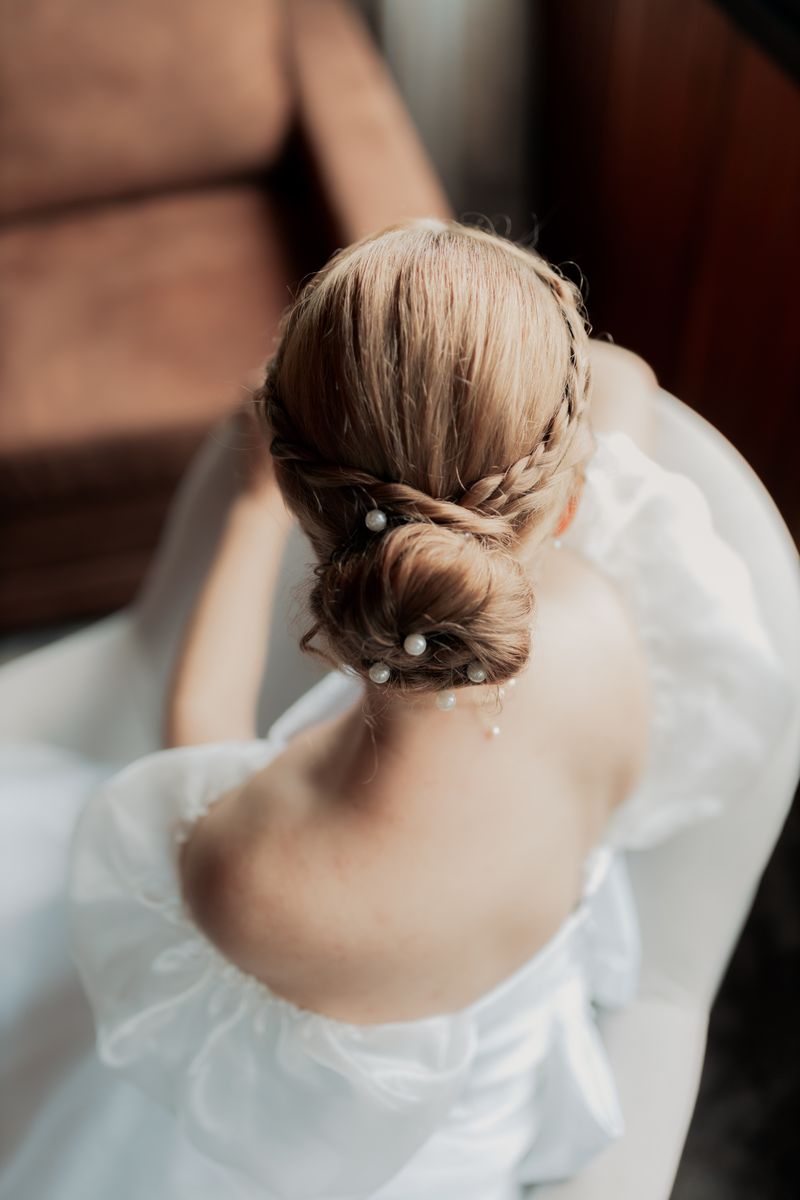
Create your base — a low bun, chignon, or twisted updo, whatever you like. Then comes the fun part: scatter pearl pins throughout, clustering a few together and spacing others out for an organic, scattered effect. Pearl pins come in different sizes; mixing small and medium looks more natural than uniform large ones. Step back and check the balance from the front — you want the pearls visible from the front view, not just the back. It’s a five-minute addition that makes your updo look professionally styled.
💡 Quick Tip: Pearl pins with a slight bend hold better than straight ones — the curve grips the hair instead of sliding out.
15. Romantic Rose Updo Steps
An updo adorned with roses is peak romance — perfect for weddings (as a guest, not the bride, unless you are the bride), anniversaries, Valentine’s Day, or any evening you want to feel extraordinary.
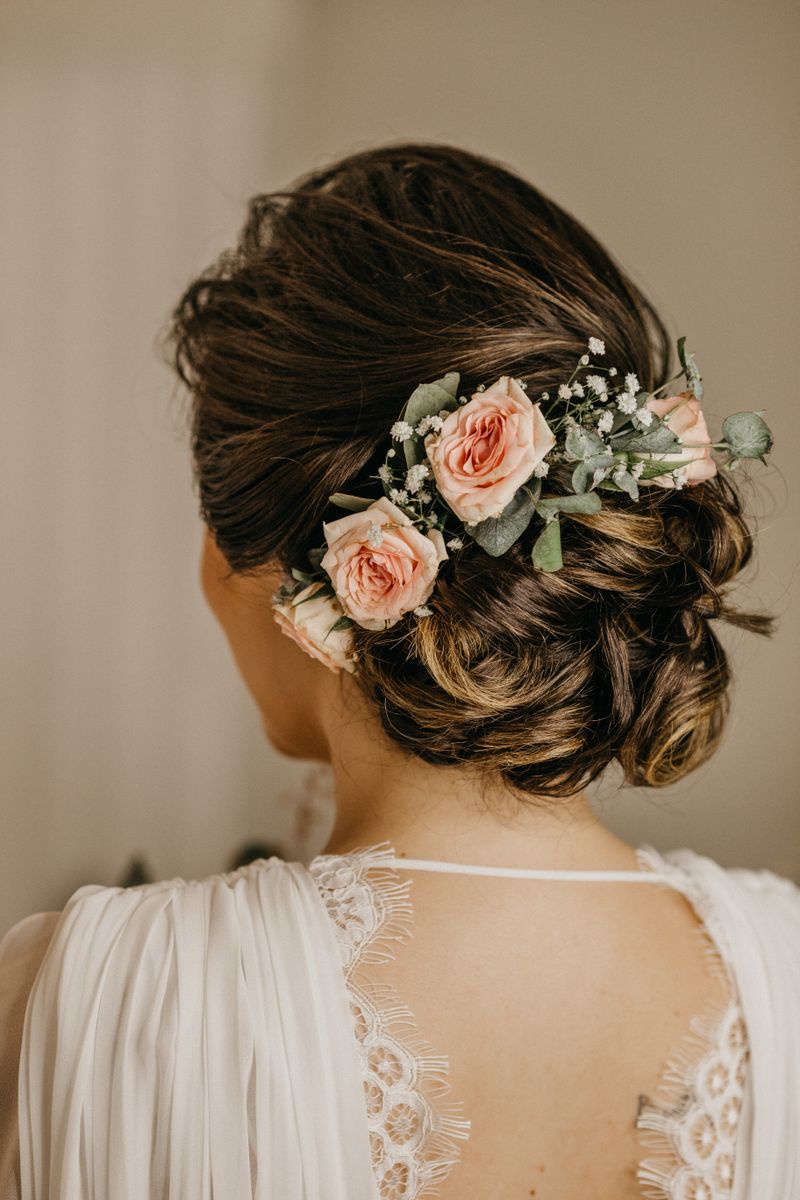
- Build a soft low updo — twisted or braided sections pinned loosely.
- Choose small roses or spray roses; big blooms overwhelm.
- Tuck two to three roses into one side for an asymmetric look.
- Secure each stem with a bobby pin crossed through the base.
- Add a little greenery or baby’s breath to fill gaps naturally.
Fresh flowers last longer than you’d expect — a full evening easily — but high-quality faux roses look just as beautiful in photos and you can reuse them forever.
16. Easy Headband Tuck Tutorial
The headband tuck is one of those vintage-inspired styles that looks complicated and takes four minutes. All your hair gets tucked up and away, and the headband does the structural work — brilliant.

- Place an elastic headband over your hair, crown-style.
- Starting at the front, take sections and tuck them up and over the band.
- Work your way around to the back, tucking everything in.
- At the nape, roll the remaining hair up into the band.
- Adjust for fullness and pin any escapees.
A decorative headband — beaded, jeweled, or metallic — turns this from a clever trick into a genuine evening style. It’s also a fantastic second-day-hair solution since all the tucking hides a multitude of sins.
17. Glossy Blowout Finish: Step by Step
That glass-like, reflective shine you see in salon photos isn’t just genetics — it’s technique. A glossy finish is about smoothing the cuticle so light bounces off evenly, and here’s exactly how to get it.
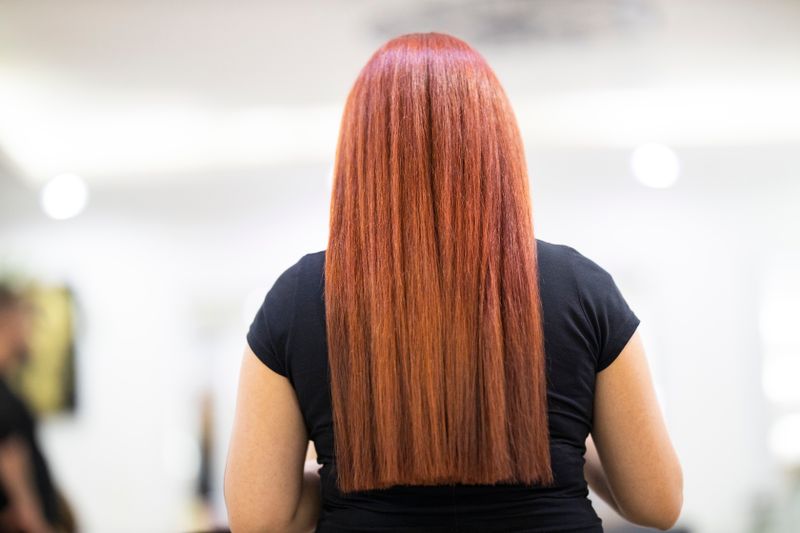
After blow-drying smooth, the gloss comes from three things: a smoothing serum worked through the mid-lengths and ends, a flat iron passed slowly over small sections to seal the cuticle, and a final veil of shine spray. Work in that order and don’t skip steps — serum without heat just sits on top, and heat without serum can look dry. The result is hair so shiny it practically reflects light, in any color from jet black to copper red.
⚠️ Watch Out: More product does not mean more shine — overloading serum makes hair look greasy, not glossy. Start with a pea-sized amount and add only if needed.
18. Glam Night-Out Curls: Step by Step
Night-out curls are bigger, bouncier, and more dramatic than daytime waves — they need to hold through hours of dancing and still look good in flash photography. Here’s the routine that actually lasts.
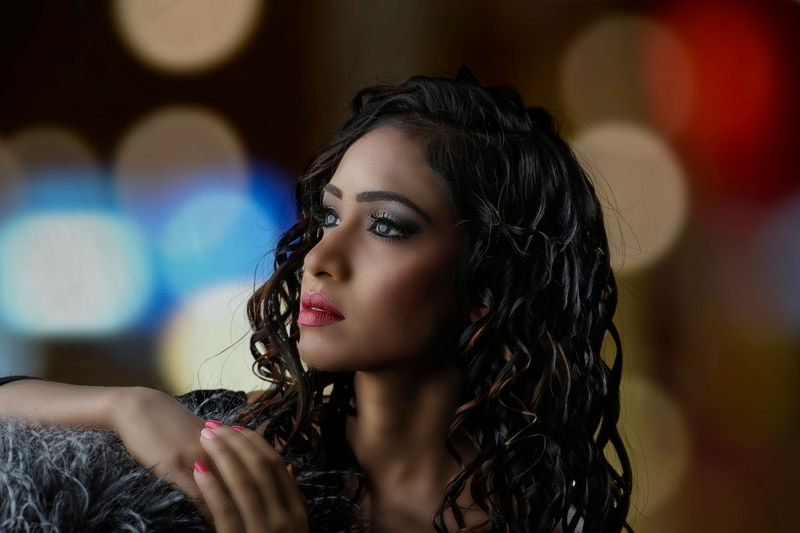
- Start with a volumizing mousse on damp hair, blow-dried in.
- Curl in medium sections with a 1-inch iron, pinning each curl to cool.
- Once cool, release all pins and shake gently — don’t brush.
- Tease the crown lightly for lift that survives the night.
- Finish with strong-hold spray, applied in layers rather than one blast.
The pin-to-cool step is what separates curls that last four hours from curls that last forty minutes. It’s tedious, but your 2 a.m. self will be grateful.
19. Sleek Everyday Hair in 5 Steps
Some days you just want your hair to look clean, smooth, and done — no elaborate style, just polished. This five-step routine gives you that “my hair always looks like this” finish in minutes.

- Brush through thoroughly with a paddle brush to distribute oils.
- Smooth a dime-sized amount of serum through mid-lengths and ends.
- Quick-pass the flat iron over just the top layer and ends.
- Tame flyaways with a clean mascara wand sprayed with hairspray.
- Part neatly and tuck one side behind your ear.
📌 Good To Know: The mascara-wand trick is a makeup-artist secret — it’s the most precise flyaway tamer in existence, and it lives in your bag anyway.
20. Five-Minute Wake-Up Hair Routine
We’ll finish with the routine you’ll use most: the five-minute morning rescue that takes you from sleep-hair to presentable. Memorize this order and you’ll never have a bad hair morning again.
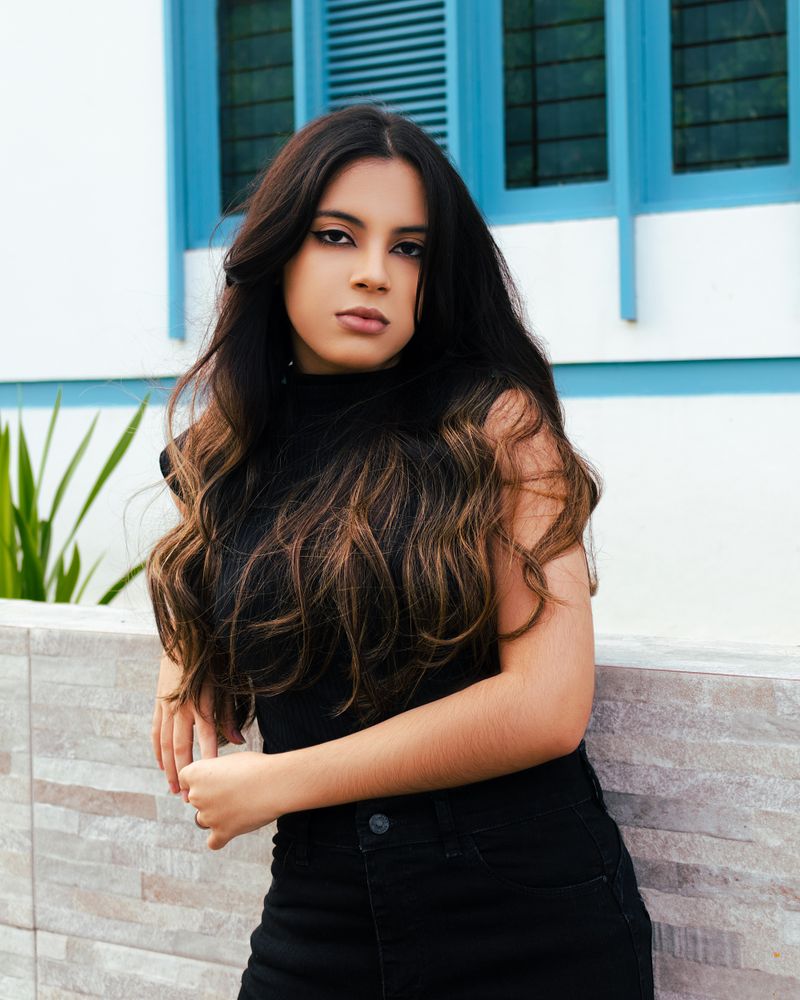
Minute one: assess and brush out the worst tangles. Minute two: dry shampoo on the roots, massaged in with fingertips. Minute three: a quick blast of the dryer on the roots, head flipped over for volume. Minute four: smooth the ends — a flat-iron pass on the front pieces and any wild sections. Minute five: style it simply — a low pony, a claw clip, or just down with a neat part. Five minutes, five steps, and you look like you actually tried. Because you did — efficiently.
💡 Quick Tip: Keep your dry shampoo, brush, and a claw clip in one spot by the door. A grab-and-go hair station turns this routine into pure muscle memory.
CONCLUSION
The secret to great hair on busy mornings was never more time — it was better steps. With these twenty tutorials in your arsenal, from the perfect messy bun to the five-minute wake-up routine, you’ll never stare blankly into the mirror again. Pick three favorites, practice them this week, and watch your mornings transform. 📌 Save this post to your hairstyles board on Pinterest so you always have gorgeous hair inspiration!