
20+ Easy Bob Wedding Hairstyles — Step by Step 2026
Doing your own wedding hair is easier than you think — especially with a bob. Short hair takes less time, needs fewer pins, and honestly looks more modern than most elaborate updos. All you need is a little practice and the right steps.
Each of these twenty hairstyles comes with simple, follow-along instructions you can do yourself on the morning of the wedding. Do a trial run a week before, lay out your tools the night before, and give yourself a calm, unhurried hour. You’ve got this.
1. The 10-Minute Soft Wave
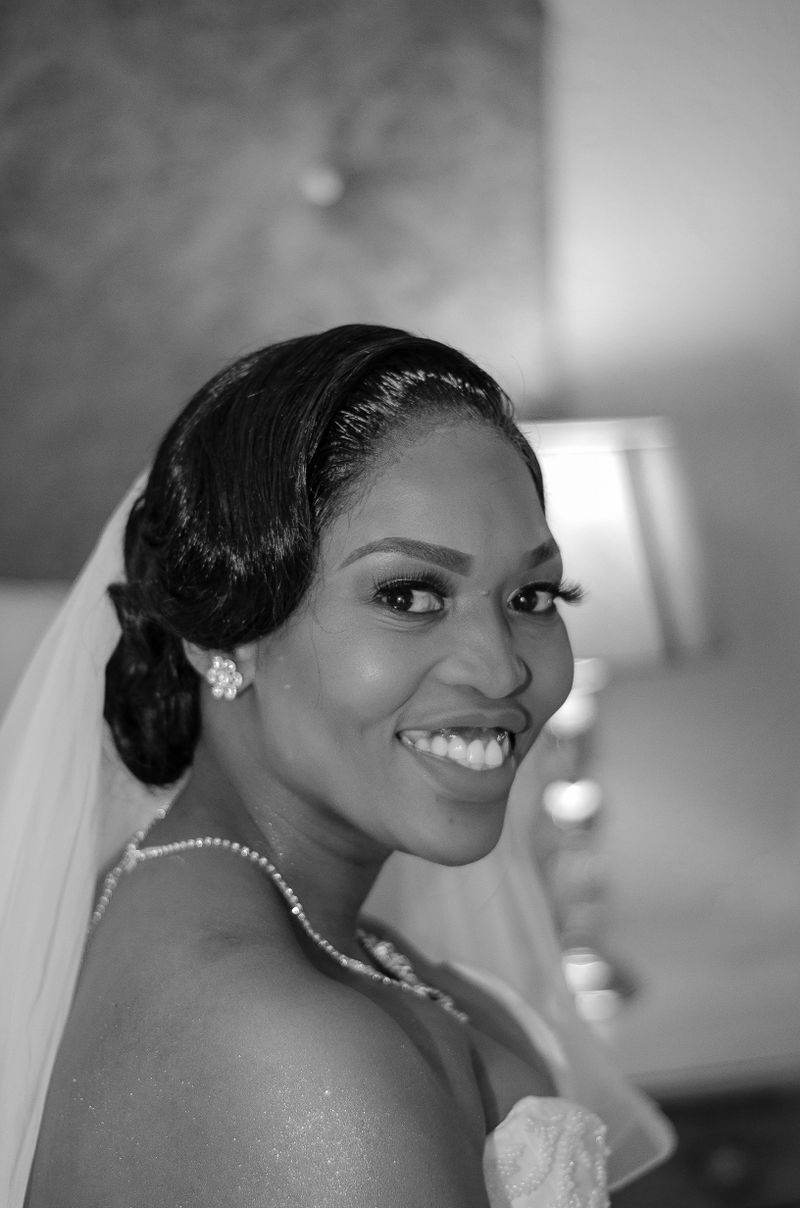
The fastest wedding hairstyle in this entire list — soft waves that look romantic and take ten minutes flat. Perfect for the bride who wants to spend her morning sipping champagne, not wrestling with hot tools.
- Step 1: Mist dry hair with heat protectant and divide into two halves.
- Step 2: Wrap 2-inch sections around a 1.25-inch curling iron, holding each for 8 seconds. Alternate directions.
- Step 3: Let everything cool for 2 minutes, then rake through with your fingers.
- Step 4: Mist with flexible-hold hairspray and tuck one side behind your ear with a pearl pin.
Works on any bob from chin to shoulder length. The looser you keep the waves, the more modern it looks.
2. The Pin-Curl Bob
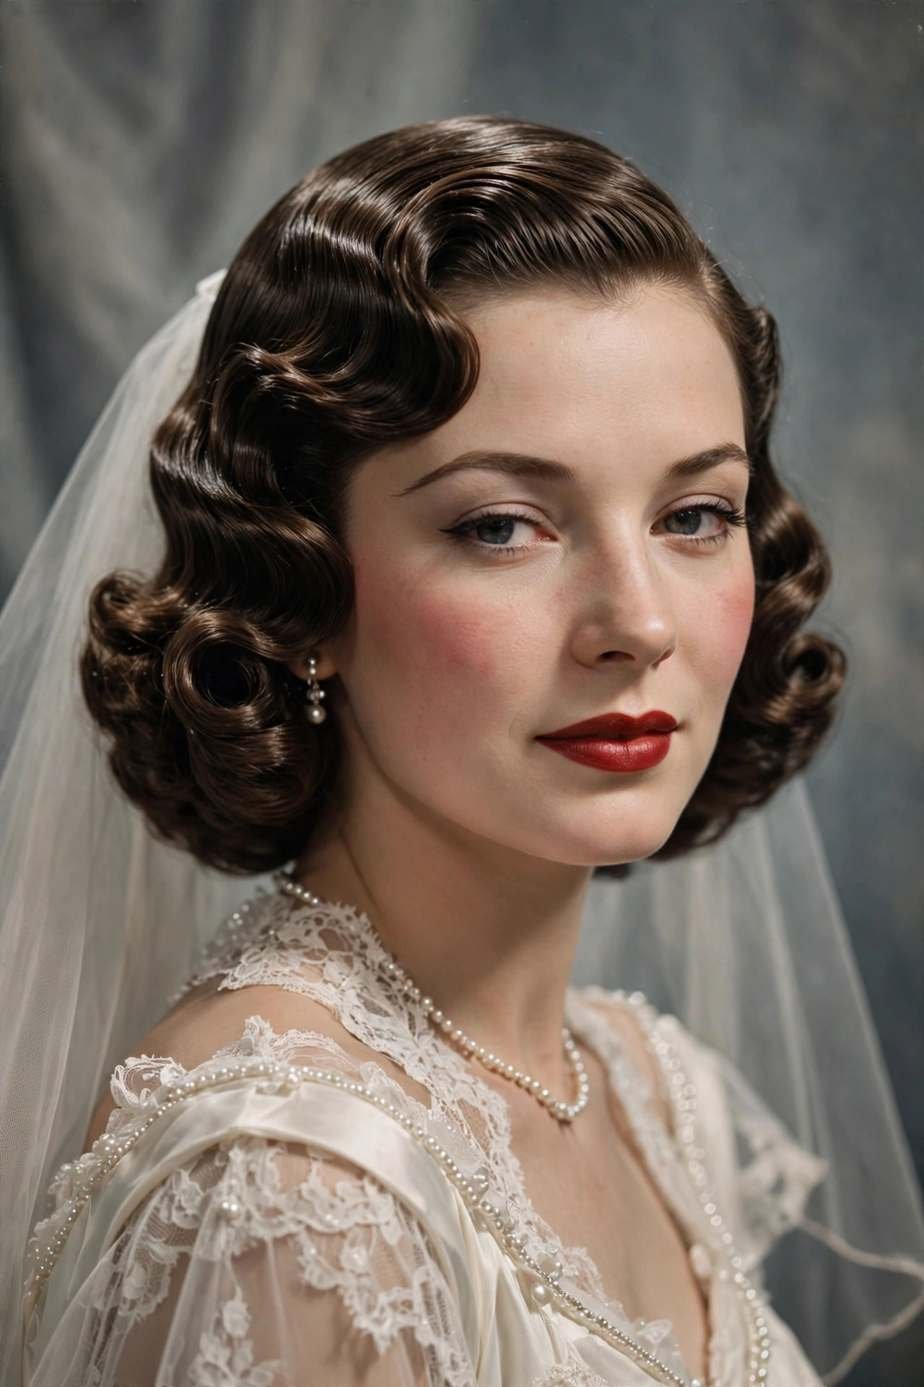
Remember those vintage photos of brides with perfect, glossy waves? Those were pin curls — and they’re still the best-kept secret for long-lasting wedding hair. You set them, do your makeup, and release them to reveal magic.
- Step 1: On damp hair, apply a setting lotion or mousse from roots to ends.
- Step 2: Take 1-inch sections, wrap each around your finger into a flat curl, and pin to your head with a clip.
- Step 3: Let them set for at least an hour (do your makeup meanwhile!) or speed things up with a diffuser.
- Step 4: Remove pins, brush gently into waves with a soft brush, and mist with shine spray.
Pin curls give you vintage Hollywood waves with zero heat damage. They’re ideal for fine hair that won’t hold a curling iron wave.
3. The Salon-Fresh Blowout
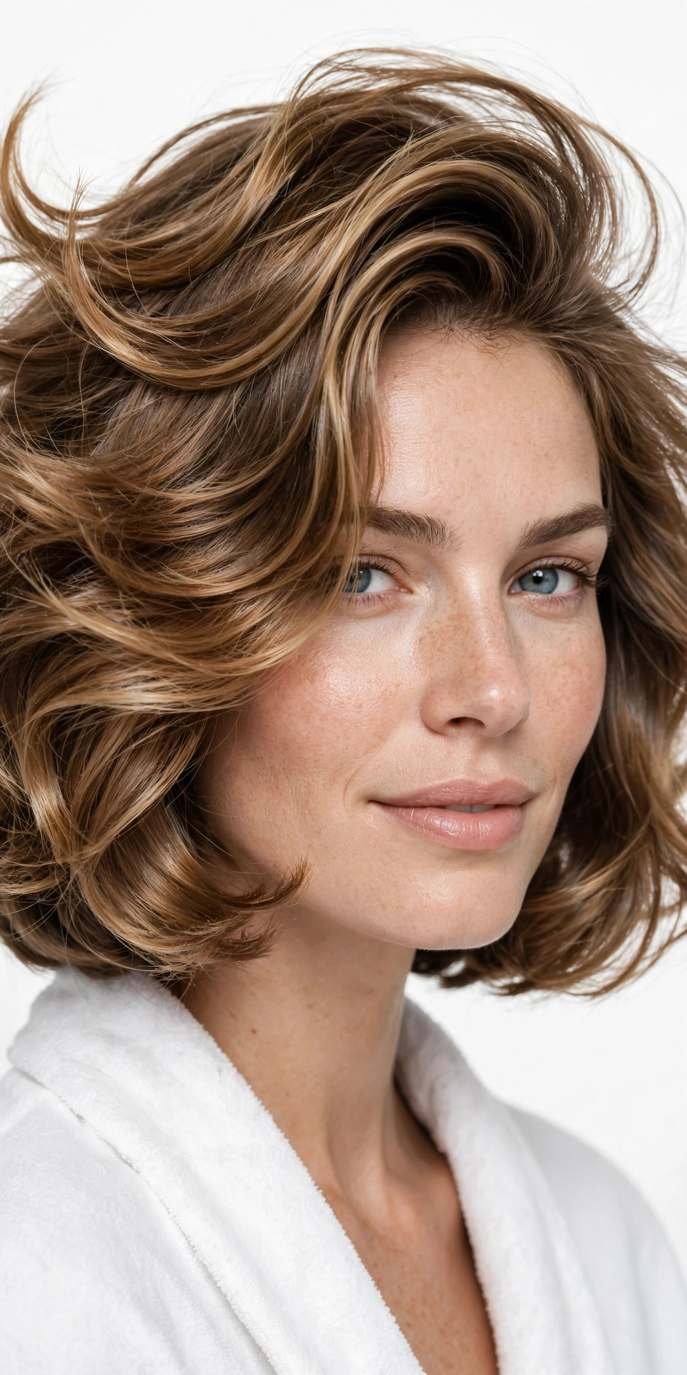
Nothing beats a bouncy, glossy blowout — and you can absolutely do it yourself. The trick is sectioning: most DIY blowouts fail because people try to dry everything at once.
💡 Quick Tip: A round brush with a mix of boar and nylon bristles grips short hair far better than a pure-nylon brush. It’s the single best investment for at-home blowouts on a bob.
- Step 1: Rough-dry hair to 80% with your head flipped upside down for root volume.
- Step 2: Clip the top half up; dry the bottom in 2-inch sections with the round brush, rolling ends under.
- Step 3: Release the top, dry in sections, lifting at the roots and curling ends under or out.
- Step 4: Finish with a cool shot all over and a pea-sized drop of serum on the ends.
Practice this twice before the wedding and you’ll be faster than the salon.
4. The Sleek Side Part
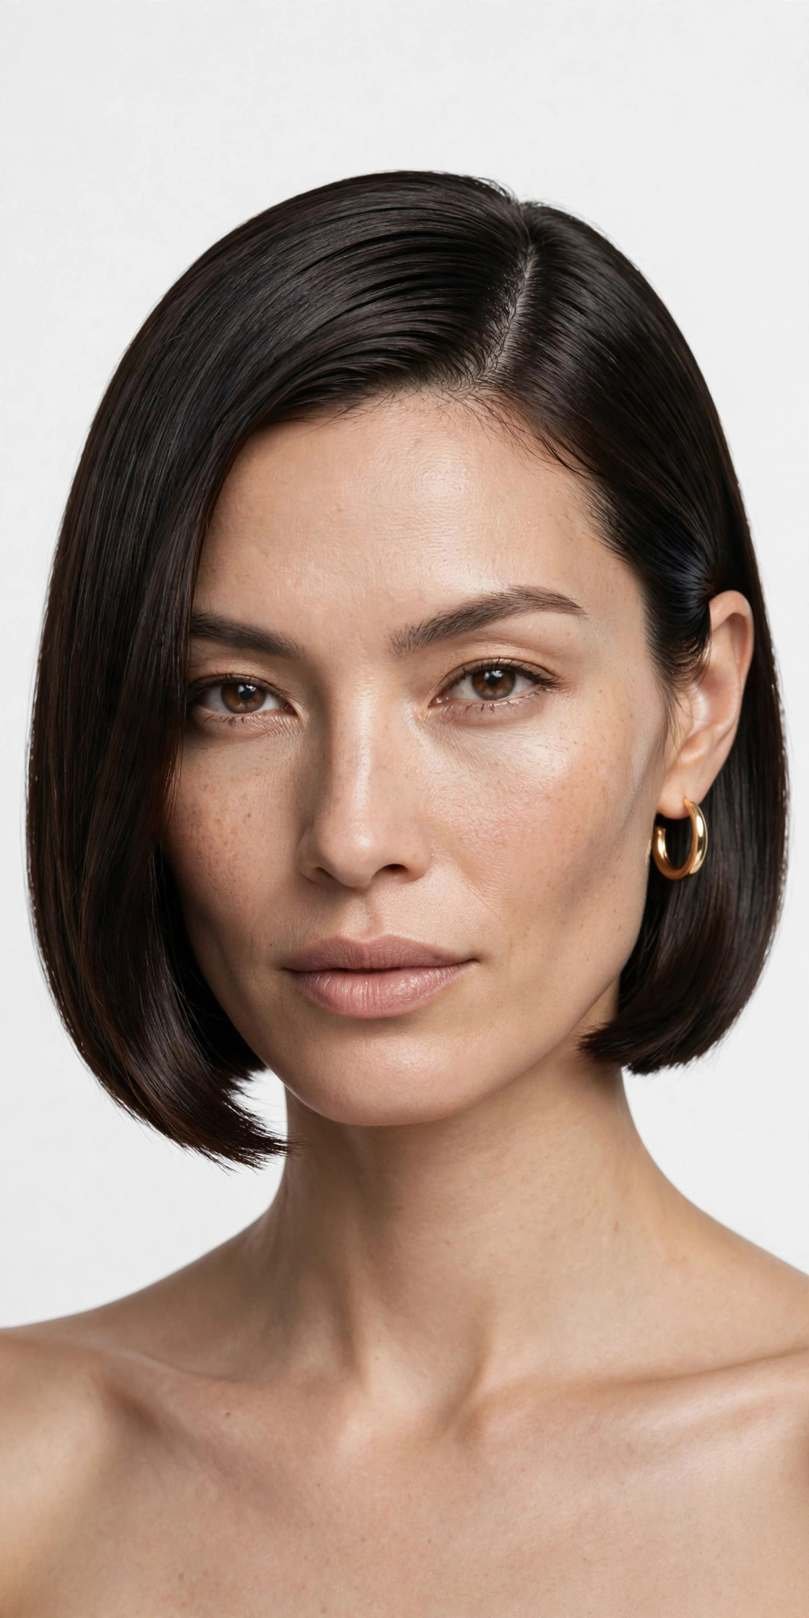
Sometimes the boldest move is simplicity. A sleek, deep side part on a bob is strikingly modern — it shows off your bone structure, your earrings, and your confidence. And it takes fifteen minutes.
Start by creating a deep part while your hair is damp — use the arch of your eyebrow as your guide. Blow-dry smooth with a paddle brush, directing everything away from the part for that swept, glossy finish. Run a flat iron through in thin sections for mirror shine, then smooth a tiny amount of pomade over the surface to tame flyaways. Tuck the smaller side behind your ear and pin it flat with two crossed bobby pins. The contrast between the sleek tucked side and the fuller swept side is what makes this look editorial rather than plain.
5. The Vintage Finger Wave
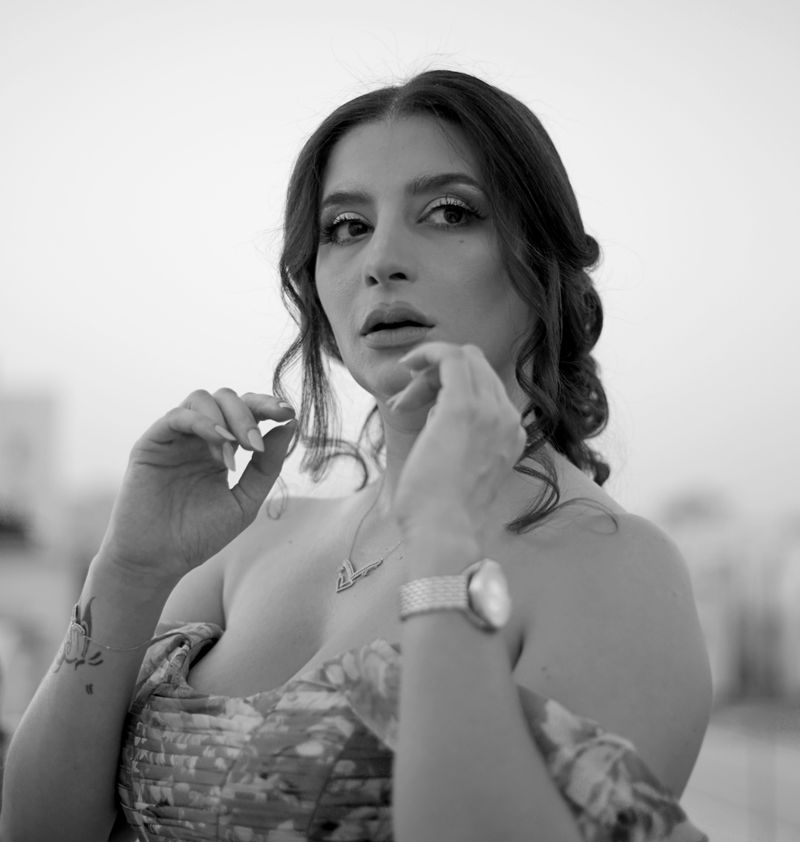
Finger waves are the 1920s gift to brides with bobs — sculpted, glamorous, and surprisingly doable at home with gel and clips. This is the style for the vintage-loving bride.
- Step 1: Saturate damp hair with a strong-hold gel, working it through evenly.
- Step 2: Using a fine-tooth comb, create deep S-shaped waves, pressing each ridge with your finger.
- Step 3: Clip each wave ridge with a duckbill clip to hold the shape.
- Step 4: Let it dry completely (or diffuse on low), remove clips, and mist with shine spray. Don’t brush!
Pair with a red lip and art-deco earrings for the full Gatsby effect. This style lasts all day without touch-ups.
6. The Textured Tousle
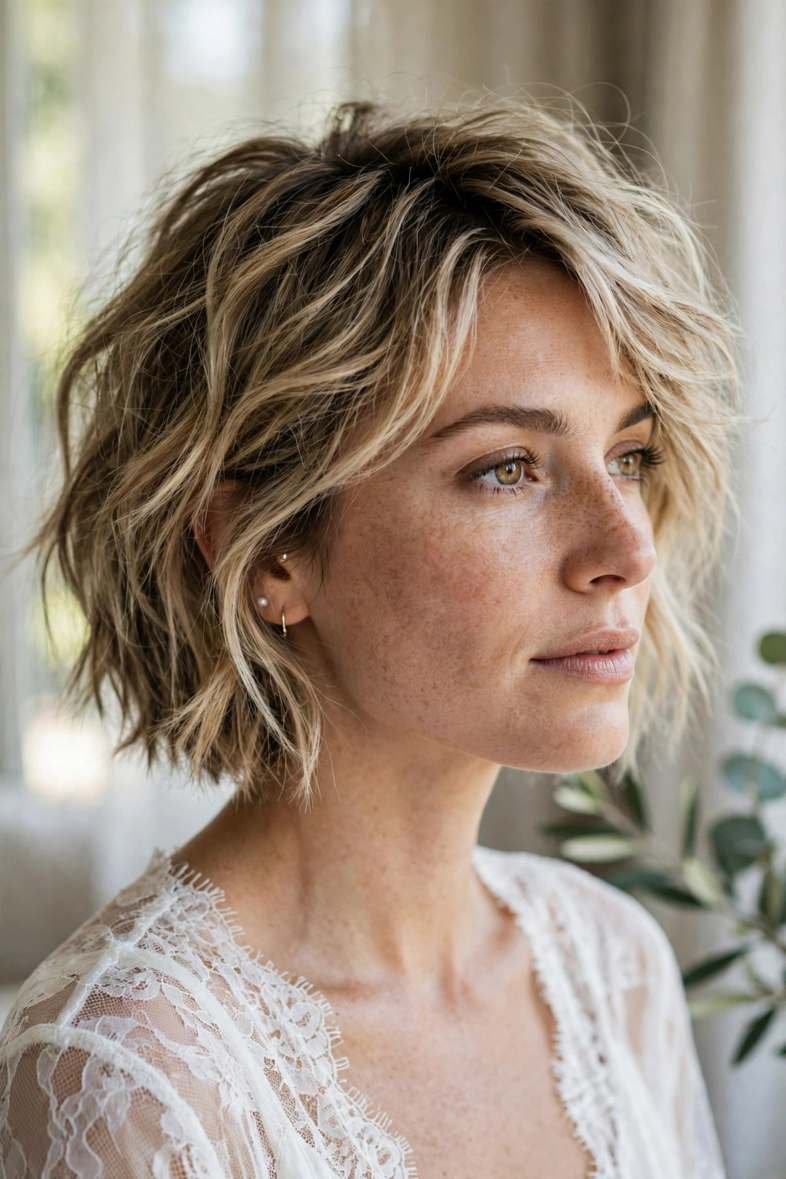
Want wedding hair that looks amazing but took almost no effort? The textured tousle is your answer. It’s the “I woke up like this” of bridal hair — piecey, touchable, and effortlessly cool.
- Step 1: Work a golf-ball-sized amount of texturizing mousse through damp hair.
- Step 2: Scrunch and twist random sections while blow-drying with a diffuser on medium heat.
- Step 3: Once dry, pinch the ends of individual pieces with a tiny bit of wax for definition.
- Step 4: Shake your head, arrange with your fingers, and finish with a light texturizing spray.
This is the best choice for naturally wavy or thick hair — you’re enhancing what you have, not fighting it. Add a delicate headband for instant bridal status.
7. The Half-Up Twist
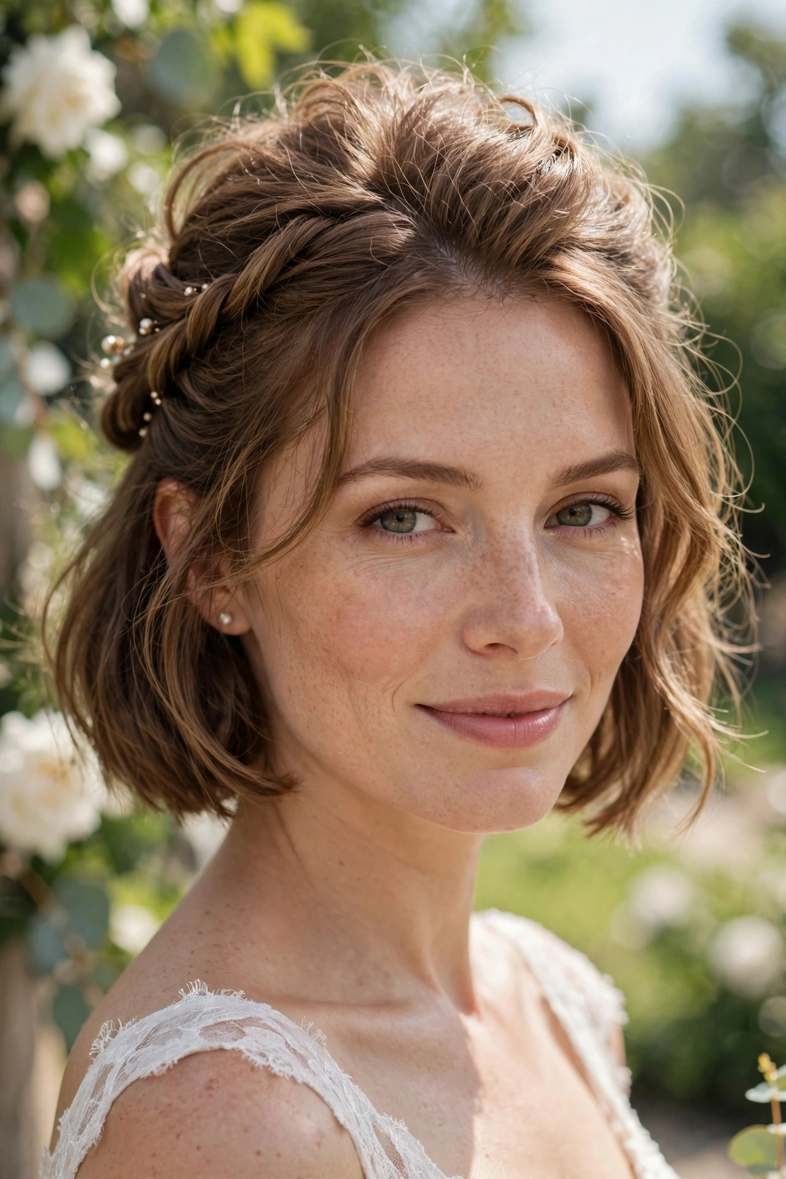
Half-up styles give you the best of both worlds: hair off your face for the ceremony, length and movement for the photos. On a bob, a simple twist is all you need.
💡 Quick Tip: Tease the crown lightly before you twist — just three or four strokes with a teasing comb. It creates the height that makes half-up styles look bridal instead of everyday.
- Step 1: Section off the top third of your hair from temple to temple.
- Step 2: Twist the section loosely and pin it at the back of your crown with two crossed bobby pins.
- Step 3: Gently pull at the twist to loosen it and create softness.
- Step 4: Curl the remaining hair loosely and tuck a small flower or crystal pin where the twist meets the back.
Five minutes, two pins, one gorgeous wedding hairstyle. It doesn’t get easier than this.
8. The Low Pinned Curls
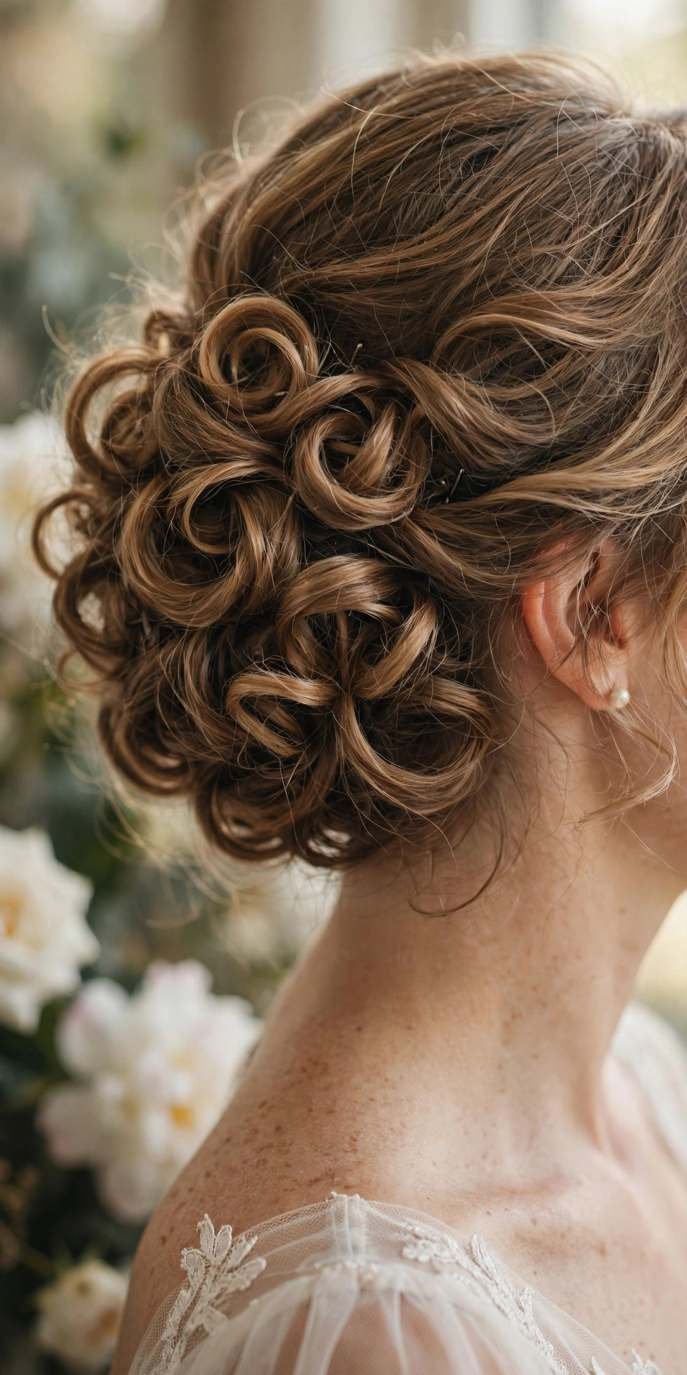
This style creates the illusion of an updo using nothing but curls and pins — perfect for bobs that are just a little too short to gather. The result looks intricate; the process is simple.
- Step 1: Curl your entire bob with a 1-inch iron, pinning each curl up to cool.
- Step 2: Starting at the nape, release curls one section at a time, rolling each under and pinning it flat against your head.
- Step 3: Work upward, overlapping the pinned curls so they form a textured, bun-like shape.
- Step 4: Leave the front pieces out, curl them softly around your face, and mist everything with strong-hold spray.
From the front it looks like loose curls; from the back it looks like an updo. Everyone will ask how you did it.
9. The Bridal Blowout

She’d always dreamed of that bouncy, just-left-the-salon hair on her wedding day — so she learned to do it herself. A bridal blowout is all about volume at the roots and polish at the ends.
Apply a volumizing mousse to damp roots and blow-dry upside down until nearly dry. Then, working in sections with a large round brush, over-direct each section upward as you dry — this is what creates lasting lift. Roll the brush through to the ends, curling them under for that classic bouncy finish. Let each section cool in the brush shape for a few seconds before releasing; cooling sets the volume. Finish with a light-hold spray, and gently shake out the roots with your fingertips for that airy, touchable fullness that screams special occasion.
10. The Deep Side Sweep
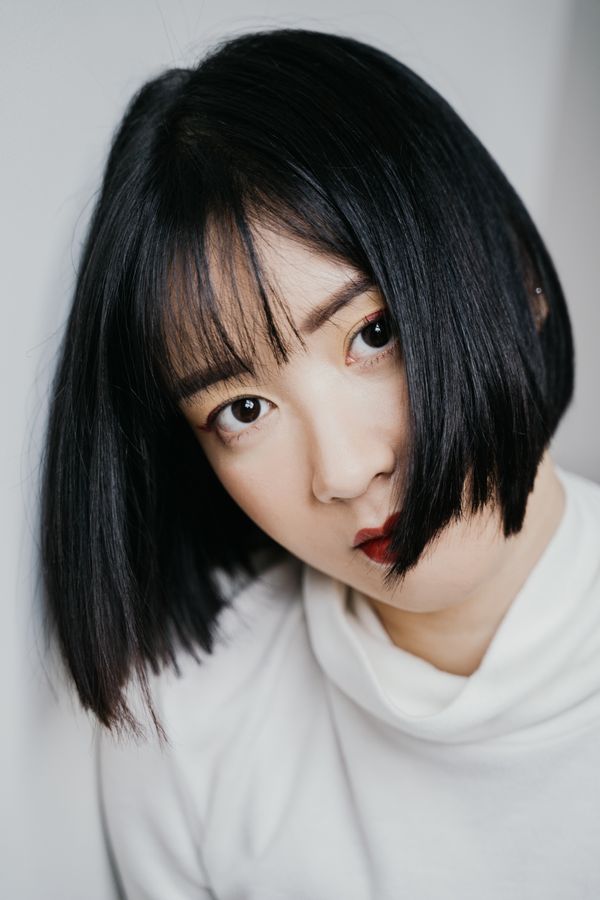
A deep side sweep is instant drama — all your hair cascading to one side like a waterfall. It’s red-carpet glamorous and takes about fifteen minutes.
- Step 1: Create a deep side part on damp hair and apply volumizing mousse.
- Step 2: Blow-dry everything toward the heavy side, lifting at the roots.
- Step 3: Curl the heavy side in large sections with a 1.25-inch iron, all in the same direction.
- Step 4: Smooth the light side flat behind your ear with pins, and mist the swept side with shine spray.
Wear a statement earring on the tucked side — it becomes the jewelry moment of your whole look.
11. The Romantic Ringlets
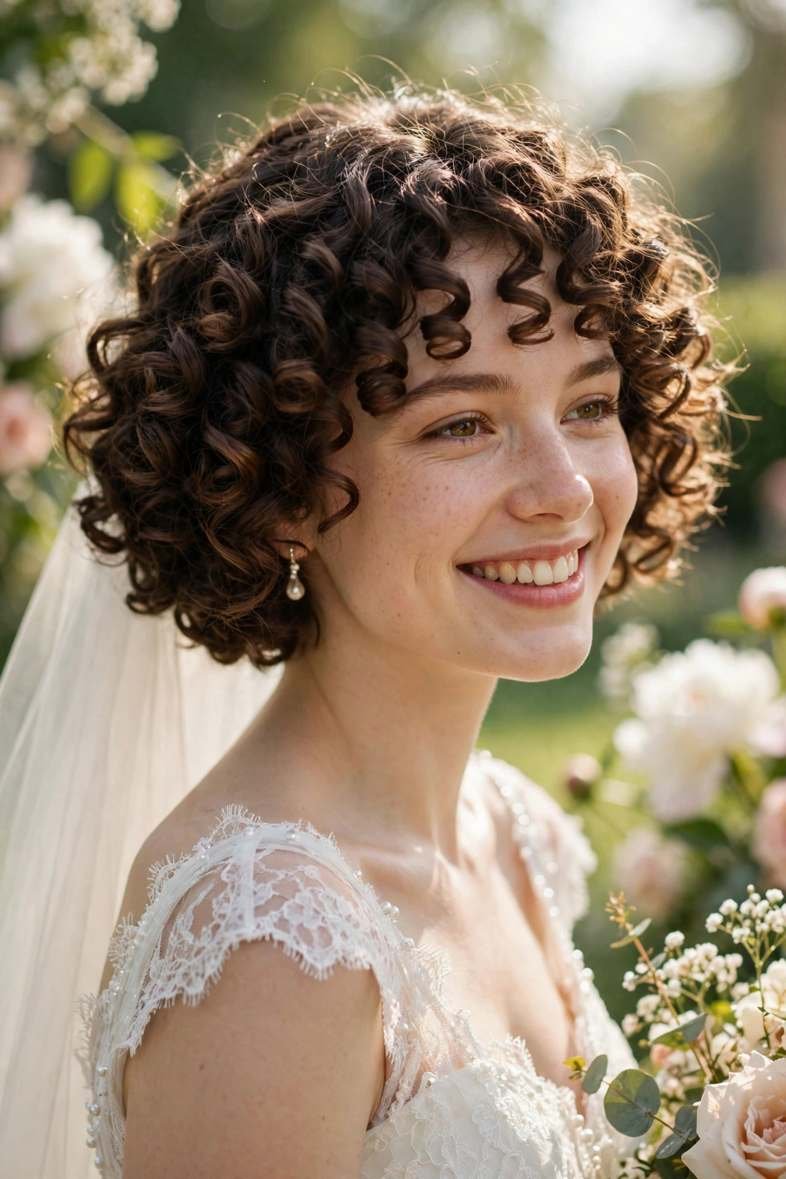
Tight, defined ringlets on a bob are pure romance — bouncy, joyful, and incredibly photogenic. This style loves naturally curly hair but works on straight hair too with the right technique.
- Step 1: On damp hair, apply curl-defining cream section by section.
- Step 2: Twist small sections around your finger to encourage the curl pattern, then diffuse dry on low heat.
- Step 3: For straight hair: wrap half-inch sections around a small iron, hold 10 seconds, and let cool without touching.
- Step 4: Separate curls gently with oiled fingertips — never a brush — and mist with light spray.
Ringlets look best with a little imperfection, so don’t stress about uniformity. The charm is in the bounce.
12. The Polished Straight Bob
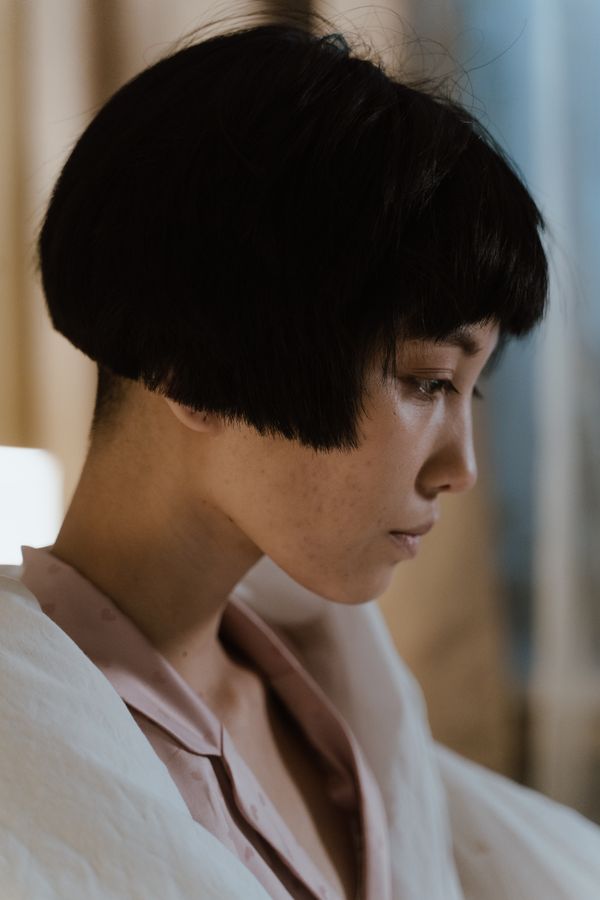
Who decided wedding hair has to be curly? A razor-sharp straight bob is modern, confident, and strikingly elegant — especially with a minimalist dress. The key is glass-like shine.
- Step 1: Apply heat protectant and a smoothing serum to damp hair.
- Step 2: Blow-dry straight with a paddle brush, pulling each section taut.
- Step 3: Flat-iron in thin, half-inch sections — slow passes beat repeated quick ones.
- Step 4: Finish with a shine spray and tuck one side behind your ear with a crystal pin.
This style demands healthy ends, so get a trim a week before. Sleek hair shows everything — which is exactly the point.
13. The Voluminous Crown
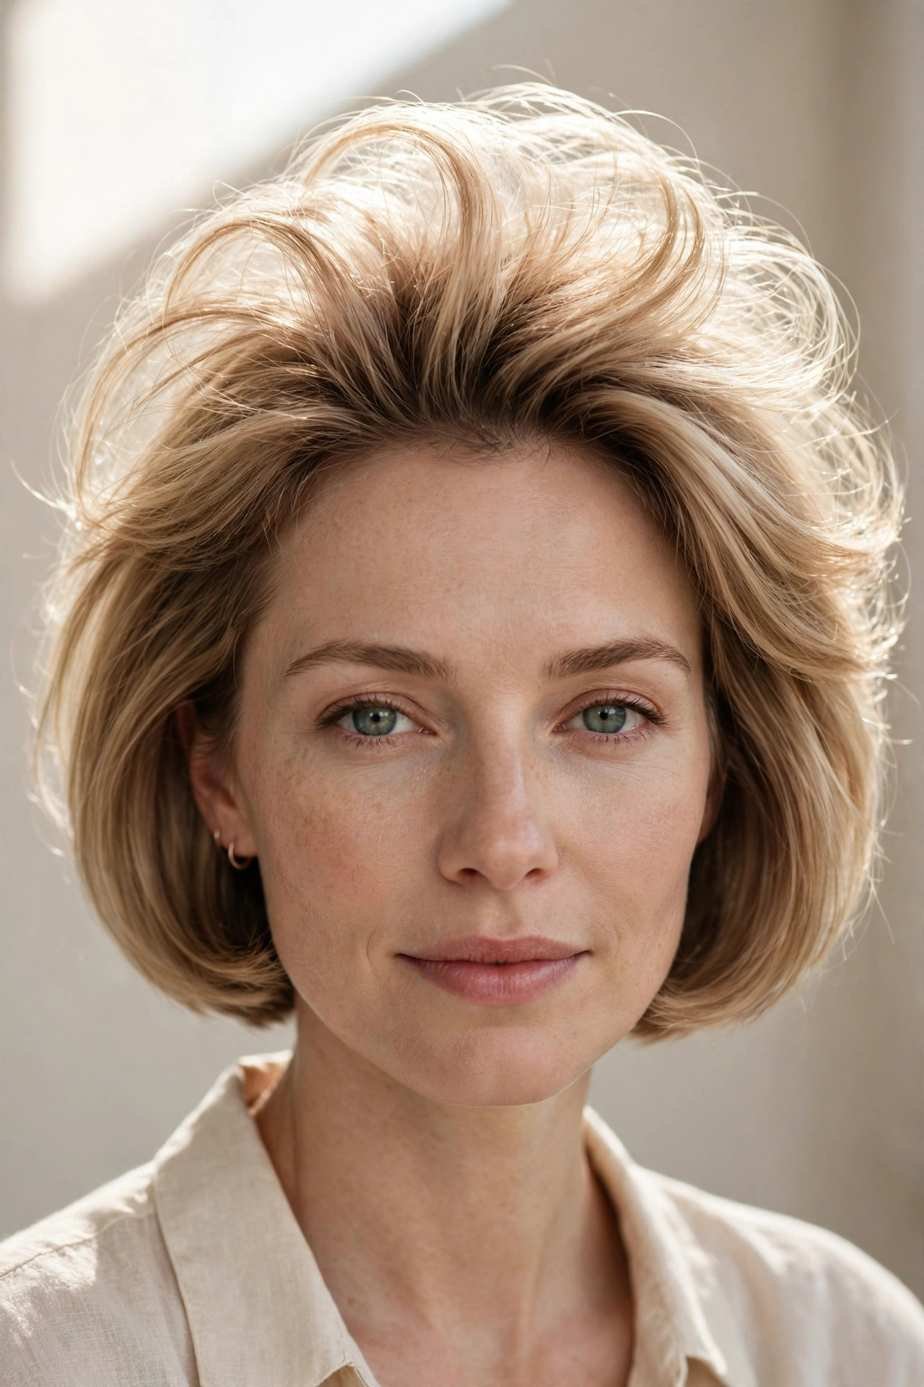
Fine hair brides, this one’s for you. Strategic volume at the crown gives a bob that lush, full look that photographs beautifully — no extensions required.
Start with dry shampoo at the roots, even on clean hair — it creates the grip fine hair desperately needs. Backcomb the crown section gently, just two inches of teasing, then smooth the top layer over it with a soft brush. The teasing stays hidden while the height stays visible. Pin the sides softly back, leaving the crown full and airy. Set with a volumizing spray rather than a heavy hairspray, which would crush everything you just built.
💡 Quick Tip: A sprinkle of volumizing powder at the roots (try Big Sexy Hair Powder Play) gives fine hair incredible lift that lasts all day — it’s like backcombing in a bottle.
14. The Classic Center Part
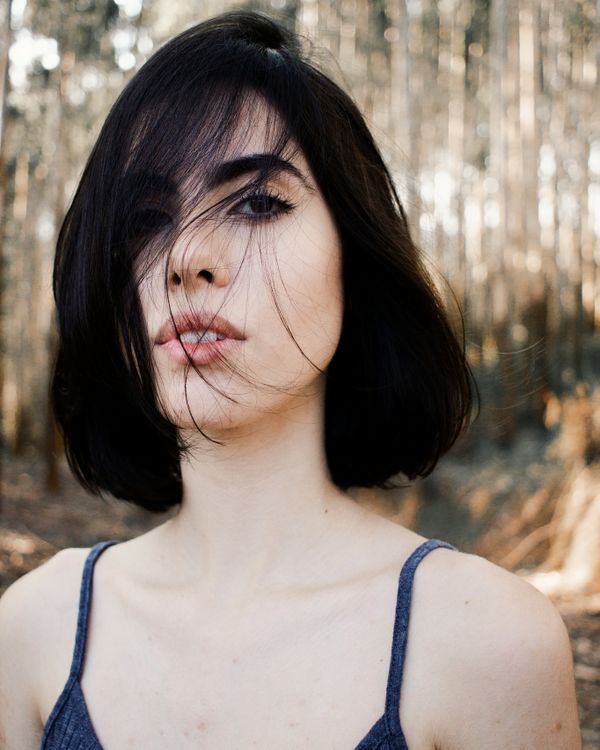
A center part on a bob is the definition of timeless — symmetrical, serene, and beautiful on almost every face shape. It’s also one of the easiest styles to do perfectly yourself.
- Step 1: Part damp hair precisely down the middle using a tail comb.
- Step 2: Blow-dry smooth, directing hair straight down on both sides.
- Step 3: Add soft bends through the mid-lengths with a flat iron — just a gentle curve, not a curl.
- Step 4: Tuck both sides behind your ears or leave loose; finish with anti-frizz serum.
The center part loves symmetry elsewhere too — matching earrings, a balanced veil placement. It’s the calm, classic choice for the unfussy bride.
15. The Soft Glam Waves
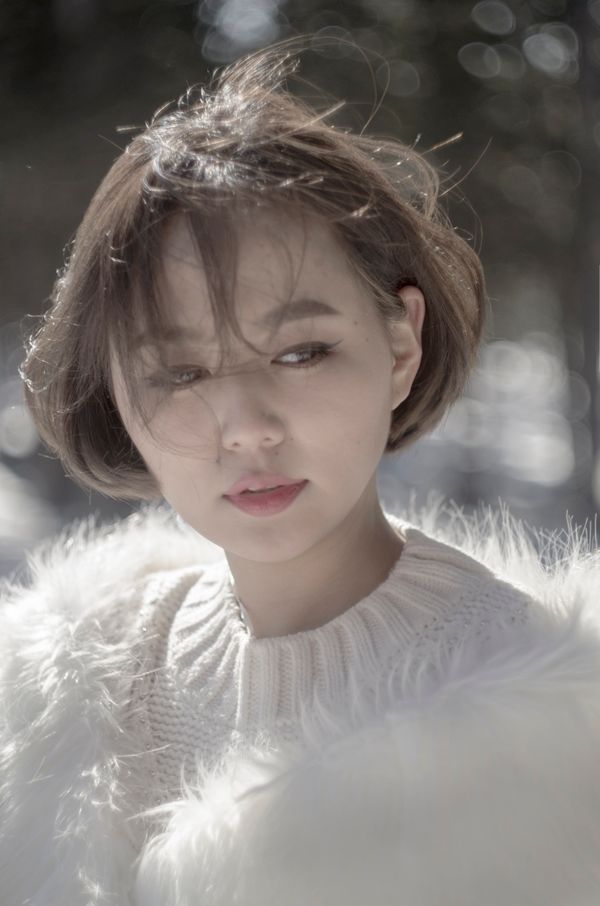
She wanted glamour without stiffness — waves that moved when she did. Soft glam waves are the red-carpet look adapted for real brides: polished, touchable, and gorgeous in motion.
- Step 1: Apply a heat protectant and a light mousse to damp hair.
- Step 2: Curl 1.5-inch sections with a 1.25-inch iron, all away from your face, and clip each curl to cool.
- Step 3: Once cool, release and brush through with a paddle brush until the curls melt into waves.
- Step 4: Smooth a drop of serum over the surface and mist with medium-hold spray.
The brushing step is what separates glam waves from regular curls — don’t skip it. That’s where the magic happens.
16. The Effortless Air-Dry
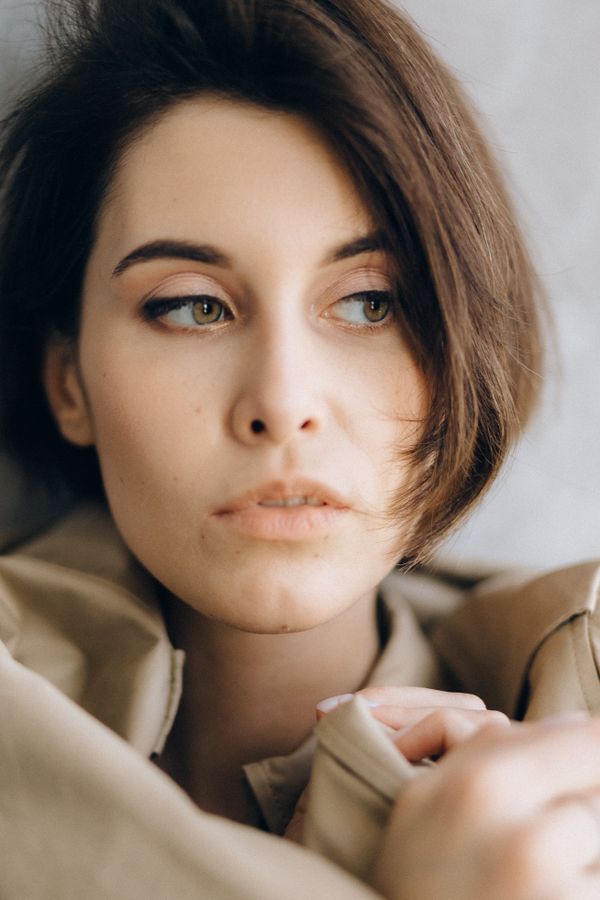
The easiest wedding hairstyle ever: wash, scrunch, and walk down the aisle. If your hair has any natural wave at all, the air-dry method gives you beautiful, natural texture with zero heat.
- Step 1: The night before, wash and apply leave-in conditioner plus curl cream.
- Step 2: Scrunch well, then loosely braid into two braids or twist into a low bun to sleep.
- Step 3: In the morning, release, shake out gently, and arrange with your fingers.
- Step 4: Add a beautiful hair accessory — a gold pin, fresh flowers — and you’re bridal.
This is the ultimate low-stress option. Your hair looks like you, your morning stays calm, and the texture photographs beautifully.
17. The Hollywood Gloss

Old Hollywood waves on a bob are pure cinema — deep, glossy, sculpted waves that look like they belong on a silver screen. And yes, you can do them at home.
💡 Quick Tip: The secret to Hollywood waves is curling every section in the same direction and letting every curl cool completely before touching. Uniformity is everything in this style.
- Step 1: Apply setting mousse to damp hair and blow-dry smooth.
- Step 2: Curl 1-inch sections with a 1-inch iron, all in the same direction, pinning each to cool.
- Step 3: Release all pins and brush through with a boar-bristle brush until waves form.
- Step 4: Mold the waves into place with your hands, pin the shape at the temples, and mist generously with strong-hold spray.
Pair with a red lip and winged liner for the full vintage effect. This is a showstopper.
18. The Garden Ceremony Bob
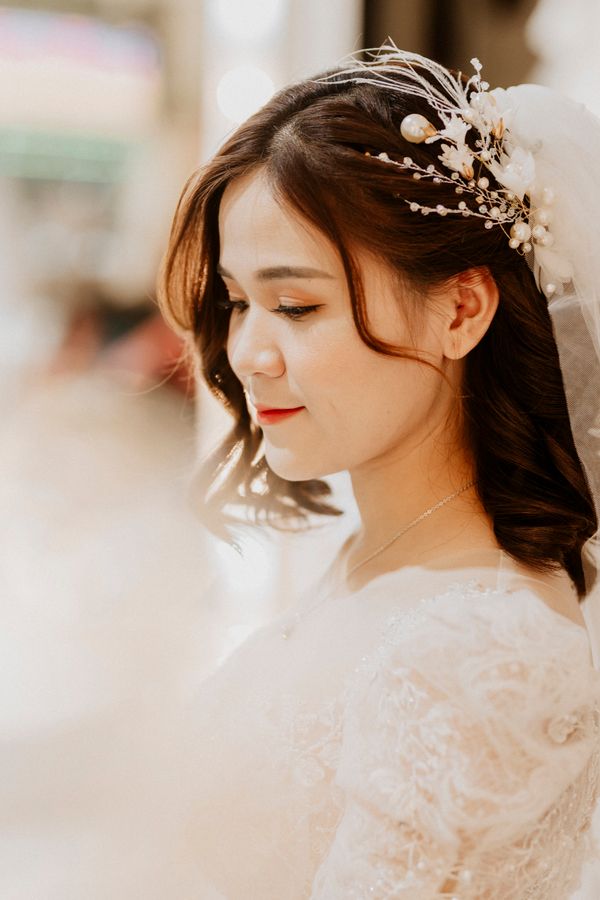
Outdoor weddings call for hair that can handle a breeze — soft, natural styles that look better a little undone. A loose, touchable bob with a floral touch is perfect for garden ceremonies.
Wash your hair the night before so it has natural grip, then add loose waves with a large iron or heatless method in the morning. Don’t over-style; the goal is pretty, not perfect. Tuck small fresh flowers or a sprig of baby’s breath behind one ear, securing with a bobby pin hidden underneath. A light mist of flexible spray holds everything without stiffness, so a gentle breeze just makes it look more romantic. This style actually improves as the day goes on — the waves relax, the flowers settle, and everything looks effortlessly beautiful.
19. The Sunset Waves
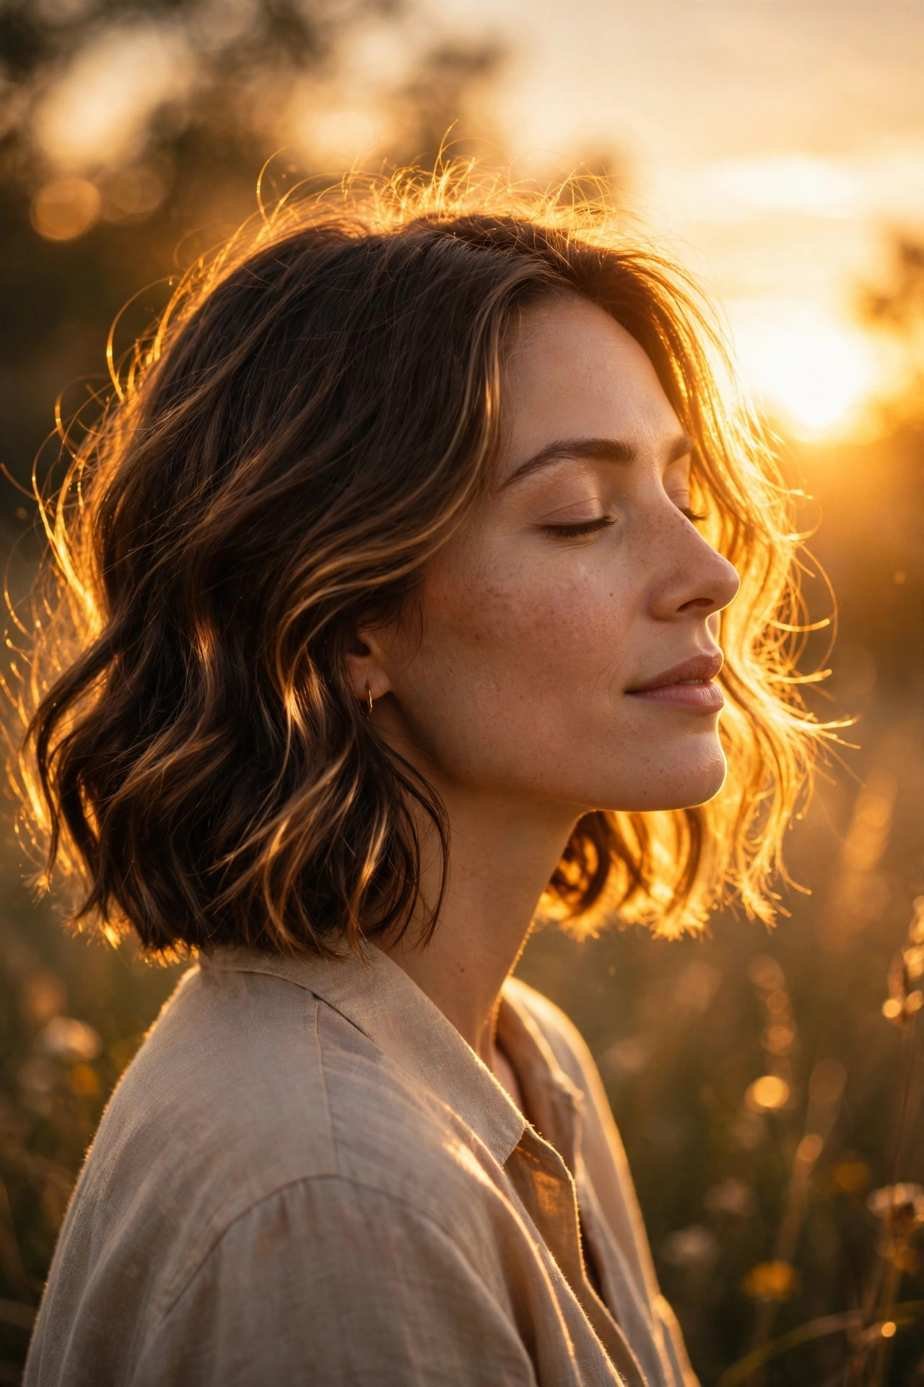
Golden-hour ceremonies deserve hair that glows. Loose, shiny waves catch sunset light beautifully — every photo looks warm and radiant.
- Step 1: Apply a shine-enhancing heat protectant to damp hair.
- Step 2: Blow-dry with a round brush for smoothness and root lift.
- Step 3: Wrap large sections around a 1.5-inch iron, leaving the ends out for a modern finish.
- Step 4: Run your fingers through, add a drop of shine oil, and mist lightly.
Time your getting-ready schedule so your hair is fresh for golden hour — about an hour before sunset. The light does half the styling for you.
20. The Pearl-Pin Finish
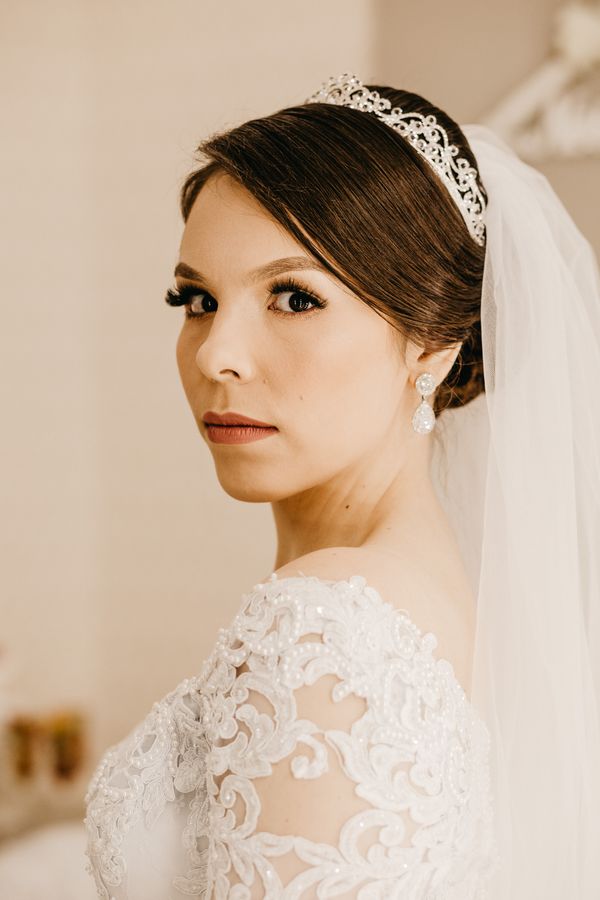
And finally, the easiest bridal upgrade in existence: pearl pins. Whatever your bob looks like — straight, wavy, curled, or pinned — a scattering of pearl hair pins instantly makes it wedding-ready.
- Step 1: Style your bob however you like — this finish works over any base.
- Step 2: Choose 5-7 pearl pins in varying sizes.
- Step 3: Place them asymmetrically: a cluster above one ear, a few scattered along your part or at the back.
- Step 4: Step back and check in the mirror — odd numbers and asymmetry look most natural.
This is the perfect finishing touch if you’re doing your own hair and want that “bridal” signal without any complicated technique. Simple, stunning, done.
Conclusion
See? Wedding hair doesn’t require a professional — just a bob, a few tools, and a little practice. Do a trial run, lay everything out the night before, and on the big day, enjoy every minute of getting ready. You’re going to look beautiful.
📌 Save this post to your wedding board on Pinterest so you have hairstyle inspiration ready!