
20+ Easy Easy Hairstyles For Medium Hair — Step by Step 2026
Medium hair is the easiest length to style — but only if you know the actual moves. “Just twist it up” is not a tutorial. You need the real sequence: what to do first, what to do next, and the little tricks that make the difference between neat and messy.
Here are 20 medium-hair styles with every step spelled out. Follow along the first time, and by the third try your hands will know the way on their own.
1. The Wavy Lob in 5 Steps
The signature medium-hair look, broken down:
Step 1: Apply heat protectant to dry hair and divide into top and bottom halves. Step 2: Wrap 1-inch sections around a 1.25-inch iron, alternating the direction of each curl. Step 3: Leave the last inch of every section uncurled — this creates the modern undone edge. Step 4: Let everything cool, then rake through with your fingers (never a brush). Step 5: Mist with texturizing spray and scrunch lightly.
Fifteen minutes total. The alternating directions are what make it look natural instead of pageant-y — don’t skip that detail.

2. The Sleek Straight Lob
Pin-straight precision in four moves. Step 1: Create your part with a comb — center for striking, deep side for soft. Step 2: Blow-dry smooth with a paddle brush, directing everything downward. Step 3: Flat-iron in thin sections, pulling each taut, one slow pass each. Step 4: Smooth a pea-size of shine serum over the ends only.
💡 Quick Tip: The paddle-brush blow-dry in Step 2 does half the straightening work — if you rough-dry instead, you’ll need twice as many flat-iron passes and the result won’t last.

3. The 2-Minute Messy Bun
Step 1: Gather hair loosely at the mid-back of your head — don’t brush first. Step 2: Twist the length loosely and coil it into a bun. Step 3: Pin where it lands with 3-4 bobby pins. Step 4: Gently tug sections outward for softness and pull a few wisps free around your face.
Two minutes, and the “imperfections” are the entire point. Set with flexible-hold spray so it keeps its softness all day.

4. The Half-Up Top Knot
Section, twist, secure — three moves. Step 1: Take the top section from temple to temple and brush it smooth. Step 2: Twist it into a small bun at the crown. Step 3: Secure with a small elastic or two crossed bobby pins.
The knot should be compact and neat — a sprawling knot on medium hair throws off the proportions. Smooth the crown well; bumps show. Leave the bottom half straight, wavy, or curly — all three work.

5. The 60-Second Low Pony
Step 1: Part your hair (center or side) with a comb. Step 2: Brush everything back and gather low at the nape, smoothing the sides as you go. Step 3: Secure with an elastic. Step 4: Take a thin strand from the tail, wrap it around the elastic, and pin underneath.
Sixty seconds to a ponytail that looks intentional instead of default. The wrapped elastic in Step 4 is the difference-maker — it takes ten seconds and upgrades the whole style.

6. The Easy Medium Chignon
A chignon sounds fancy; the steps are simple. Step 1: Make a low ponytail at the nape. Step 2: Split the tail into two sections. Step 3: Twist each section loosely. Step 4: Wrap the twists around each other at the nape and pin. Step 5: Tuck the ends under and set with spray.
On medium hair the chignon is compact and neat — more modern than the big dramatic versions. Five minutes to an updo that works for weddings and work events alike.

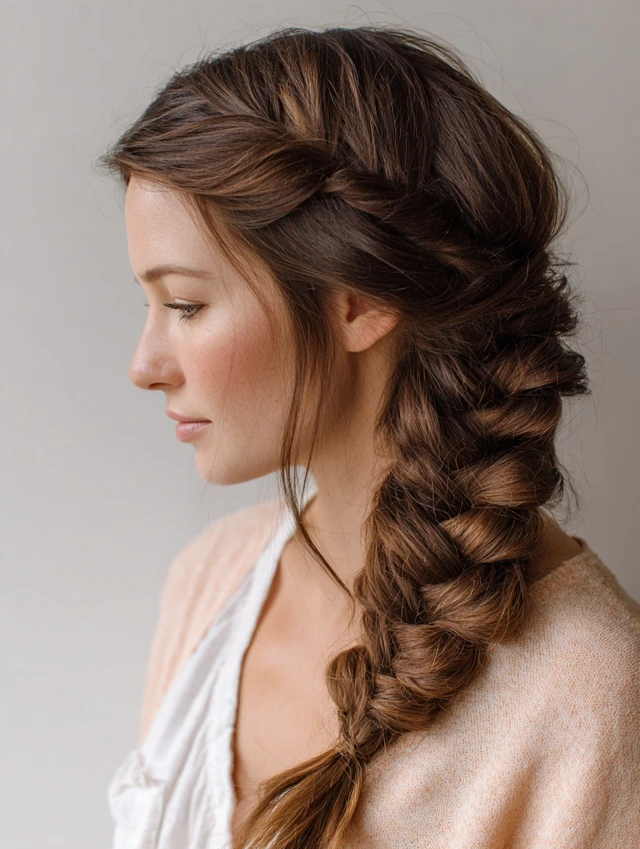
7. The Quick Side Braid
Step 1: Part on one side and sweep all hair over the opposite shoulder. Step 2: Split into three sections and braid loosely, starting behind the ear. Step 3: Tie with a small clear elastic. Step 4: Gently pull each braid section wider for fullness.
⚠️ Watch Out: Don’t start the braid at your shoulder — begin it behind the ear so it connects to your head naturally. A braid that starts mid-air looks disconnected and slides around.
8. The Claw Clip Updo in 3 Steps
The fastest real updo in existence:
- Step 1: Gather all your hair as if making a low ponytail
- Step 2: Twist it upward against the back of your head and fold the twist in half
- Step 3: Clamp a large claw clip over the folded twist, teeth biting toward the scalp
Thirty seconds. For extra polish, do the French-roll version: sweep everything to one side first, then roll upward — it looks like you spent twenty minutes. Matte tortoiseshell or black for daytime.

9. The Beach Waves Without Heat
The overnight method — two minutes of evening effort, zero morning effort. Step 1: On dry hair before bed, mist lightly with water. Step 2: Divide into 4-6 sections. Step 3: Twist each section into a small bun and pin. Step 4: Sleep. Step 5: In the morning, release, shake gently, and rake through with fingers.
💡 Quick Tip: The buns should feel snug but not tight — too tight gives kinks instead of waves. And make sure hair is only slightly damp, not wet, or it won’t dry by morning.
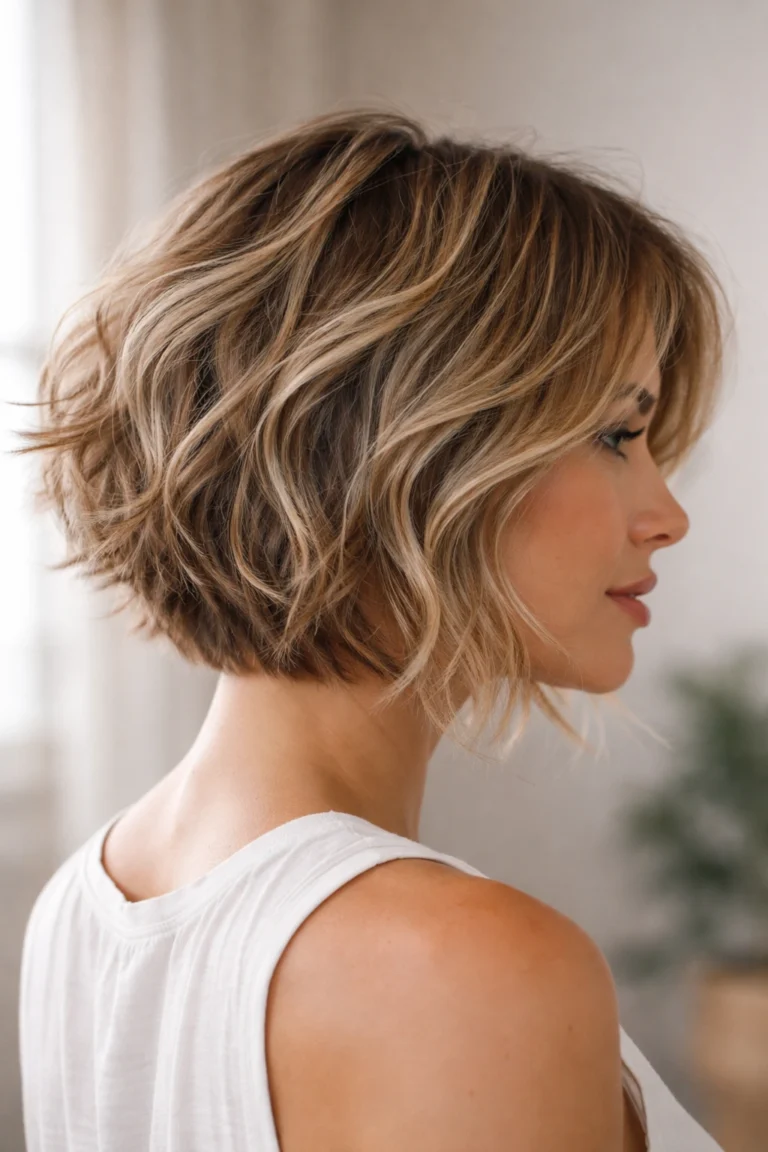
10. The Twisted Half-Up
Step 1: Take a 2-inch section from each temple. Step 2: Twist each section backward, away from your face. Step 3: Bring the twists together at the back of your head. Step 4: Pin where they meet with crossed bobby pins, or secure with a small elastic and wrap a strand over it.
The twists add texture and grip that a plain half-up doesn’t have — this version stays put noticeably longer. Three minutes, and it works on straight, wavy, and curly hair alike.

11. The Curly Lob Refresh
Day-two curls need revival, not rewashing. Step 1: Mist the curls lightly with water — damp, not soaked. Step 2: Scrunch a pea-size of curl cream through the mid-lengths and ends. Step 3: Diffuse on low for 2-3 minutes, or air-dry if you have time. Step 4: Pick gently at the roots for volume.
📌 Good To Know: The number one curly-lob mistake is over-wetting on refresh day. Too much water breaks the curl pattern you built yesterday; a light mist reactivates product that’s already there.

12. The Side-Part Volume Waves
Step 1: Create a deep side part with a comb — go further than feels natural. Step 2: Apply volumizing mousse at the roots of the heavier side. Step 3: Wave 1.25-inch sections with an iron, alternating directions. Step 4: Once cool, rake through and tuck the lighter side behind your ear.
The deep part is doing the heavy lifting here — it creates crown volume and a glamorous sweep with no teasing required. This is the fastest way to make wavy medium hair look red-carpet intentional.

13. The Middle-Part Sleek in Minutes
Step 1: Part precisely down the middle — line it up with the bridge of your nose. Step 2: Apply heat protectant and blow-dry smooth. Step 3: Flat-iron in thin sections, one slow pass each. Step 4: Shine serum on the ends; leave roots product-free.
The precision of the part is everything — a wobbly middle part ruins the symmetry that makes this look work. Take the extra ten seconds with the comb. Striking, modern, and done in about twelve minutes.

14. The Faux Bob Tuck
Test-drive short hair for a night. Step 1: Gather hair into a low, loose ponytail at the nape. Step 2: Roll the ponytail upward, tucking it under at the nape. Step 3: Pin the tucked roll securely along its length. Step 4: Arrange the top hair loosely over the roll so no elastic or pins show.
⚠️ Watch Out: Keep the top soft and draped — if you pull it tight, the tucked roll shows through and the illusion breaks. A little looseness is what sells it.
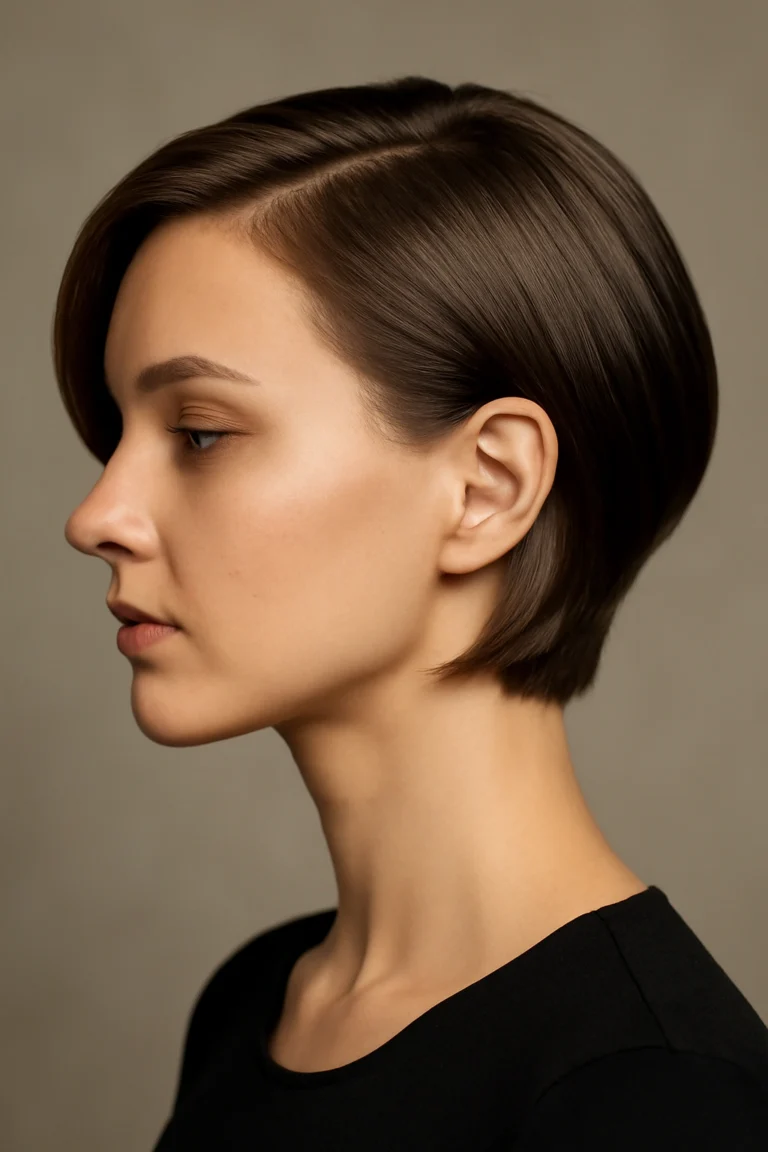
15. The Easy Bubble Braid
Pure geometry, zero braiding skill. Step 1: Secure a ponytail at your chosen height. Step 2: Add a small clear elastic 2-3 inches below the first. Step 3: Gently pull the hair between the elastics outward to puff a bubble. Step 4: Repeat down the tail, keeping bubbles even.
Three minutes to a style that looks intricate and adds the illusion of fullness and length. On medium hair the proportions are perfect — neat bubbles, not cartoonish ones.
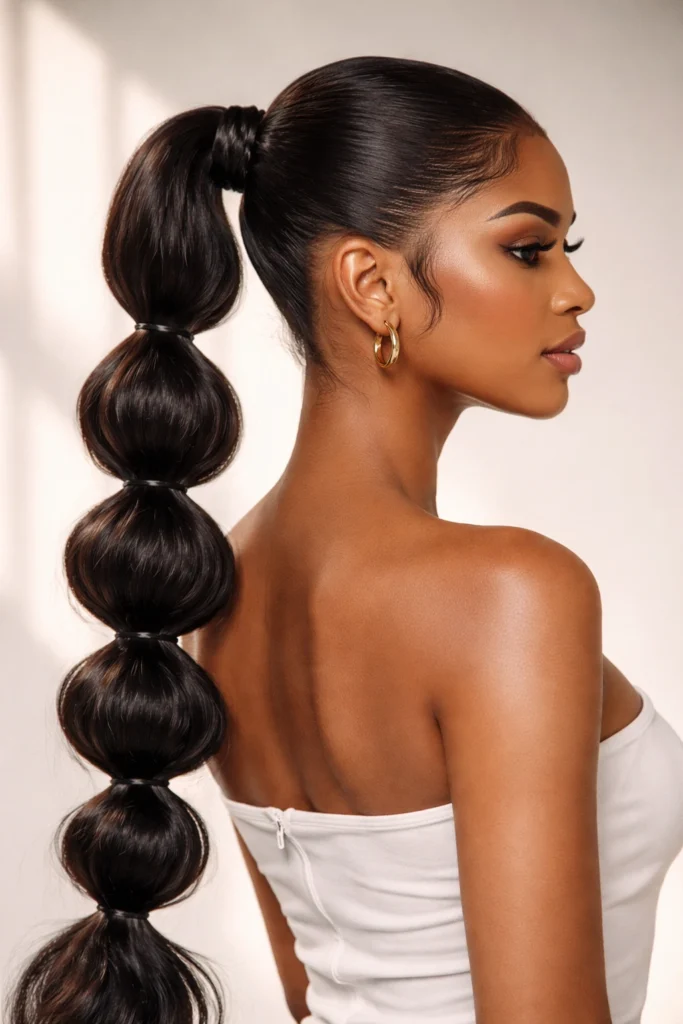
16. The French Braid Basics
The foundational braid, step by step. Step 1: Gather a section at the crown and split into three. Step 2: Cross right over middle, then left over middle — one regular braid stitch. Step 3: Before each subsequent stitch, add a section of loose hair from that side into the strand. Step 4: Continue down, adding hair each time, then finish with a regular three-strand braid and tie.
💡 Quick Tip: Keep your hands close to your head and the tension even. Beginners’ biggest mistake is braiding with hands floating away from the scalp — the braid goes loose and lopsided. Close and steady wins.

17. The Waterfall Braid Step by Step
A French braid with one change: you drop pieces. Step 1: Start a French braid at one temple. Step 2: Each time you cross the bottom strand, drop it and pick up a new piece of hair from behind it instead. Step 3: Continue across the back of your head to the opposite temple. Step 4: Pin the end behind your ear, hiding it under the top layer.
The dropped pieces cascade through the braid — that’s the waterfall. It looks like magic and it’s just one modified move. Six minutes once you’ve practiced twice.

18. The Pinned-Back Front
The two-minute fix. Step 1: Take a 1-inch section from each side of your front hairline. Step 2: Twist each section back, away from your face. Step 3: Cross the twists at the back of your head. Step 4: Pin with two bobby pins crossed in an X, pushed into the hair underneath.
The X-cross into the base layer is the whole secret — pins anchored only in the twist slide out within the hour. Done right, this lasts all day and instantly makes loose hair look styled.
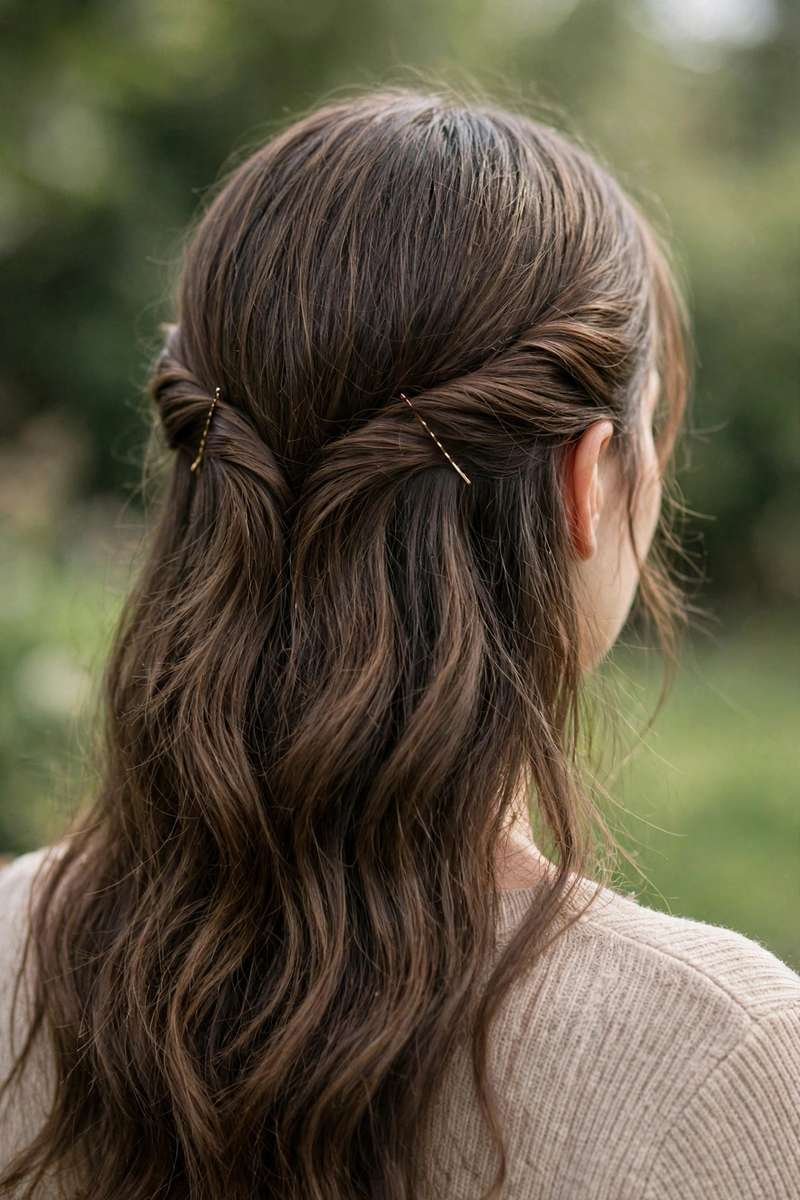
19. The Scarf Bun
Step 1: Make a low bun — messy or sleek, your choice. Step 2: Fold a small square scarf into a band. Step 3: Wrap it around the bun’s base. Step 4: Tie a knot or bow and arrange the ends.
Four steps, two minutes, and a bun that looks styled instead of thrown together. The scarf hides every pin and elastic, adds color, and distracts from imperfect sections. Keep a scarf in your bag and you have an emergency elegance upgrade anywhere.
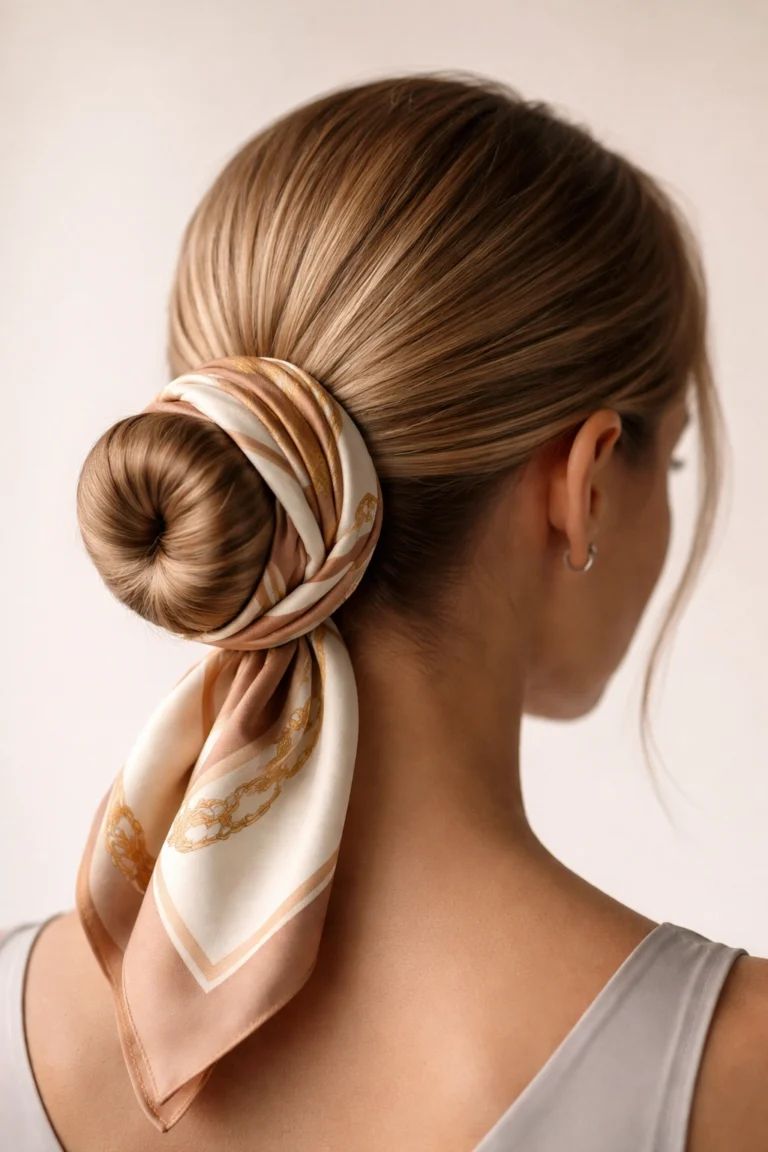
20. The Low Side Bun in 4 Steps
Step 1: Sweep all hair to one side at the nape. Step 2: Twist the length loosely. Step 3: Coil the twist into a bun just behind the jawline on that side. Step 4: Pin securely and gently tug for softness.
📌 Good To Know: Sweep to the side opposite your part — it drapes more naturally and the asymmetry photographs beautifully. Keep it low; a high side bun on medium hair throws off your visual balance.
CONCLUSION
That’s the thing about step-by-step: once your hands learn the sequence, these stop being tutorials and start being habits. Run through your favorites once this weekend, and by Monday your medium hair will practically style itself.
📌 Save this post to Pinterest so you have easy hairstyles for medium hair inspiration ready whenever you need fresh ideas!